7:00AM to 5:00PM
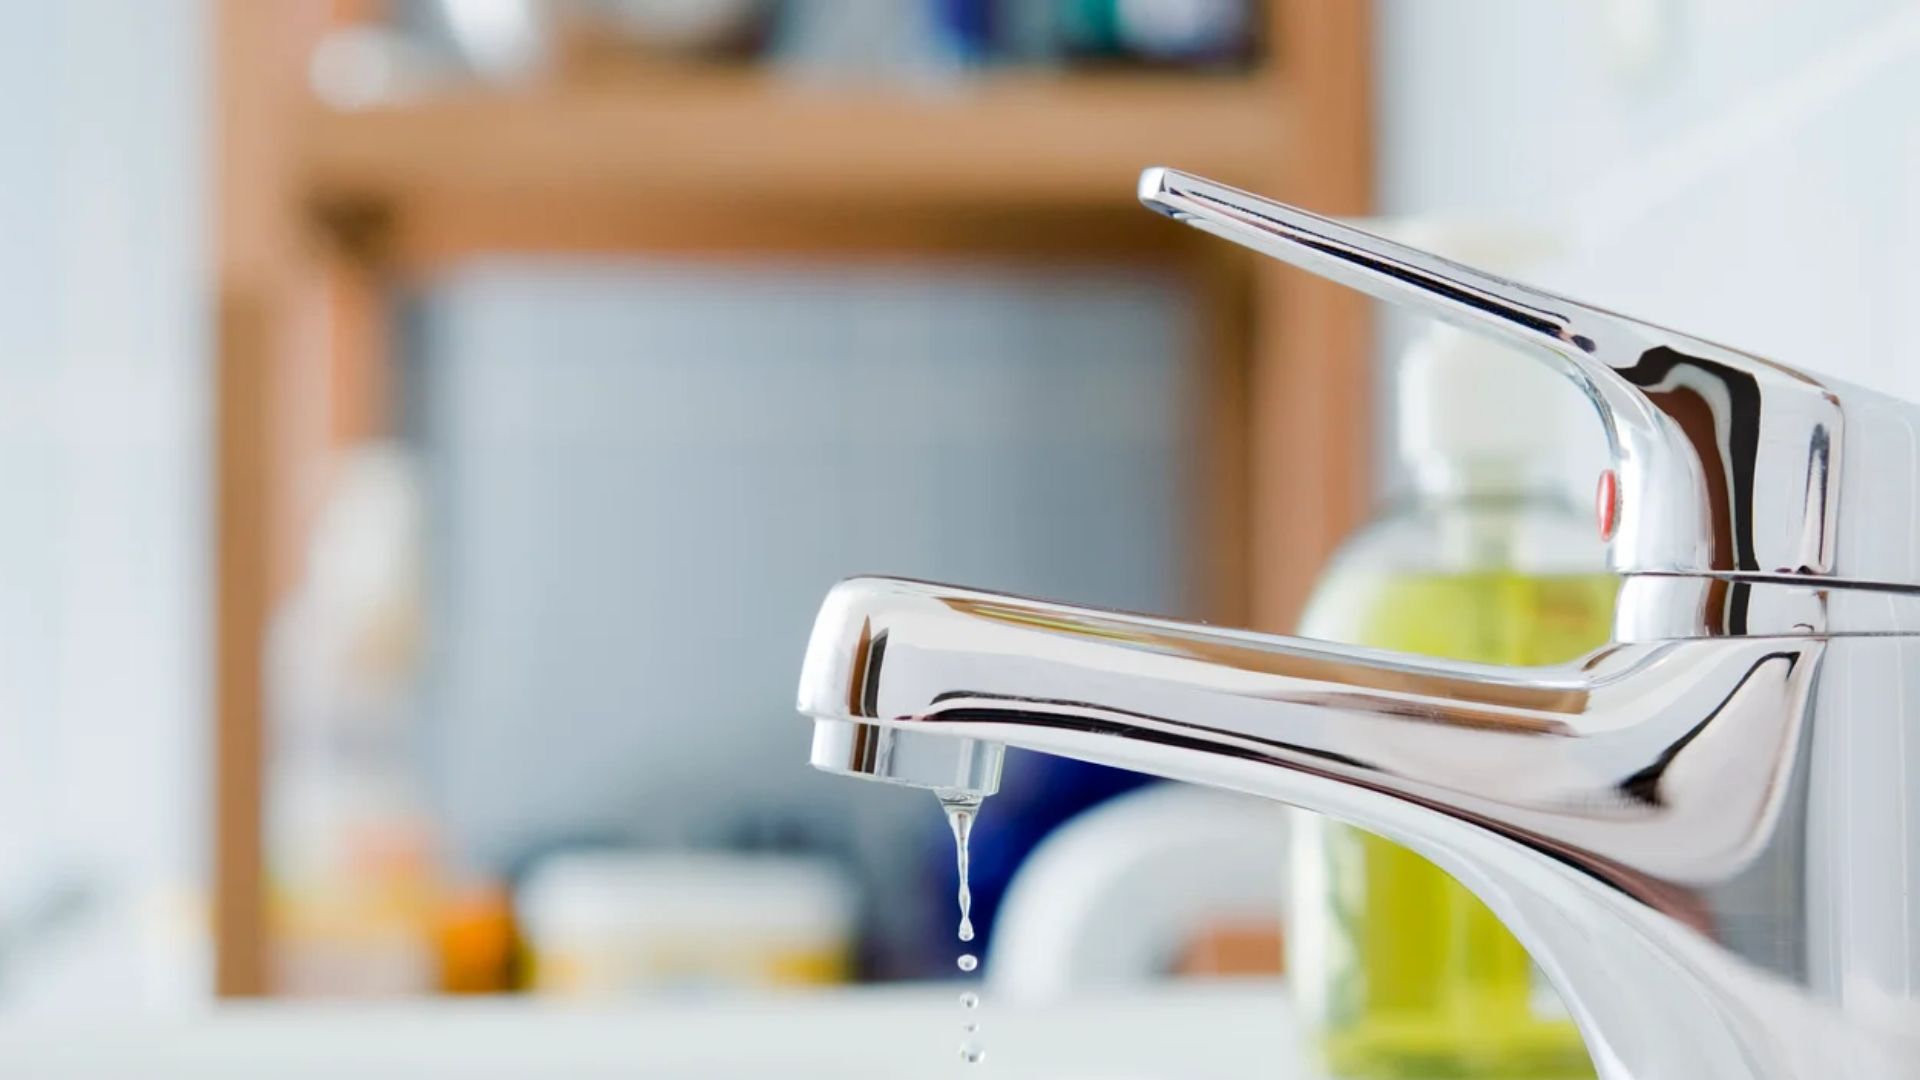
A leaking tap is more than just an annoying sound; it’s a clarion call to water wastage and an unwelcome increment to your utility bills. In addition, continuous dripping can lead to more severe plumbing problems that require extensive repairs if left unattended. Fortunately, with some know-how and the right tools, you can transform this drip into a triumph of do-it-yourself skill.
In this detailed blog post, we’ll dive into the essential toolkit every homeowner should have to tackle the common yet irritating issue of a leaking tap. Whether you’re faced with a traditional tap oozing with character or a modern mixer tap that’s lost its rhythm, having the correct tools on hand is the first leaking tap step towards a successful fix.
From the humble but mighty wrench to the specific washers that form the foundation of a good seal, we’ll guide you through each tool’s purpose and how it applies to the task.
So, before you dial up the local plumber or resign yourself to the symphony of drips, join us as we arm you with the knowledge and confidence to address one of the most common household plumbing problems. We’d also put together a little step-by-step on how to fix a leaking tap if you enjoy DIY and need a new project for your Sunday afternoon.
So, stay tuned as we lay out a comprehensive list of tools to fix a leaking tap, ensuring you’re well-prepared for a watertight victory over those pesky leaks.
Before you set out to fix a leaking tap, it’s crucial to understand the basics of how a traditional tap works. Most taps consist of a tap body, the main structure, a tap bonnet that houses the internal components, and a tap skirt or decorative cap that covers the workings.
You turn the tap handle or tap button to control the water flow. Inside, washer and jumper valves regulate the water supply, creating a watertight seal when the tap is in the ‘off’ position.

Before starting any repair, locate the water supply and the isolation valve to shut off the water flowing to the tap. This valve is often found beneath the sink or in the front yard near the water meter.

To fix a leaking tap, ensure you have the correct tools and replacement parts ready. These typically include:
You can find most of these items at your local hardware store. Remember to buy washers and O rings of the same size to ensure a perfect fit.

Turn off the water supply using the isolation valve and turn on the tap to drain any remaining water. Cover the sink drain to prevent small parts from falling in, and lay out your tools for easy access.
Most taps feature a decorative cap or tap skirt that hides the screw securing the handle. Carefully remove the decorative cap using a flat-head screwdriver, then use a Phillips head or appropriate screwdriver to remove the screw and lift off the tap handle.
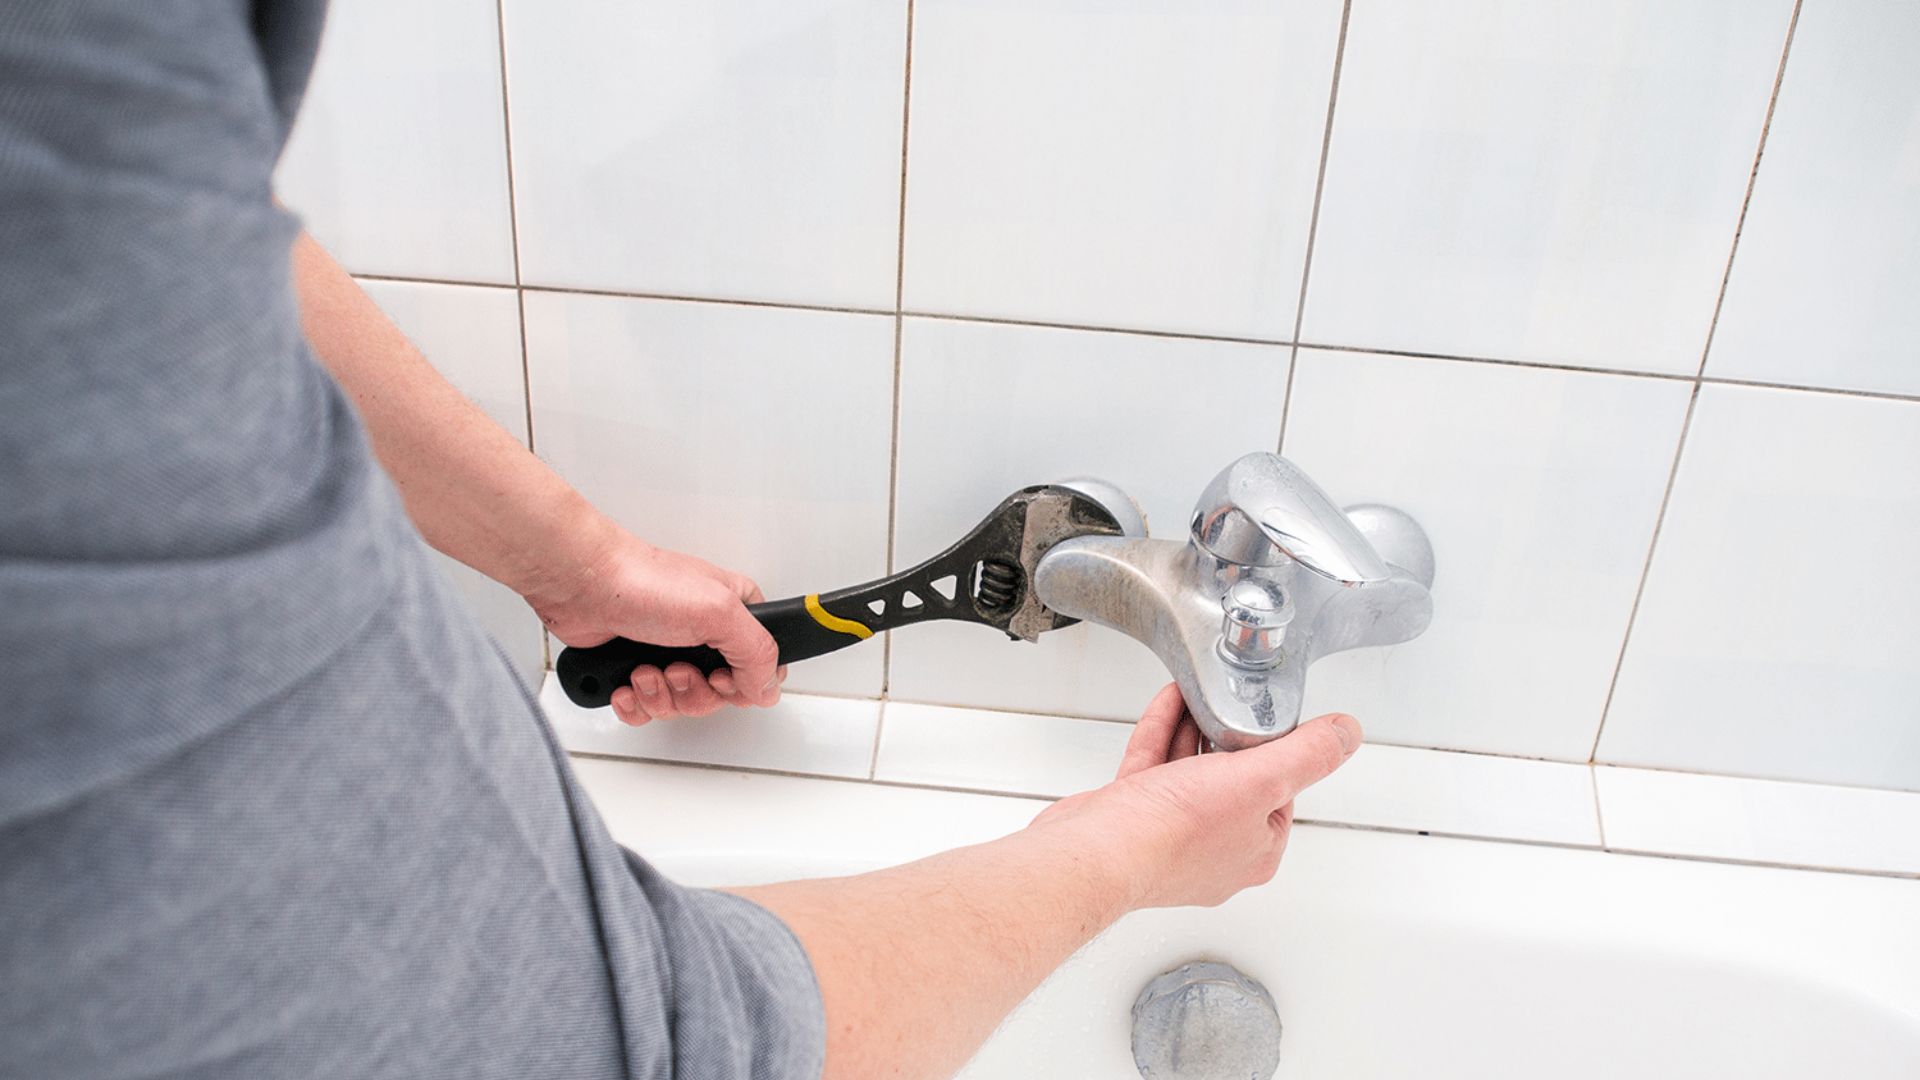
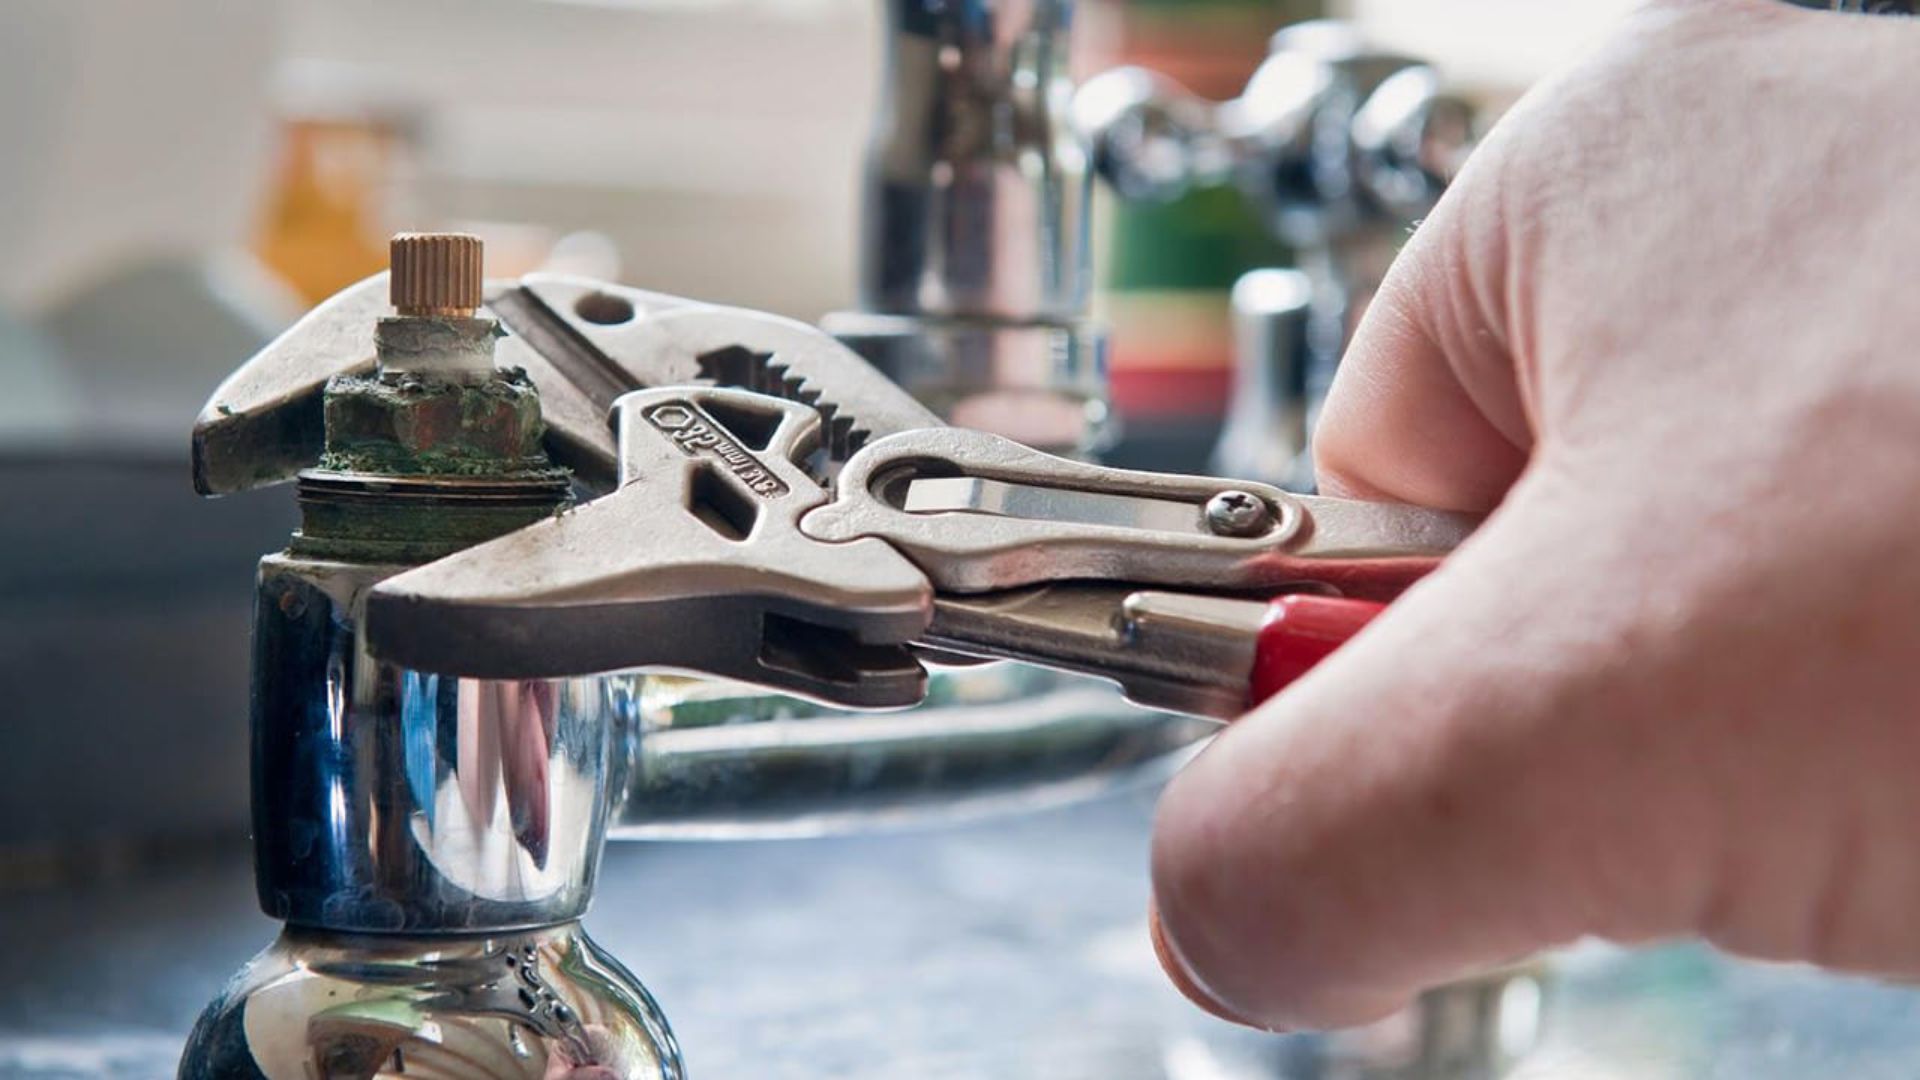
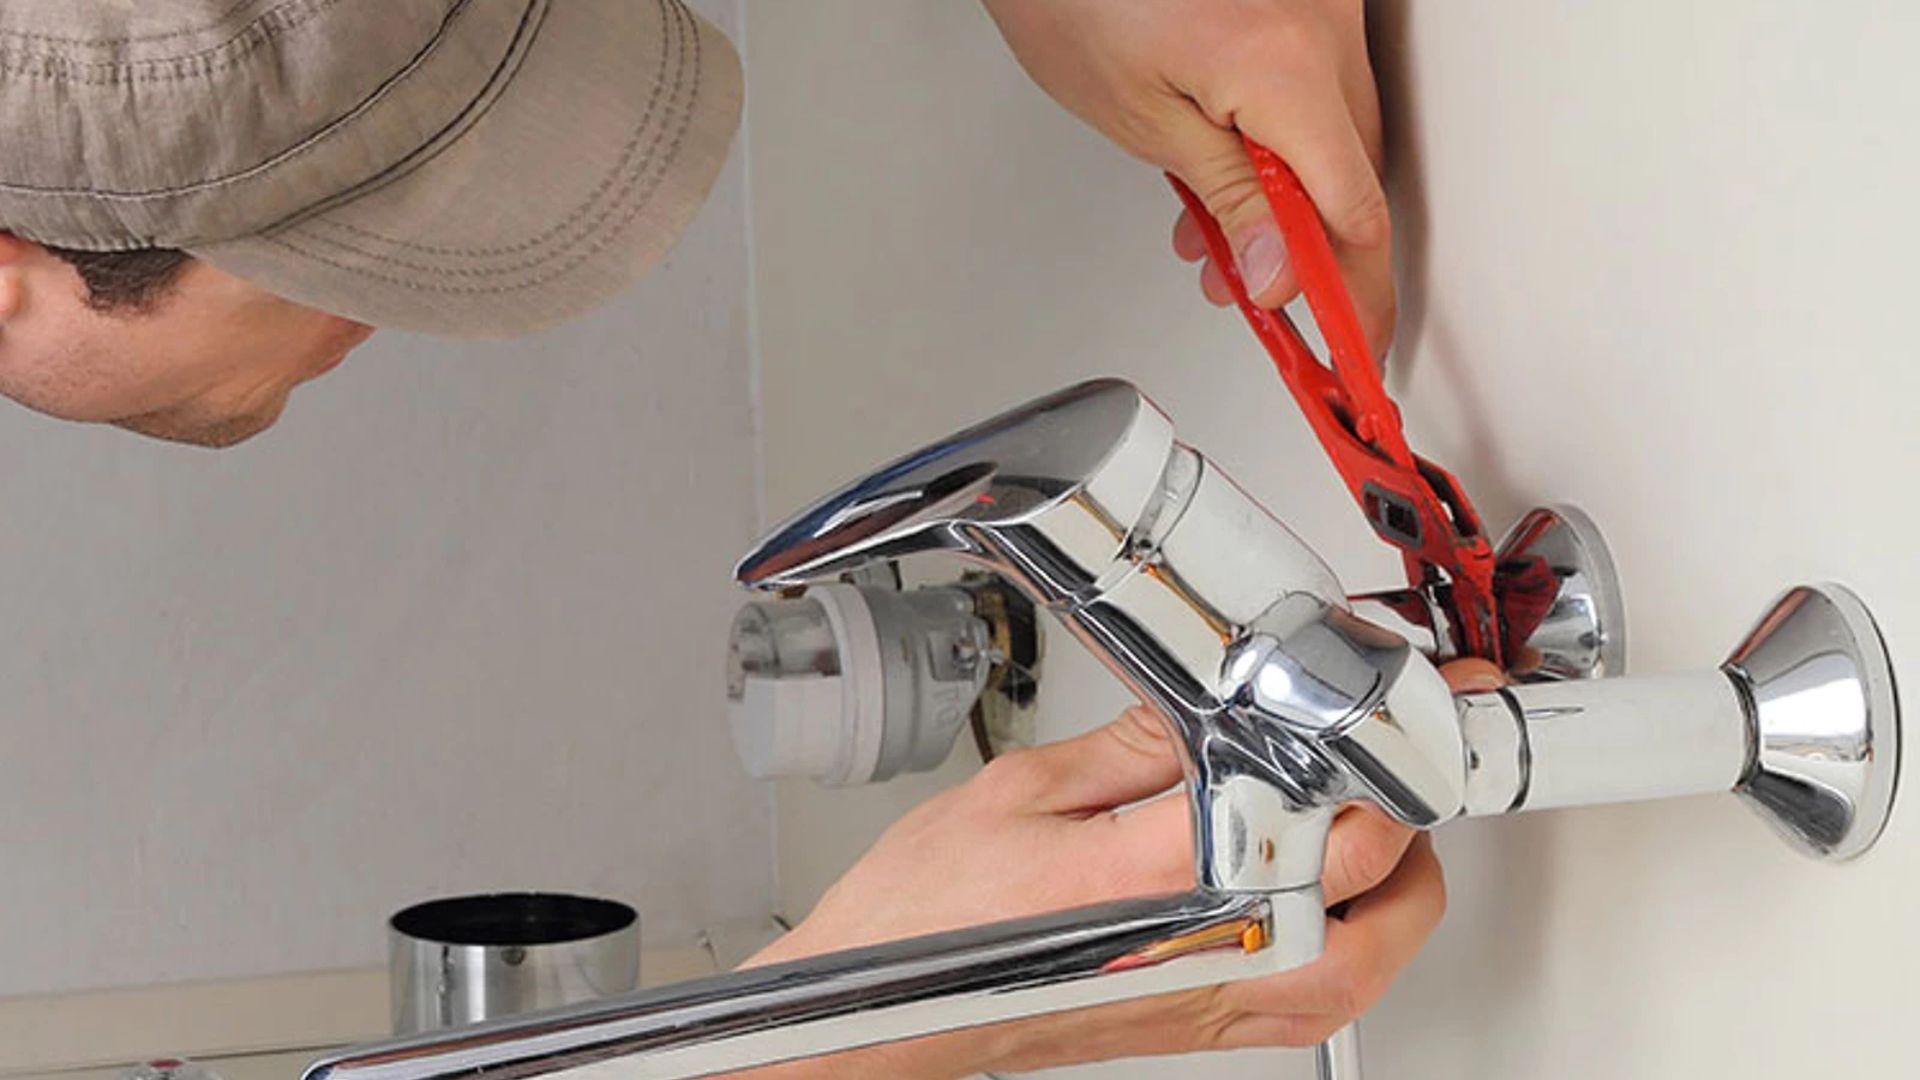
With the handle off, use a shifting wrench to unscrew the tap bonnet or cover plate. This step will reveal the internal workings, including the washer, jumper, or jumper valves for mixer taps.
Using needle-nose pliers, remove the tap washer and jumper valve and inspect them for wear and tear. A broken washer is often the culprit behind leaky taps.
If you find a worn-out washer or malfunctioning jumper valve, head to your local hardware store with the parts to find exact replacements. Insert the new washer and jumper valve into the tap body, ensuring they sit properly in the valve seat.
Once the new parts are in place, reassemble the tap in reverse order. Ensure all parts, including the tap bonnet and handle, are secured tightly but without over-tightening, which can damage the new rubber parts.
If you’ve replaced the washer and jumper valve and the tap leaks, the O rings may need replacing. Dismantle the tap again and locate the o rings around the valve seating and tap body. Replace these with new o rings coated in a suitable lubricant for a watertight seal.
After reassembling the tap, turn the water supply back on and test it. Open and close it several times, checking for leaks at every point. If the tap still leaks, it may be due to a damaged valve seat or mineral build-up that needs to be adequately addressed.
Once the tap turns smoothly and there are no water leaks, clean any debris and polish the tap to a shine. Your tap should now be leak-free and functioning correctly.

Sometimes, a professional plumber should be called instead of attempting a DIY fix. While replacing a washer or O rings in a leaky tap is often a straightforward task, if the water leaks persist after this, the issue could be more complex, like a burst pipe underneath.
Dealing with a damaged valve seat beyond simple repair or a unique or complex tap design also requires a professional plumber who will have the proper tools and knowledge to handle the job successfully. Their expertise can diagnose and repair issues that may not be apparent to a homeowner. So, for persistently leaking taps, taps with complex designs, or damage beyond basic parts replacement, it’s best to call in a qualified plumbing service to ensure the problem is identified and fixed properly.
There are a few common mistakes to avoid when fixing a leaky faucet. Using the wrong size washer and buying a replacement that does not match the original can lead to continued leaks. Over-tightening the tap parts puts too much pressure on the new rubber washer and o ring and can damage them, negating the repair.
And forgetting a very important step—turning off the water supply at the mains before starting work—risks creating a giant clean-up mess and possible water damage around the tap if a leak occurs during the process. Taking care to match washers, avoid overtightening parts, and remembering to turn off the water can help ensure any DIY tap repair is done correctly.
Regular maintenance can prevent future plumbing problems like dripping taps:
Addressing leaking taps saves water and money on your water bill. According to the Queensland Government, a single leaking tap can waste thousands of litres of water annually. By fixing a leaking tap promptly, you contribute to water conservation and save money in the long run.
In the journey to bid farewell to the drip-drip background score of a leaking tap, fixing it with the right tools is your best ally. We’ve walked through the essentials you’ll need, from adjustable wrenches to precision screwdrivers and the all-important array of washers and O-ring replacements. With these instruments in your arsenal, you’re now equipped to tackle most tap troubles that come your way.
But sometimes, despite your best efforts and the finest tools, a leak may be a stubborn adversary, or you may need help with a problem beyond a simple washer swap. That’s when it’s time to call in the cavalry.
Gold Coast Plumbing Company is your go-to expert when a leaking tap reveals deeper plumbing problems, or you simply want to ensure the job’s done to professional standards. Our experienced plumbers can swiftly and efficiently end any leak, providing peace of mind and dry surfaces.
Don’t let that drip drain your spirits or your wallet. If your tap continues to fight or you’d prefer to entrust the task to seasoned hands, contact Gold Coast Plumbing Company. We’re here to end your leaking tap saga with service as reliable as the sturdy turn of a brand-new tap washer.