7:00AM to 5:00PM
Are you thrilled about your new toilet? Imagine a sleek bowl, comfy seat, and powerful flush—a bathroom upgrade awaits! But hold on—proper toilet installation prep is key to a smooth experience.
Think of it like cooking. Prepping ingredients saves time, avoids mid-recipe chaos, and guarantees a delicious outcome. Prepping your bathroom for a toilet swap is no different. It ensures a frustration-free DIY toilet installation.
This guide tackles everything: clearing your workspace, protecting your bathroom floor, and making sure everything’s in working order, including the water supply line and shutting off the water supply. We’ll cover tools (adjustable wrench, screwdriver, bucket), disconnect the old toilet, and even replace the wax ring if needed.
Preparation is essential before welcoming your new toilet into its royal position. This involves clearing the workspace around the old toilet and ensuring a clean, protected area for the installation process.

First things first, create a clear and accessible workspace around the toilet. Begin by removing any bathroom fixtures within proximity, like towel racks or toilet paper holders. Carefully pack away any personal belongings that could be in the way, such as toiletries or bath mats. This provides ample room to maneuver during removal and installation and protects your belongings from potential splashes or debris.
Next, it’s crucial to safeguard your bathroom floor from scratches, scrapes, and potential water damage. Here, a good quality drop cloth becomes your knight in shining armour. Spread the drop cloth generously around the entire base of the toilet, ensuring it extends a reasonable distance outward to catch any falling debris or water. For added protection, especially on hard floors like tile, consider layering a sheet of cardboard underneath the drop cloth to cushion against potential impacts.
Now, it’s time to address the water supply. Locate the shut-off valve for the toilet’s water supply line. This valve is typically located behind the toilet, on the wall or on the floor near the base. It might have a handle or a knob – in either case, turning it clockwise will shut off the water supply completely.
Once the valve is turned, flush the toilet to drain any remaining water from the tank and supply line. You might notice some residual dribbling – this is normal and will stop shortly. Place a bucket or towel beneath the connection point where the supply line meets the toilet tank to catch any additional drips that may occur during the disconnection process.
With the water supply safely shut off, it’s time to disconnect the supply line from the old toilet. The type of connection will determine the tools you’ll need. Use an adjustable wrench to loosen the nut that connects the supply line to the shut-off valve and the tank for a compression fitting.
A flexible braided line might have a shut-off nut at the connection point. Hold the nut on the supply line with one wrench while using another wrench to loosen the nut on the tank. Be prepared for a small amount of water to drain from the supply line as you disconnect it. Once disconnected, carefully guide the supply line upwards and secure it out of the way to prevent any accidental damage during the removal process.
By following these steps, you’ve successfully prepped the workspace and ensured a safe and protected environment for installing your new throne. We can remove the old toilet and prepare the closet flange for its shiny successor.
With the workspace prepped and protected, it’s time to bid farewell to your existing toilet. This involves loosening the so-called closet bolts that secure the toilet bowl to the closet flange and carefully removing the toilet.

Locate the closet bolts – these are typically two bolts situated directly behind the toilet seat and bowl’s seat holes. You’ll likely need an adjustable wrench to loosen the nuts on these bolts.
Important note: Don’t completely remove the nuts just yet! Instead, loosen them just enough to allow some wiggle room in the toilet.
With the closet bolts loosened, gently rock the toilet back and forth to break the seal created by the old wax ring between the toilet bowl and the closet flange.
Caution: Rock the toilet carefully to avoid any cracks in the porcelain or damage to the closet flange.
If the toilet seems stuck, don’t force it! We’ll address stubborn toilets in a later section. Once the seal is broken, you should be able to lift the toilet straight up and away from the closet flange.
With the toilet removed, carefully place it on a protected surface, like a thick layer of cardboard on the floor. Now, it’s time to dispose of the old wax ring. Most municipalities have specific regulations regarding toilet disposal, so check with your local waste management provider for proper instructions. The old wax ring can typically be discarded with regular household trash.
While the old toilet suite enjoys its well-deserved retirement, take a moment to inspect the exposed closet flange. This is where the new wax ring and your new throne will reside. We’ll cover inspecting and potentially repairing the closet flange in the next section. For now, you’ve successfully removed the existing toilet, making way for a smooth installation of your new pride and joy.
With the old toilet suite out of the way, it’s time to inspect the toilet flange – the unsung hero that provides a secure foundation for your new throne. This hidden piece, typically made of plastic or metal, is anchored to the floor and serves a critical purpose: anchoring the toilet bowl and creating a watertight seal with the drainpipe. Here’s how to ensure your toilet flange is in top shape for a successful installation.
The toilet flange should be free from cracks, breaks, or warping. These flaws can compromise the toilet’s stability and lead to potential leaks. Run your hand around the flange to check for unevenness or signs of damage. Replacing the flange before proceeding is best if you discover any cracks or significant damage. Professional help might be necessary for minor repairs.
The toilet flange should also be at the correct height, typically around 1/4 inch to 3/8 inch above the finished floor. This allows for a proper seal with the wax ring and prevents the toilet bowl from sitting too low or rocking once installed. Misaligned flange tank bolts can also cause the toilet to sit unevenly. Use a level to check the flange’s alignment and ensure the bolt holes are spaced adequately for the new toilet suite’s plastic bolts or floor bolts.
While you have a clear view of the drainpipe, take a moment to do a visual inspection. Look for any blockages or signs of leaks around the drain hole. If you notice any concerns, it’s best to address them before installing the new toilet suite. For minor clogs, a plunger might suffice. However, consulting a licensed plumber is recommended for more serious blockages or leaks.
These simple inspection steps ensure your toilet flange provides a solid and secure foundation for your new throne. In the next section, we’ll discuss preparing the flange for the new wax ring and the exciting installation of your new toilet!
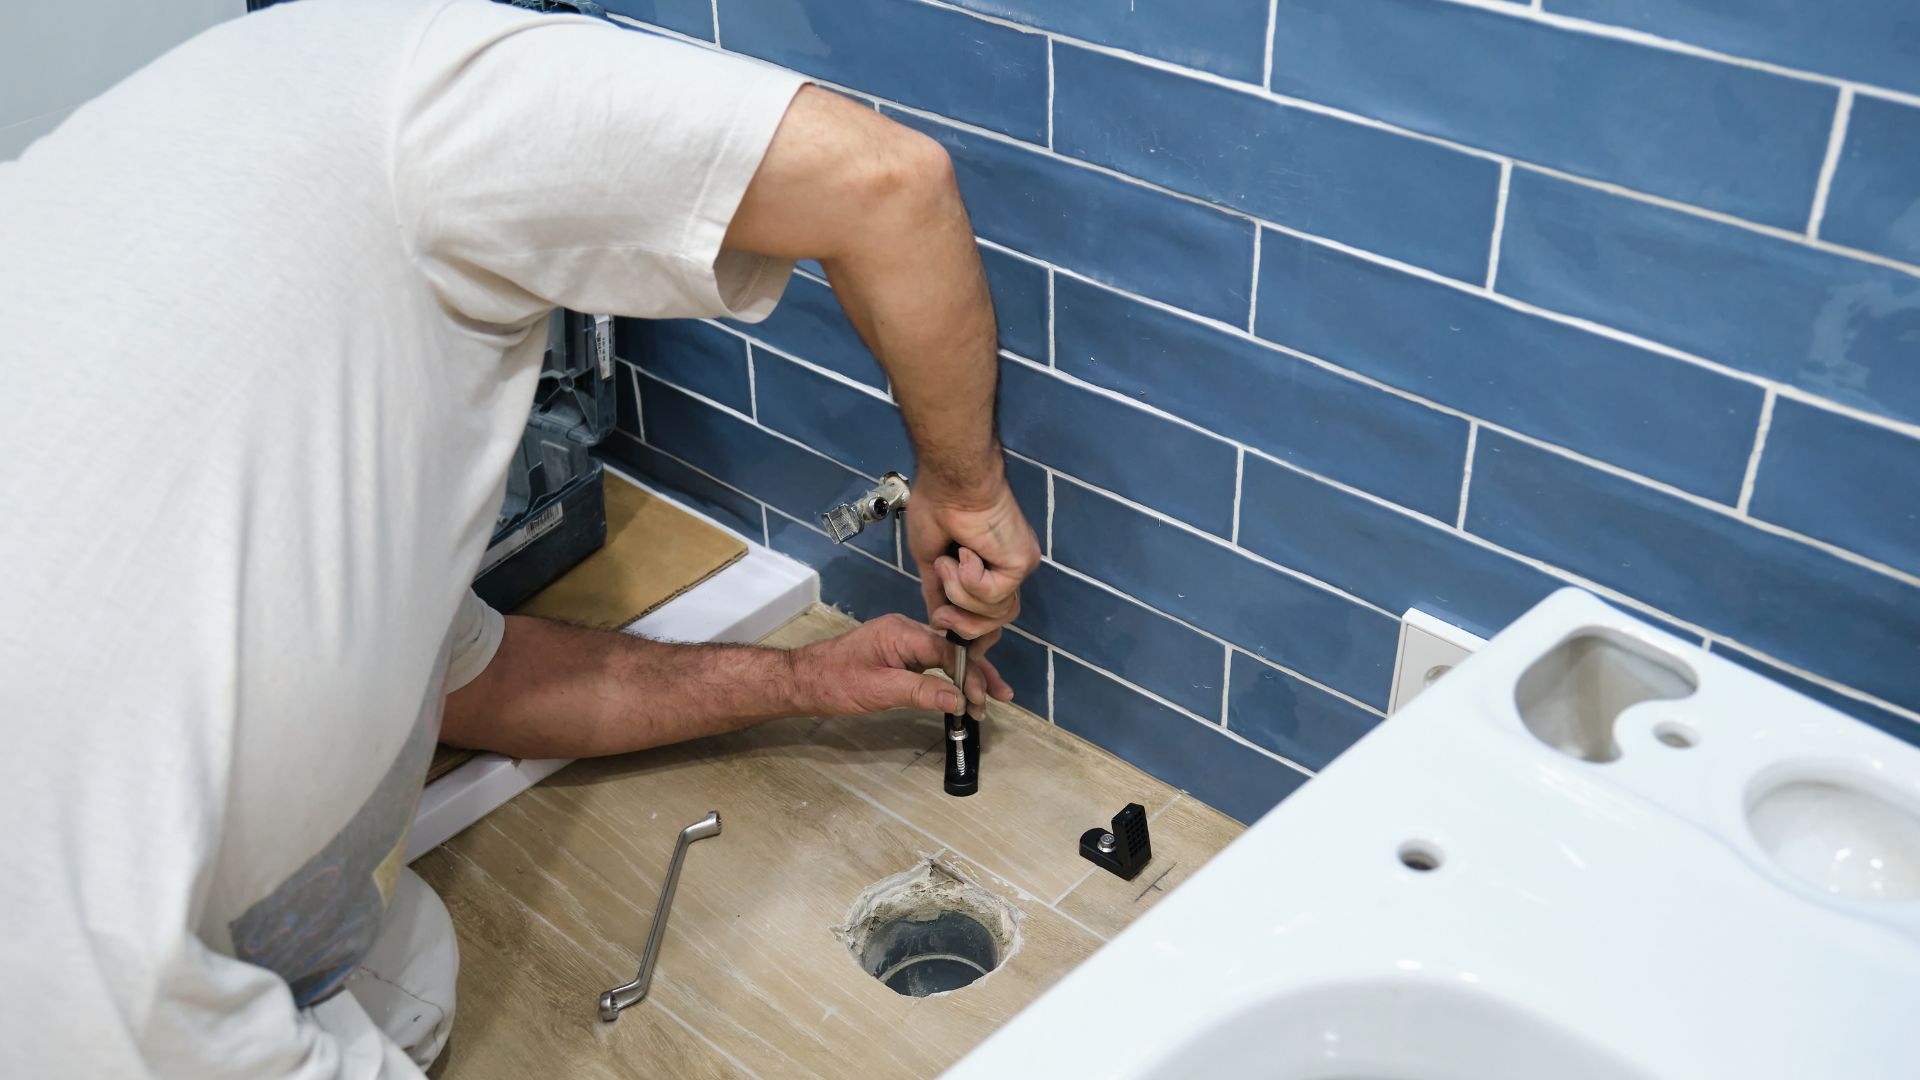
With the toilet flange exposed, it’s time to prepare it for its starring role in your new toilet’s grand entrance. This involves ensuring a clean and secure surface for a perfect wax seal.

First things first, grab a rag and a multipurpose cleaner. Thoroughly clean the top surface of the toilet flange to remove any debris, old wax ring residue, or mineral deposits. A clean surface ensures a proper seal between the flange and the new wax ring.
Caution: Avoid harsh chemicals or abrasive cleaners, which can damage the flange. A plastic putty knife can be helpful for stubborn residue, but be gentle to avoid scratching the surface.
If you identified minor cracks during the inspection, you might be able to address them with a wax ring designed for repairs. However, this temporary solution may not be suitable for all situations. For more significant cracks or warping of the flange, especially if it affects the bolt holes or overall stability, replacing the flange is highly recommended.
Replacing a toilet flange can be a more complex task that often requires accessing the house plumbing below the floor. Unless you’re a seasoned DIYer comfortable working with plumbing systems, it’s best to leave this job to a licensed plumber. They have the expertise and tools to replace the flange securely and up to code.
Remember, a secure and adequately prepared toilet flange is the foundation for a successful installation. By cleaning and addressing any minor issues, you’re setting the stage for a leak-free and long-lasting throne. Now, let’s move on to the exciting part: installing the new wax ring and welcoming your new two-piece toilet!
We’re ready to welcome your new toilet! For most projects, choose a standard wax ring with a plastic flange (optional). Position it centred on the closet flange, angled downward for a proper seal.
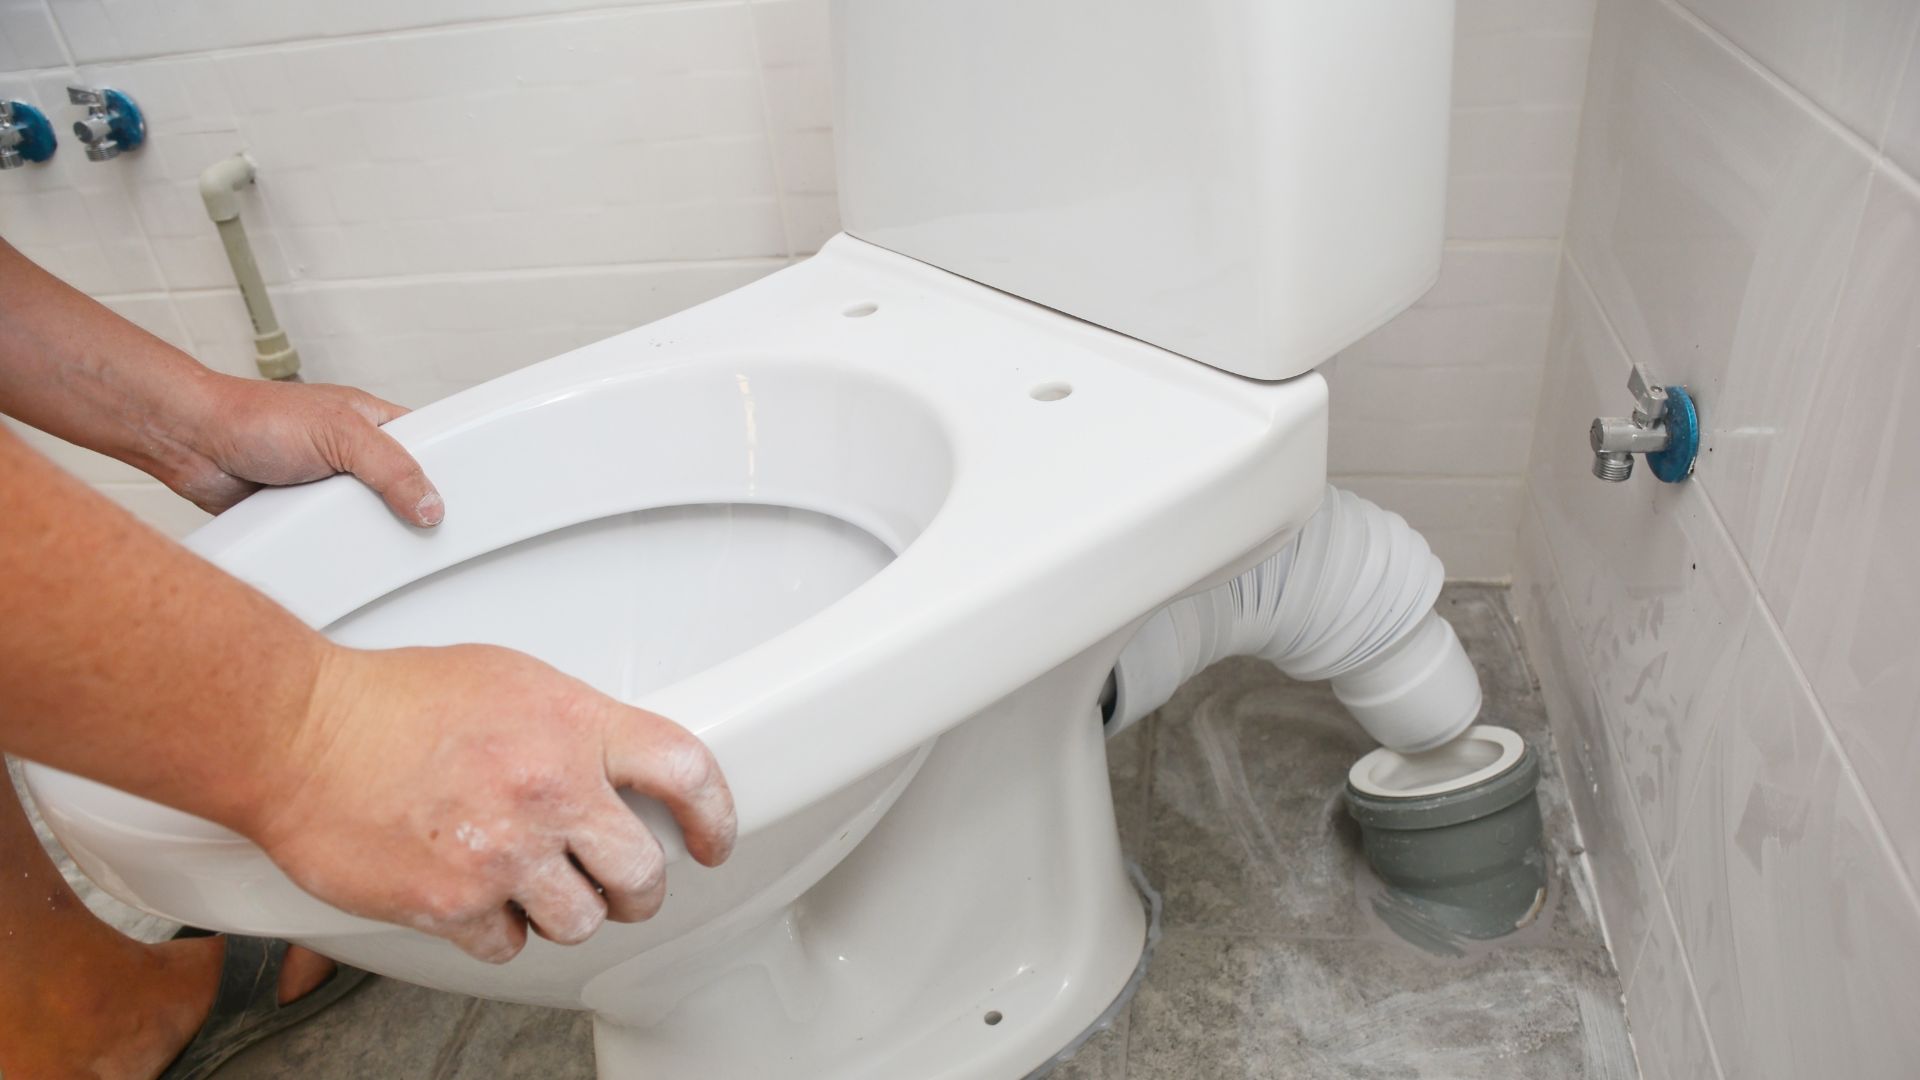
Carefully lift and lower the toilet bowl straight down, aligning the drain hole with the wax ring’s centre. Gently is key to avoid damage.
Now, secure the toilet bowl to the flange using the toilet bolts. Insert them through the toilet base holes and into the flange. Add washers and nuts, as well as hand-tightening for even pressure. Don’t over-tighten! A snug fit is enough. Most toilets have bolt caps for a finished look – snap them on later.
Give your new throne a gentle rock test. Minimal movement and a secure feel are ideal. If it wobbles excessively, very carefully tighten the bolts a touch. For persistent looseness, consult a professional plumber.
Congratulations! The toilet bowl is now secured.
Congratulations on completing the preparation and installation process! Your new throne is ready to reign supreme in your bathroom. Following the steps in this guide ensures a secure and leak-free foundation for your new toilet.
Remember, proper preparation is the key to a successful DIY toilet installation. By clearing the workspace, protecting your floor, shutting off the water supply, and carefully removing the old toilet, you’ve set the stage for a smooth transition. Inspecting and cleaning the toilet flange ensures a secure base for your new throne, while the careful placement of the wax ring and alignment of the toilet bowl guarantee a watertight seal.
Feeling stumped? Gold Coast Plumbing is here to help with your toilet installation. Call 1300 381 568.