7:00AM to 5:00PM
Embarking on a bathroom renovation can be an exciting yet daunting prospect, especially when transforming an outdated shower into a stunning and functional oasis. Whether planning a complete bathroom overhaul or focusing solely on revolutionising your shower, the process can seem overwhelming. But don’t worry! Our comprehensive 10-step guide is here to help you navigate the shower renovation journey with ease and confidence.
From evaluating your current shower’s shortcomings to selecting the perfect combination of shower tiles, fixtures, and accessories, we’ll walk you through every crucial decision. We’ll help you determine the ideal shower type for your space, whether a luxurious walk-in shower with a frameless glass enclosure or a space-saving corner shower. We’ll guide you in choosing fantastic materials that withstand the test of time in a high-moisture environment.
Our expert tips will ensure that you pay attention to essential aspects like proper drainage, ventilation, and lighting, which are vital to creating a functional and inviting shower space. We’ll even help you navigate the often-confusing world of shower heads, ensuring you select one that delivers the perfect water pressure and coverage balance.
So, whether you’re a seasoned DIY enthusiast or a first-time renovator, our 10-step guide will provide you with the knowledge and inspiration needed to transform your shower into a true showpiece!
Before embarking on your shower remodel, look at your existing bathroom layout and examine the current state of your shower. Is your shower floor cracked, stained, or outdated? Are the shower tiles chipped, discoloured, or no longer appealing to your aesthetic sense? Is the grout in need of a deep clean or replacement? Take note of any tub walls that may require attention, such as those with scratches, cracks, or signs of water damage.
Consider the overall functionality and appearance of your shower. Is the shower head too low or lacking in water pressure? Does the shower door stick or fail to close properly? Is the shower curtain rod rusty or unstable? Are there any signs of leaks or water damage around the shower enclosure or on the bathroom floor?
By thoroughly assessing your current shower and identifying any issues or areas that need improvement, you can better determine the scope of your shower remodel project. This evaluation will help you create a comprehensive plan that addresses your specific needs and ensures that your new shower looks beautiful and functions optimally for years to come.
Bathroom remodelling can be expensive, but with careful planning, you can save money and still achieve the shower of your dreams. Determine how much you can afford to spend and prioritise your expenses.
While a complete bathroom renovation can cost tens of thousands of dollars, focusing on just the shower can give your space a fresh new look without breaking the bank. Even a few hundred dollars can go a long way in updating your shower.

You need to research the various types of showers available and select the one that best suits your needs, preferences, and bathroom layout. Each shower type offers unique benefits and drawbacks, so weighing your options carefully is important.
A popular choice for modern bathrooms is a walk-in shower with a frameless glass enclosure. This type of shower creates a sleek, open feel and allows natural light to flow freely throughout the space. The absence of a shower door or curtain also makes the shower more accessible, which is particularly beneficial for those with mobility issues. However, remember that a frameless glass enclosure may require more frequent cleaning to maintain its sparkling appearance.
If you have a smaller bathroom, a tile shower with a shower curtain or a sliding shower door can be an excellent option to maximise space. A well-designed tile shower can add visual interest and texture to your bathroom while providing a durable and water-resistant surface. Opting for a shower curtain or a sliding shower door rather than a swinging door can help conserve valuable floor space in a compact bathroom.
For those seeking a truly luxurious and spa-like experience, a steam shower with multiple shower heads and body sprays is an indulgent choice. This type of shower allows you to enjoy the benefits of steam therapy, which can help relax muscles, improve circulation, and promote overall well-being. A steam shower typically requires a larger space and more complex plumbing and electrical work, so it’s essential to consider the feasibility and cost of installation in your bathroom renovation plan.
Other shower types include a corner shower, a great space-saving solution, or a shower and bathtub combination, which offers the best of both worlds.
The materials you choose for your shower will significantly impact both its appearance and functionality. Consider the following factors when making your selections:

When selecting materials for your shower walls and floors, shower tiles are a classic choice that offers a wide range of options to suit any style or budget. You can choose from traditional ceramic, porcelain, glass, or luxurious natural stone tiles like marble, granite, or travertine.
Large-format floor tiles can create a seamless, modern look and are easier to clean and maintain than smaller tiles. However, consider using smaller mosaic tiles for accent walls or to add visual interest to your shower design.
As your shower is in a high-traffic, moisture-prone area, it requires durable, water-resistant materials that can withstand daily use and cleaning. To ensure a safe and comfortable showering experience, prioritise slip-resistant tiles, especially for the shower floor.
Remember that smaller tiles with more grout lines may require more frequent cleaning and maintenance than larger ones with fewer.
Install a waterproofing membrane behind the tiles, such as a cement board or a liquid waterproofing system, to prevent leaks and water damage. Ensure that your chosen waterproofing method is installed correctly to protect your shower and the surrounding areas from moisture-related issues.
When selecting a shower enclosure, choose one that complements your chosen tile and enhances your shower’s overall design. Options include frameless glass, semi-frameless, or framed enclosures. Additionally, choose fixtures and accessories, such as the showerhead, faucets, and drain, that coordinate with your selected materials and contribute to the desired aesthetic of your shower space.
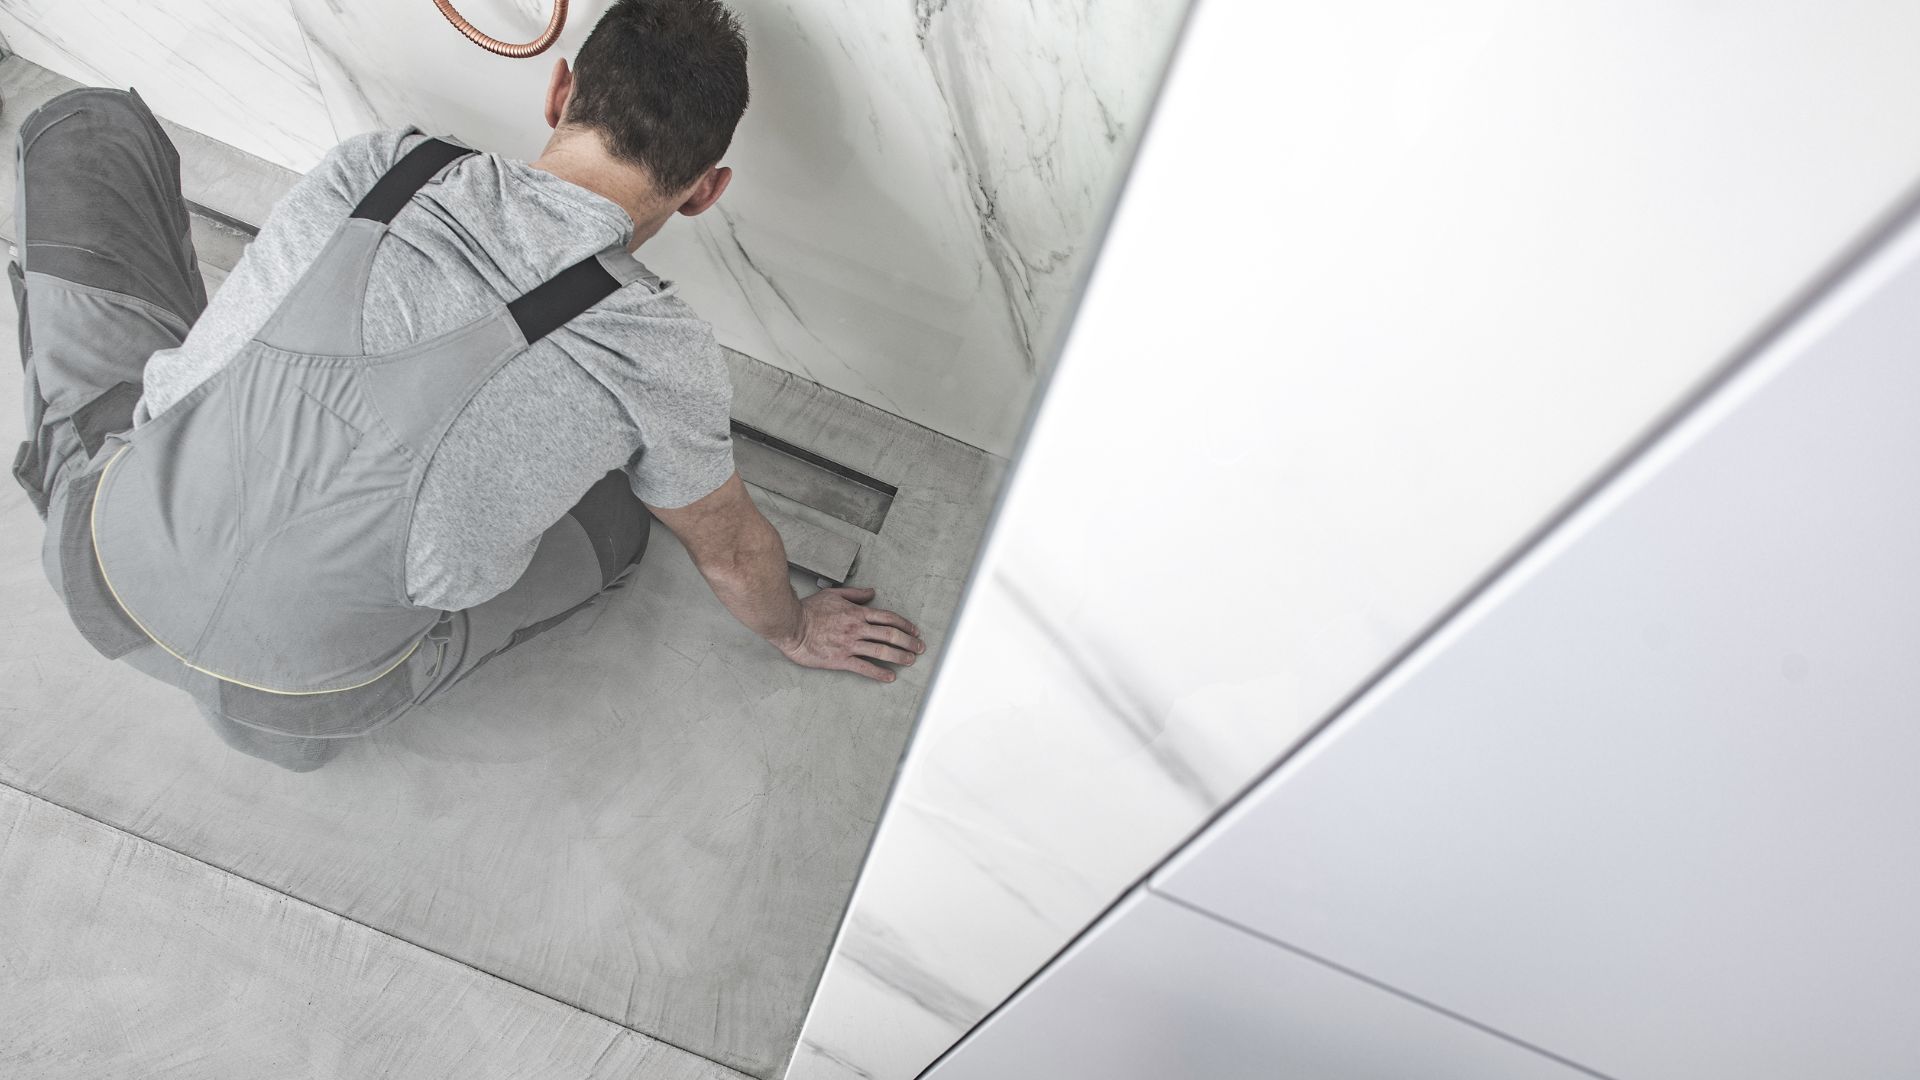
A well-designed drainage system efficiently directs water away from the shower area, protecting the bathroom floor and subfloor from moisture-related issues.
When planning your shower remodel, consider options such as linear drains, which create a sleek, modern look and are ideal for curbless showers, or centre drains, which are a classic option often paired with a shower pan. Corner drains can be a space-saving solution for smaller showers or unique layouts.
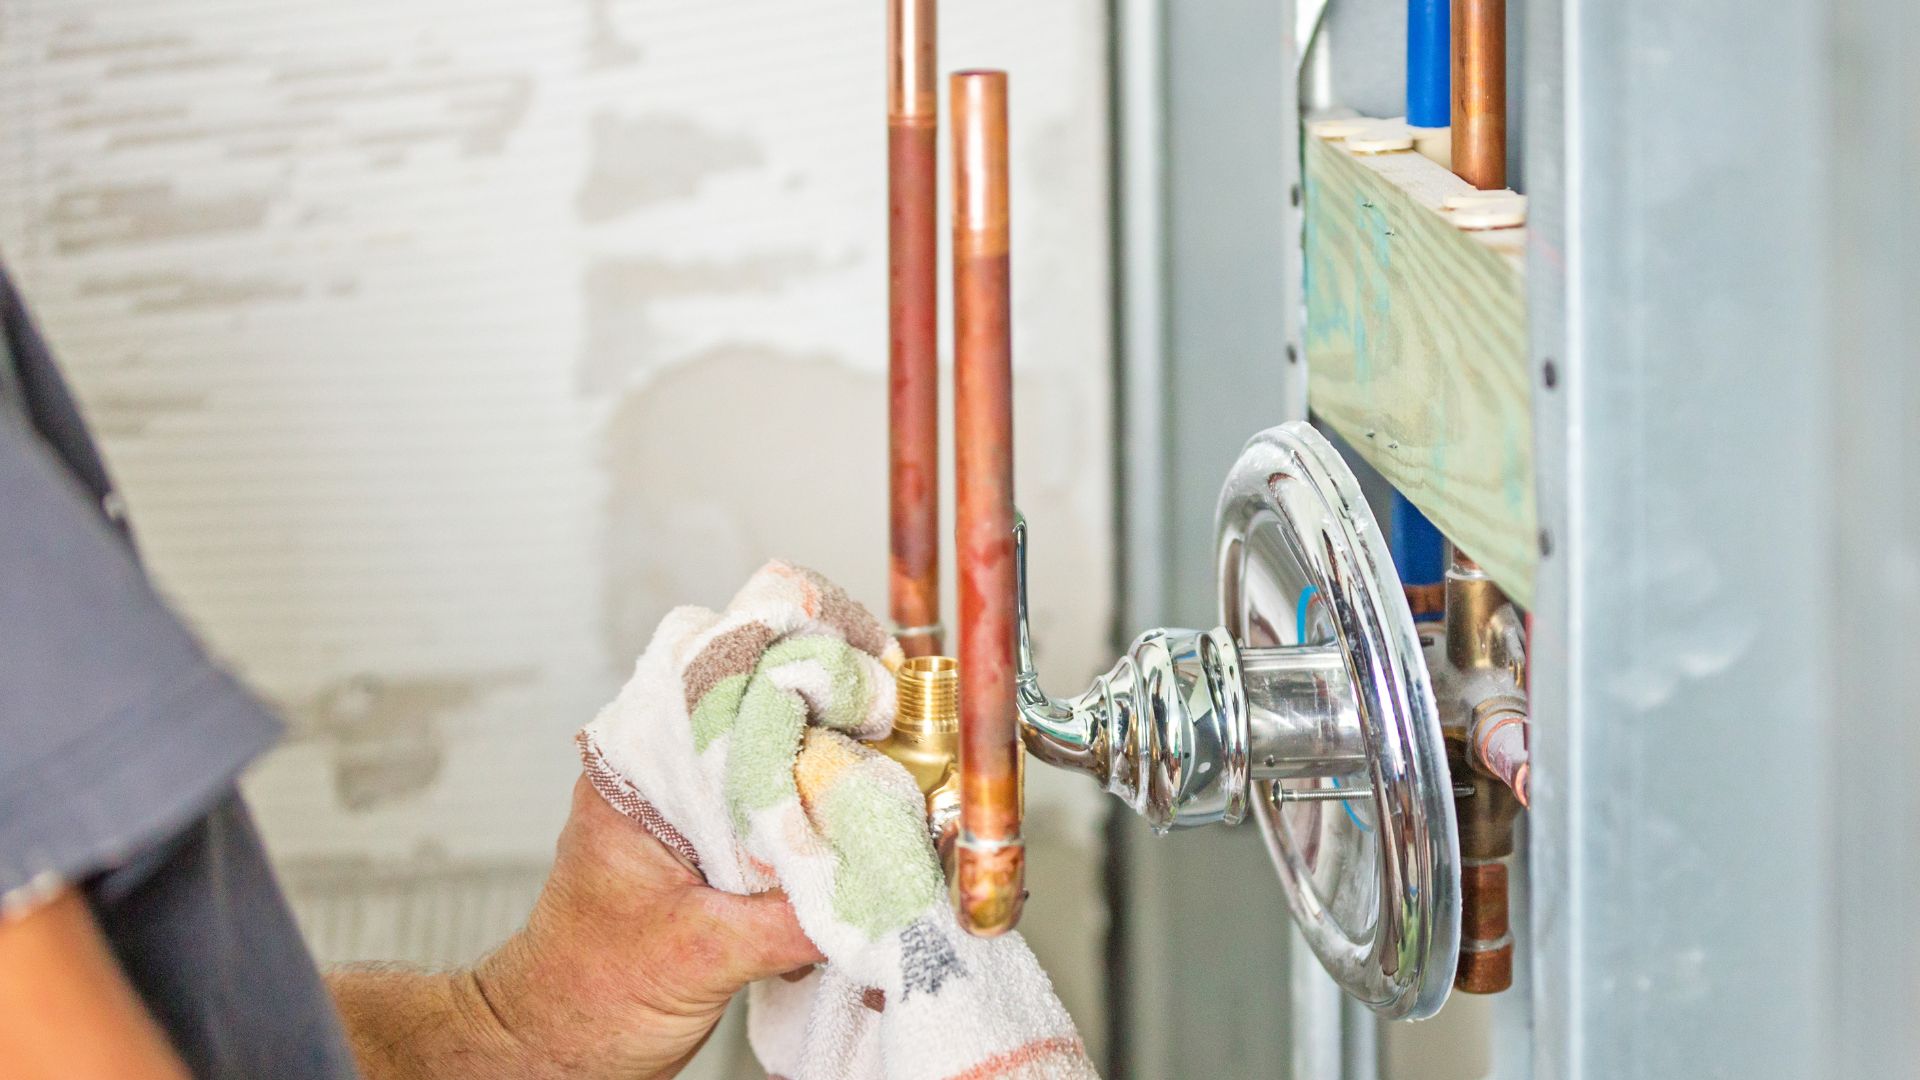
Consult a licensed plumber to determine the best drainage solution for your shower design and bathroom layout, ensuring your chosen system meets local building codes and is properly installed.
Regardless of the drainage option you choose, it’s crucial to properly waterproof the shower area, including the shower floor and any surrounding walls, by installing a waterproofing membrane before laying your shower tile floor.
By carefully considering your drainage options and consulting with a professional plumber, you can ensure that your shower remodel includes an efficient, properly installed drainage system that protects your bathroom from leaks and water damage for years to come.
Proper ventilation is crucial in any bathroom, particularly in shower areas where moisture build-up can quickly lead to mould and mildew growth. In Australia, the Building Code of Australia (BCA) requires all bathrooms to have adequate ventilation to prevent dampness and maintain a healthy indoor environment.
When planning your shower remodel, install an exhaust fan with sufficient airflow capacity, measured in litres per second (L/s), to effectively remove steam and humidity. The BCA recommends a minimum exhaust fan capacity of 25 L/s for bathrooms and toilets, with an additional 5 L/s for each shower or bathtub. Ensure the fan is ducted outside of your home and positioned close to the shower area for maximum effectiveness.
If your bathroom has an operable window, use it to provide natural ventilation when weather permits. However, do not rely solely on windows for ventilation, as they may not always be effective in removing moisture.
By properly planning for ventilation in your shower remodel and adhering to the BCA requirements, you can create a healthier, more comfortable bathroom environment while protecting your home from the damaging effects of excess moisture.
Good lighting is key to creating a functional and inviting shower space. Recessed lights can provide overall illumination, while wall sconces on either side of a double vanity offer task lighting. Consider adding a dimmer switch for an adjustable ambience. If you have a window in your shower area, take advantage of the natural light to create a bright and airy feel.

From shower heads and faucets to grab bars and built-in shelves, there are countless fixture and accessory options to personalise your shower.
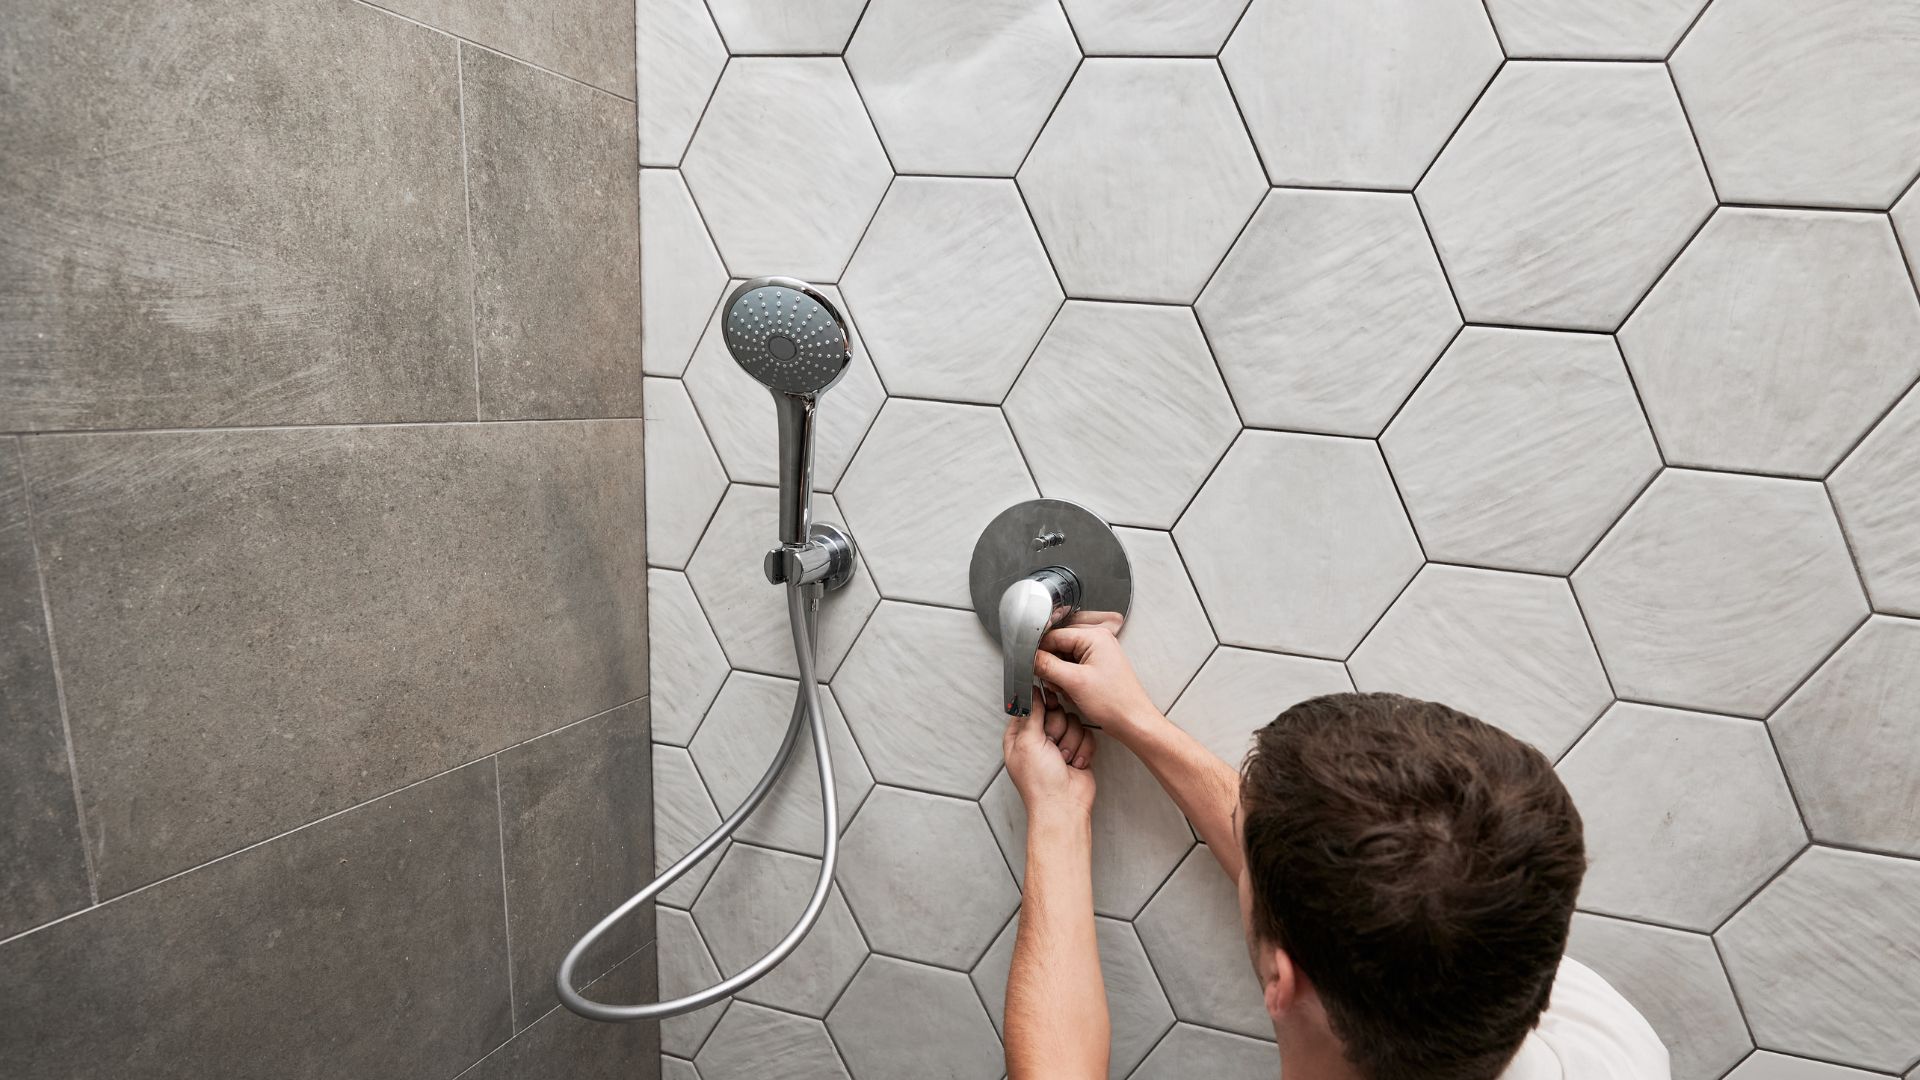
Choose a shower head that fits your preferences, whether a rain-style head for a spa-like experience or a handheld option for flexibility. Consider adding a shower control valve for easy temperature adjustment. Remember the little details, like a shower niche for storing toiletries or a bench for seating.
While DIY enthusiasts may be tempted to tackle a shower remodel on their own, hiring a professional contractor can ensure the job is done correctly and efficiently. Look for a licensed and insured general contractor with experience in bathroom renovations.
Request references and read reviews before making your decision. Your contractor can also help you navigate the permit process and ensure your remodel meets local building codes.
Depending on the scope of the project, a shower remodel can take a few days to several weeks. Work with your contractor to create a realistic timeline that accounts for material delivery, demolition, installation, and finishing touches.
Be prepared for potential delays due to weather, material shortages, or unexpected issues like plumbing changes or structural repairs.
With these ten steps, you’ll be well-equipped to plan a successful shower remodel that meets your needs and exceeds your expectations. Whether you’re updating your ensuite bathroom or creating a spa-like retreat, a well-designed shower can add value and enjoyment to your home for years to come. So, grab your notepad, start planning, and get ready to transform your bathroom into the space of your dreams!
Do you need help with your shower remodel on the Gold Coast? Our expert plumbers have years of experience installing showers and renovating bathrooms. Give us a call today to chat about your options!
Several key factors must be considered when planning a new shower for your bath remodel. First, evaluate your existing layout and determine if you want to make any changes to the floor plan. This may involve moving walls, changing the door swing, or rearranging fixtures to create a more functional and efficient space.
Next, consider the materials you want to use for your shower. Tile floors and walls are popular for a seamless look, but many other options are available, such as natural stone, glass, or acrylic. Keep in mind that the materials you choose will impact the overall cost of your new bathroom.
Finally, think about the features you want to include in your shower, such as a rain showerhead, body sprays, or a built-in bench. Plan for proper drainage and waterproofing to protect your home’s structure from water damage.
If you’re looking to redo your shower on a budget, there are several economical options to consider. One of the most cost-effective ways to update your shower is to replace the shower head, faucet, and hardware simply. This can give your shower a fresh new look without breaking the bank.
Another option is refinishing your shower surround instead of replacing it entirely. This involves applying a new coating to the surface of your shower walls and pan, which can hide signs of wear and tear and give your shower an updated appearance.
If you decide to replace your shower surround, consider using affordable materials like acrylic or fibreglass instead of more expensive options like tile or natural stone. You can also save money by doing some of the work yourself, such as demolition or painting, instead of hiring a contractor for every aspect of the project.
Planning your project logically is important to avoid wasting time and money when renovating a bathroom. Here’s a general overview of the steps you should follow:
By following this general order of renovation, you can ensure that your project stays on track and on budget while minimising the risk of costly mistakes or wasted space.