7:00AM to 5:00PM
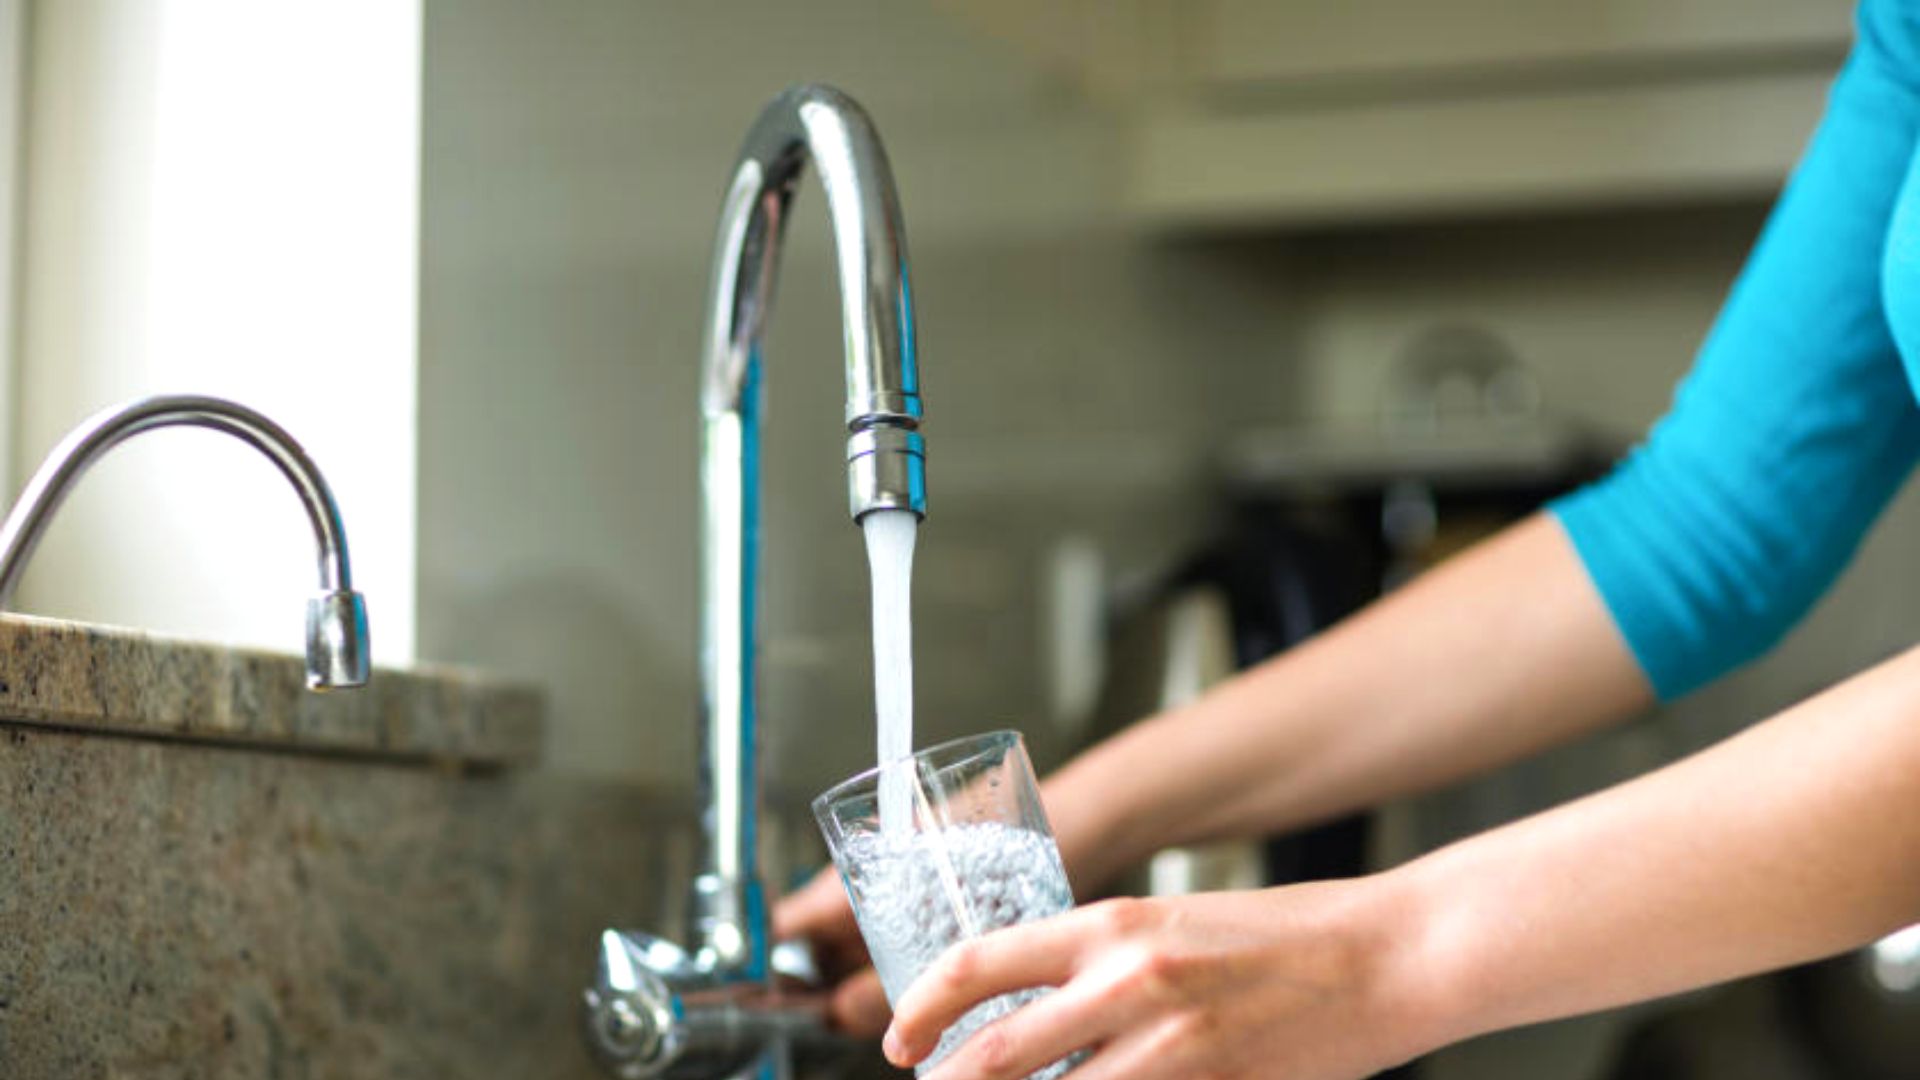
Have you been drinking out of the tap all this time? If yes, think again, as it might not be as safe as previously assumed.
In Australia, it’s relatively safe to drink tap water compared to other parts of the world. However, the water from your tap can still be contaminated with metals, chemicals, or organic and inorganic compounds.
Installing a water filtration system in your kitchen is recommended to access chemical-free drinking water or clean water. A whole-house water filter is also a great alternative to bottled water, which increases plastic pollution and contributes to global environmental impact.
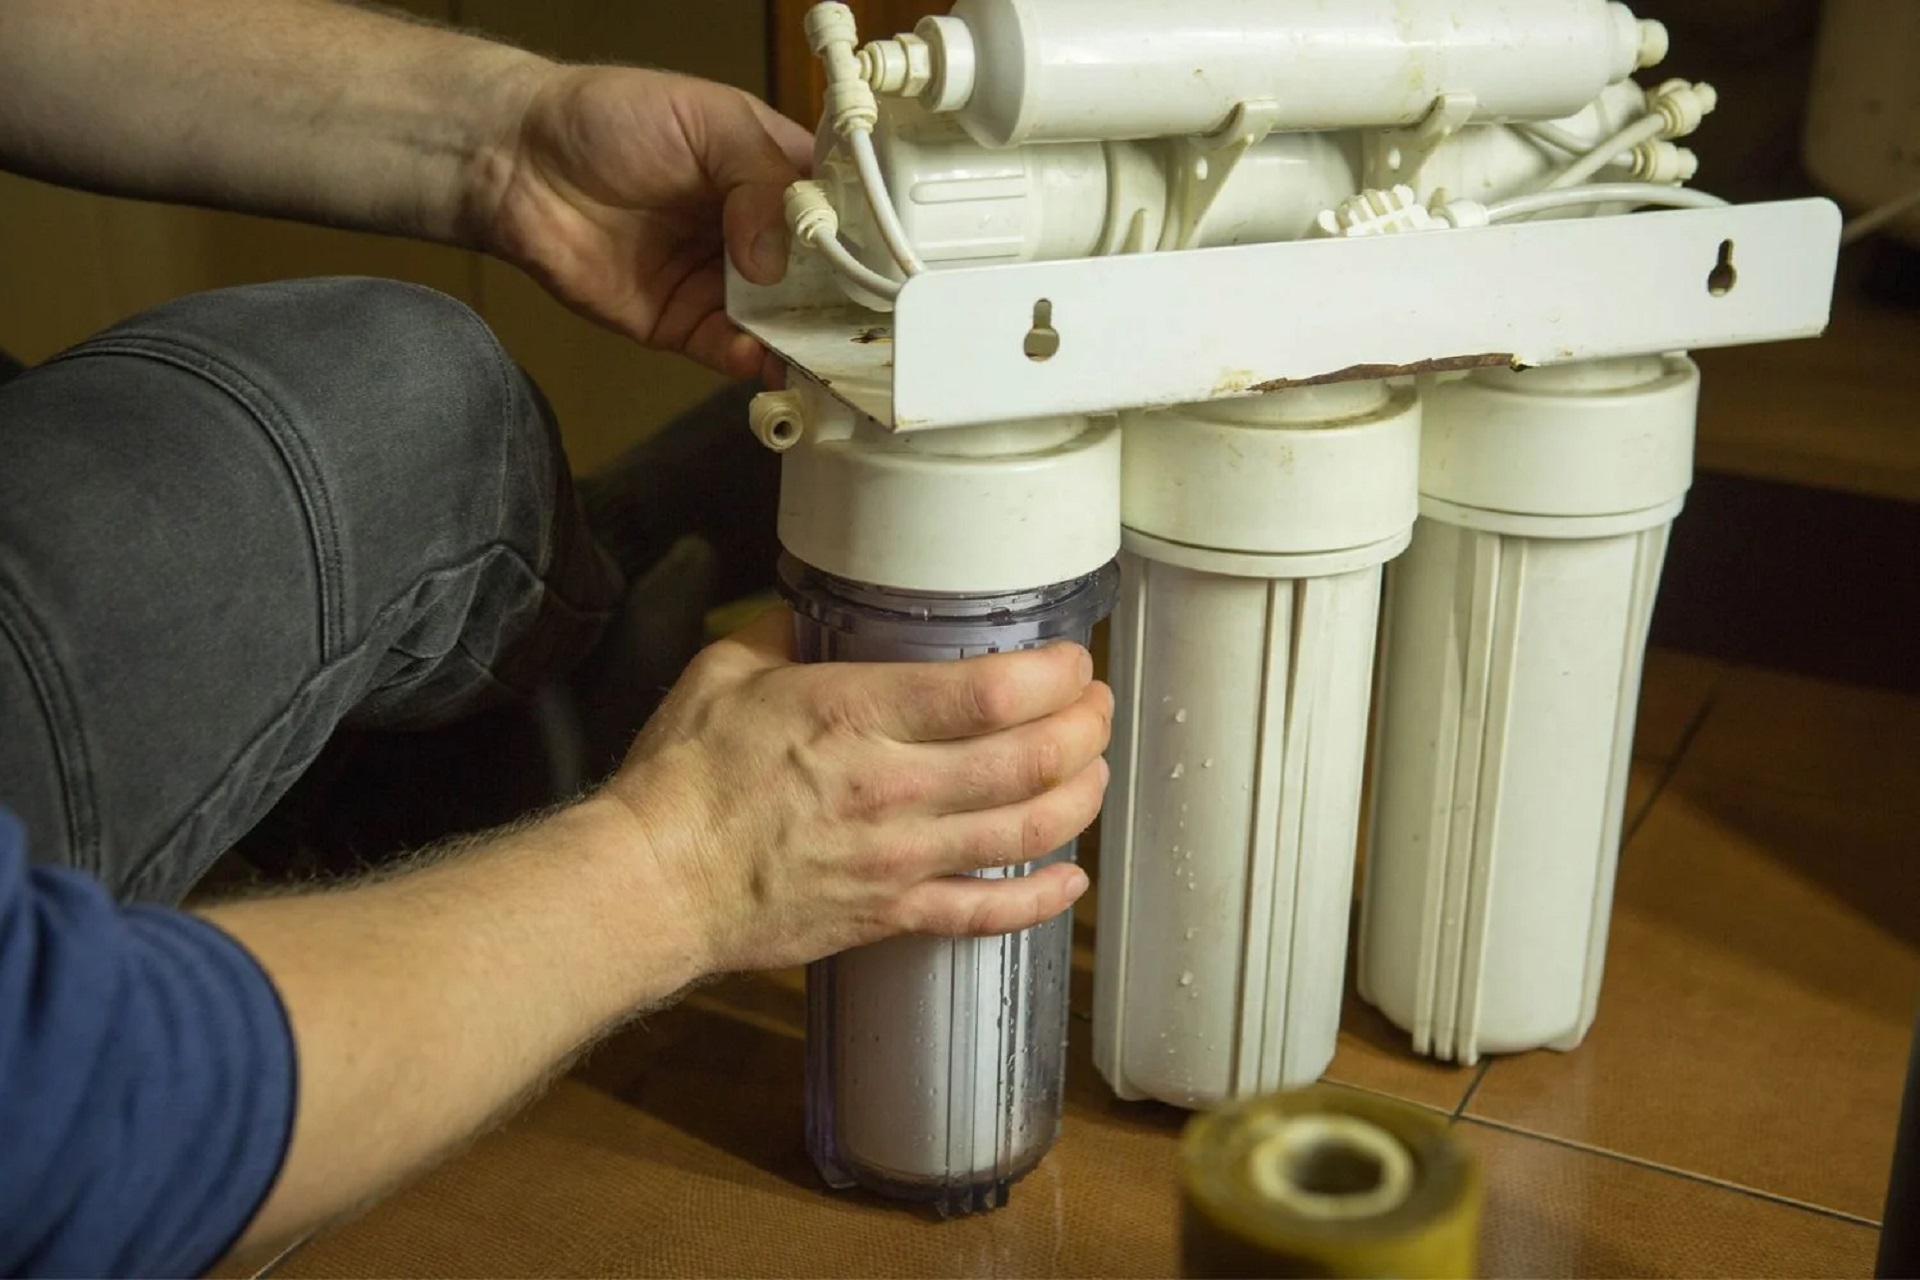
So, if you’re considering whether to call a plumber to install a house water filter, don’t worry; you can install it yourself without much trouble. Depending on your chosen system or filter type, fresh filtered, pure, alkaline, or purified water tastes better than bottled or unfiltered water. We’ve created this guide to let you know how to install an under-sink water filter to make the process easier, and soon, you can enjoy your new filter and drink filtered water.
The first step in installing most under-sink water filter systems is to mount the dispenser on your kitchen sink or counter. You’ll need to ensure a free hole beside the faucet.
If not, follow the manufacturer’s instructions for the water filter to drill an appropriately sized hole in the sink. However, it’s best to drill a hole in the countertop for those with a traditional-style porcelain sink.
You’ll require a titanium graduated step bit to make the hole in a stainless steel sink. Having a diamond-ground drill bit makes the job easier when working on a marble or granite surface.

Next, move below the sink, find the water supply lines, and install a saddle valve to draw the purifier’s water. Be careful, as you need to place it in the cold water supply line rather than the hot one, usually red-coded.
Before installing the saddle valve, turn off the water supply valve and empty the line by turning on the faucet. Then, drill a hole in the intended water supply line and follow the manufacturer’s instructions to install the valve.
Begin by cleaning the water pipe to ensure the surface is smooth so the self-puncturing lance can pierce without fail. Retract the lance using the valve’s handle and place the brackets or gaskets over the pipe.
Ensure that the brackets are in place securely before piercing the water supply line by moving the handle of the saddle valve clockwise until it stops. You should be able to feel the lance go through the pipe.
And remember to clear the under-sink space of all unnecessary stuff beforehand so nothing can get in your way.
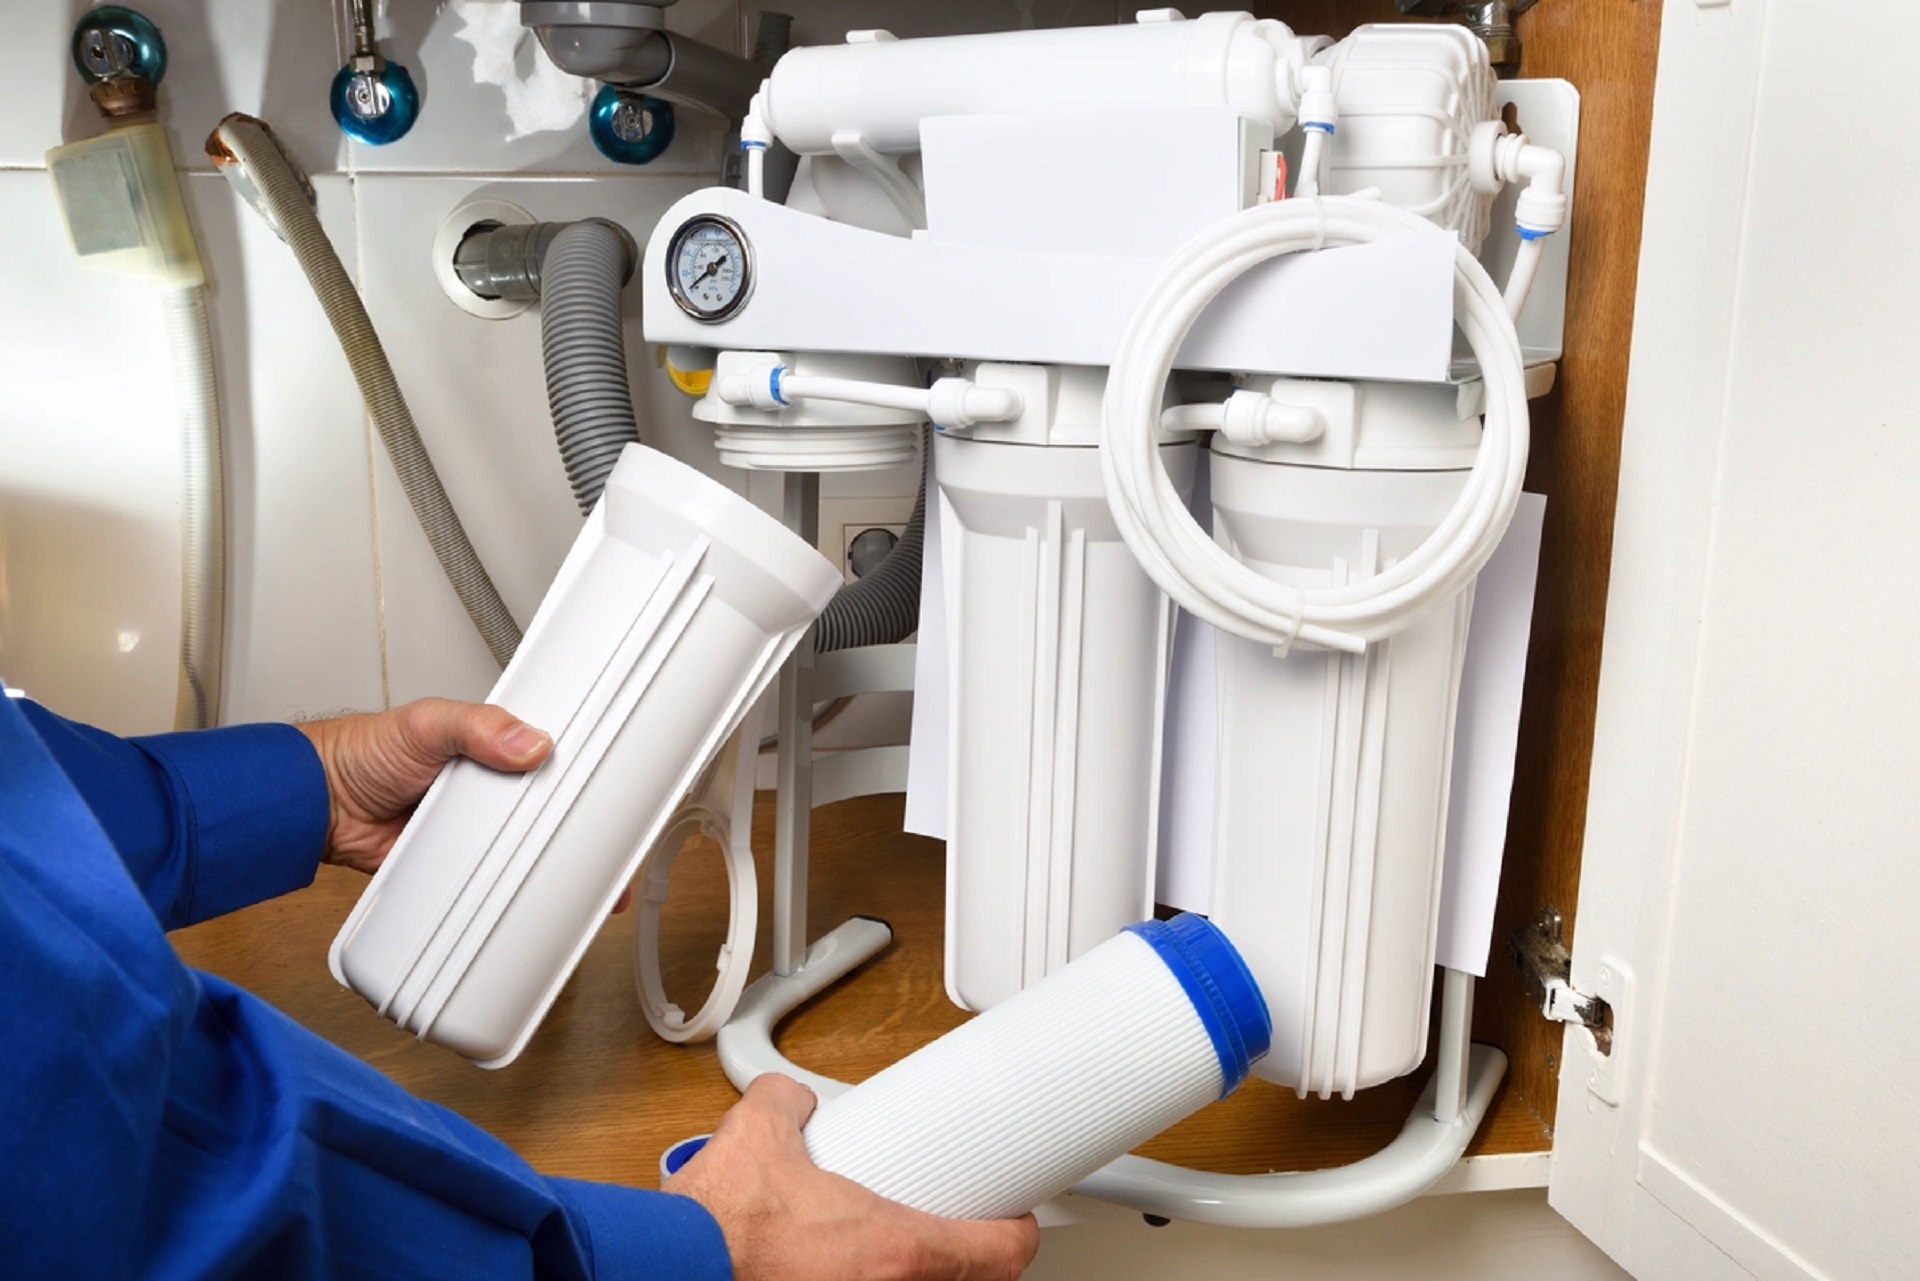
The water filter you choose will come with two or more cartridges, depending on its filtration style. So, ensure enough space under your sink to fit everything.
It should ideally be positioned between the cold water supply line and the dispenser so the tubing doesn’t kink. If there isn’t enough space on the wall, many people prefer to place the cartridges on the cabinet door.
But ensure it’s easily reachable as you’ll need to replace the cartridge filters after a specific duration specified by the manufacturer.

Cut an appropriate length of tubing to connect the saddle valve with the filtration system, but remember that it shouldn’t be too short, or it may develop kinks. The tube should be long enough to have space for a compression fitting if required.
Press the compression fitting onto the tube and connect it to the saddle valve. You will also need an adjustable wrench to ensure a tight fit and prevent leakage.
After connecting one end of the tube to the saddle valve, it’s time to attach the other to the central filtration unit. Similar to the earlier step, you will need to add a compression fitting and then thread it onto the inlet port of the water filtration unit. So, tighten the nut using your hand, and if required, make another turn or more with the wrench.
The final step is to cut another tube between the water filtration unit and the dispenser. Install compression fittings on both ends of the tube and connect them to the ports before turning on the water shut-off valve and the dispenser.
It’s recommended to flush out at least 10 litres of water after installing a filter, so let the dispenser run for approximately 5 minutes. Once the carbon particles are out of the system, the water from the dispenser should be clear and have no distinct taste.

You need to note that installing the filtration systems mentioned above is the most basic way of installing a water filter for healthy water in your home and business, especially the under-sink models. In some cases, water filters require additional connections, and some even come with optional add-on filtration tanks to remove specific chemicals or minerals.
Hence, remember to read the instructions provided by the manufacturer before installing the water filters for great-tasting water. You should also have all the necessary tools and parts to complete the process within a few hours.
But if you have any doubts concerning your filtration or pure water system, it’s better to leave it to the professionals. Contact Gold Coast Plumbing Company to install, repair, and maintain a water filter system. We’ll take care of your filtration system and filter cartridge replacement so you can spend your time better and still have the clean, chemical-free water you deserve.
Are you struggling with another plumbing issue from your water purifiers or pure water systems? Do you need to install a new dishwasher? Contact us today for other plumbing needs and more information about our complete services!