7:00AM to 5:00PM
Did you know a poorly sealed kitchen sink can leak up to 10 litres of water daily? That’s thousands of litres silently wasted over the course of a year—without you even noticing.
Swapping out an old sink or fitting a new sink might seem like a straightforward DIY job, but getting it wrong can lead to leaks, loose fittings, and damage to your benchtop or cabinetry. One missed step could throw off your whole plumbing setup, especially around the water supply lines.
That’s where this step-by-step guide to sink installation comes in. It walks you through the entire process—removing the existing unit, preparing the countertop opening, connecting the water supply lines, and sealing everything properly.
Whether tackling a renovation or a simple upgrade, this guide will help you do the job right from the start.
Let’s get into it.

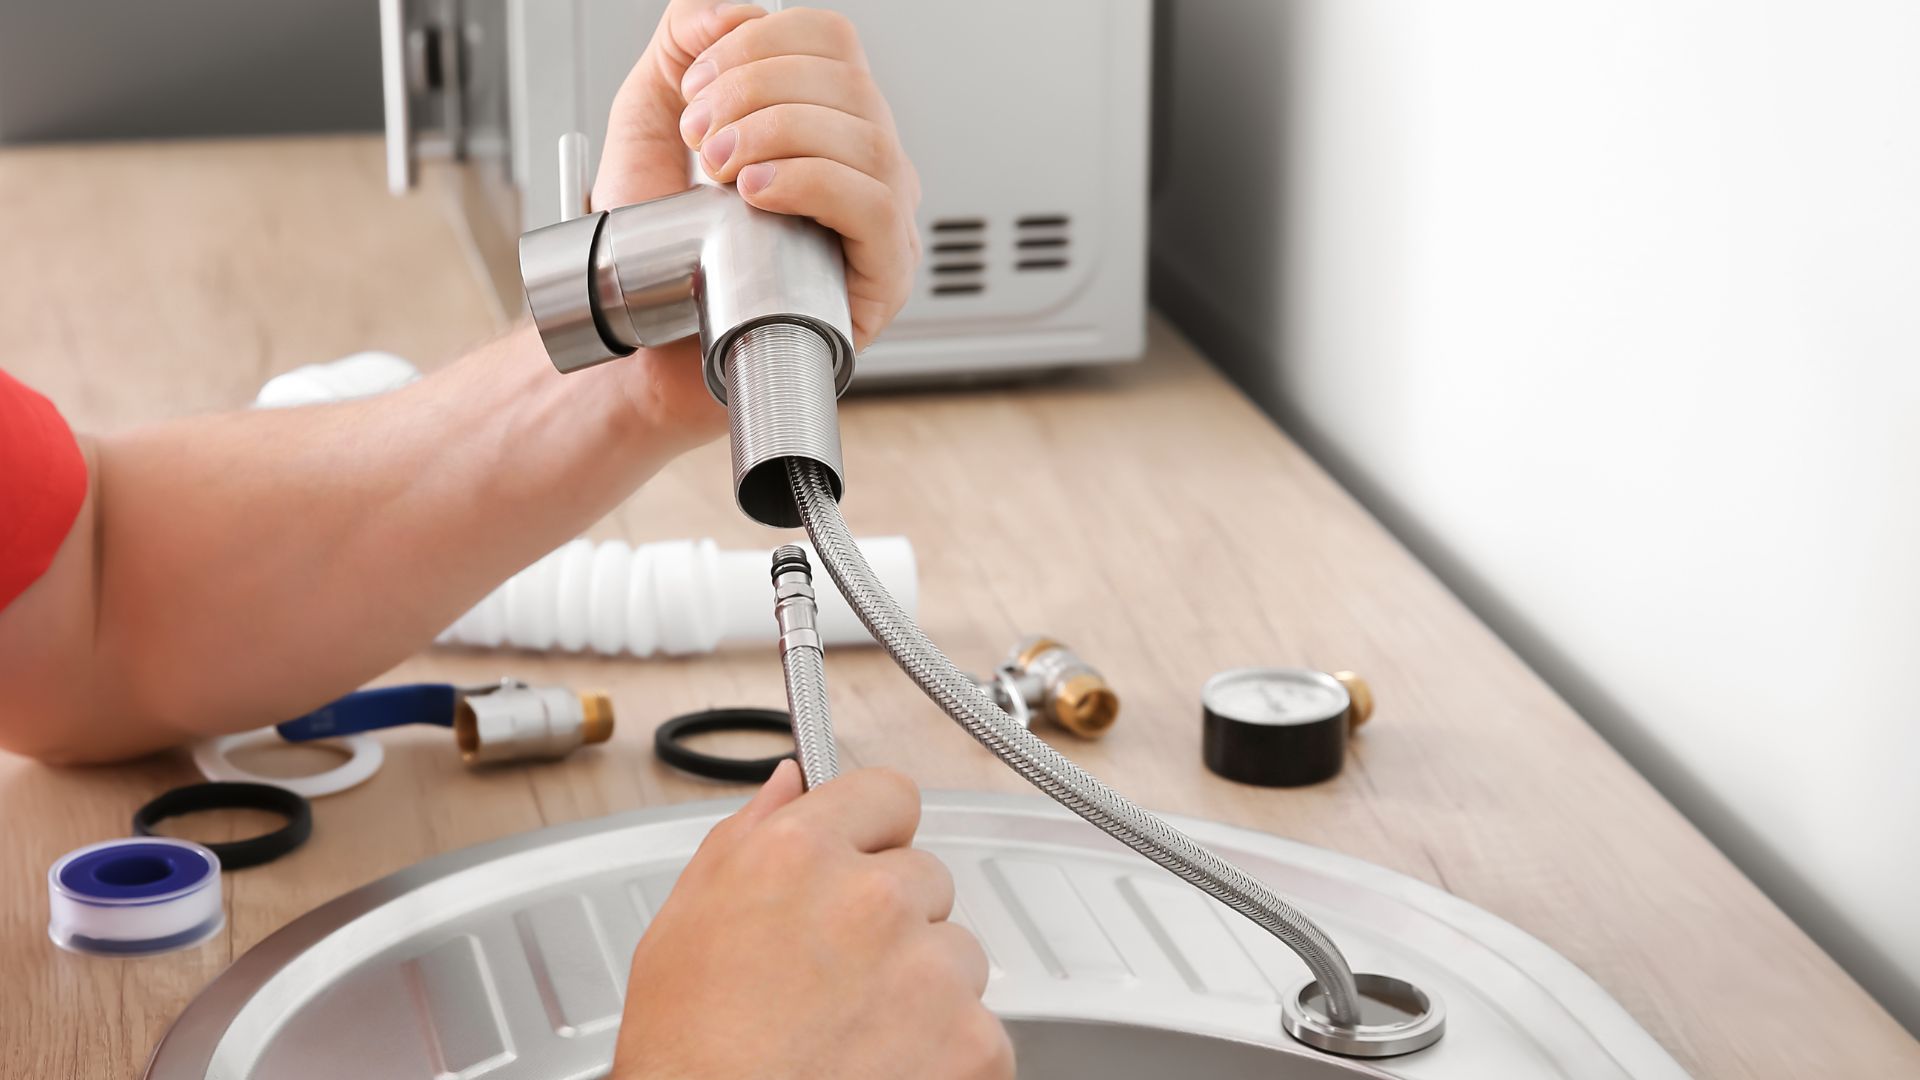
Before you begin, it’s important to gather the right gear. Having everything within reach makes it easier to install a kitchen sink without unnecessary delays or last-minute hardware runs.
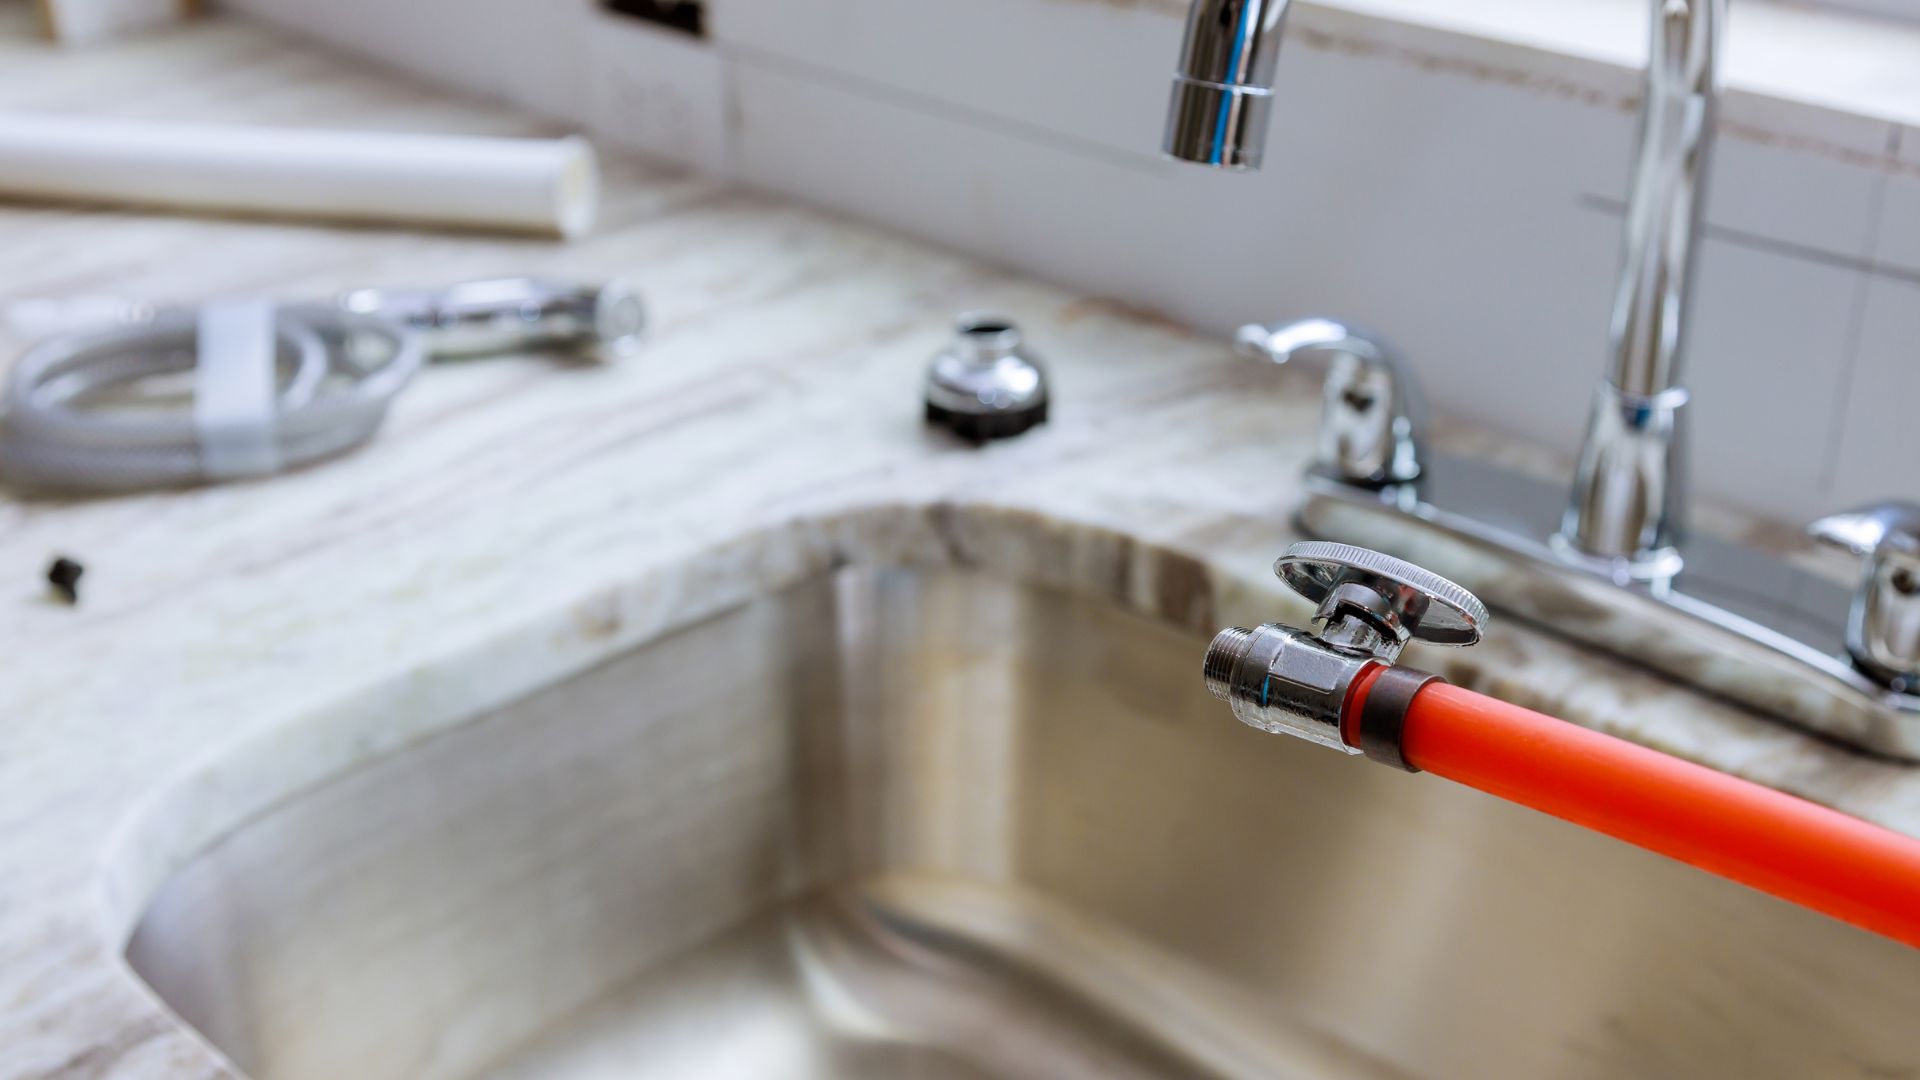
Double-check your measurements before cutting into the benchtop. A misaligned countertop opening can throw off the entire fit and finish. Make sure the plumbing beneath the sink is accessible, and test the shutoff valves to avoid any surprises when it’s time to connect the water.
Taking time to prep properly ensures your install a kitchen sink project goes off without a hitch.
Before jumping into your sink installation, accurate measurements and prep work will set the stage for a smooth fit.
Compare your new kitchen sink to the existing sink. It would be great if it were the same size—less cutting would be involved. If not, adjustments are needed.
When fitting a drop in sink, you may need to cut a new space.

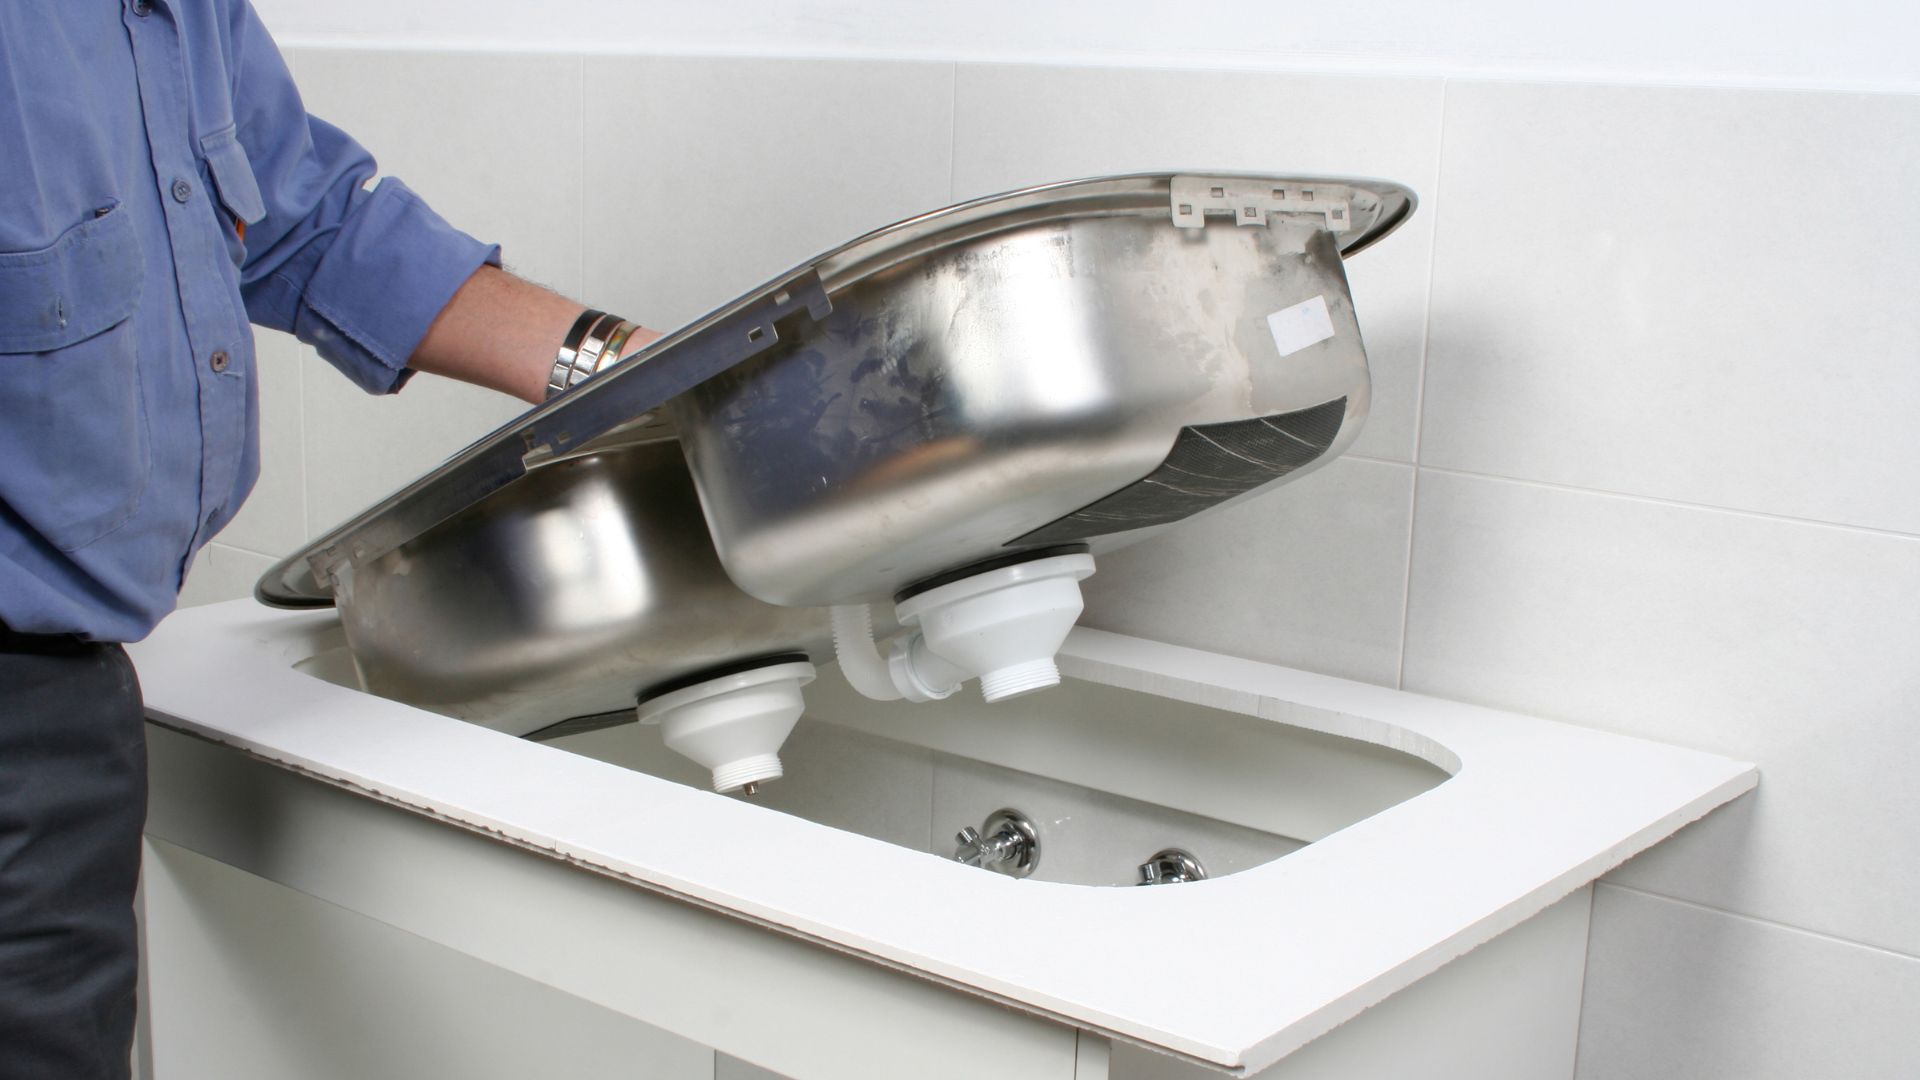
Once the sink hole is prepared, it’s time to position your drop in sink properly. This stage is crucial for a clean and durable kitchen sink installation.
Following this install sink step by step ensures a secure fit and helps avoid leaks or issues later on.
Now that the sink is placed, the next step in this step-by-step guide is locking it in.
For most drop in sink installations, the clips are tightened from below to hold the unit snug inside the countertop hole.
This step completes the base of your kitchen sink installation with a solid hold.

The plumbing connections bring everything together with your new kitchen sink in place. This might seem like a daunting task, but with care and patience, it’s a straightforward DIY job.
This completes the process of installing a kitchen sink properly.
Even with careful planning, some parts of the installation may need a second look. Here’s how to sort out the common issues.
Use a spirit level to check the slope under the kitchen sink. If you feel unsure, this is where expert advice helps. Always recheck all joins, seals, and fittings 24 hours after you install to ensure everything holds.
Each kitchen sink step counts in any successful DIY job, especially when working with different dimensions and tricky plumbing.
Some tasks are best left to those with the tools and training. If your project involves reworking existing plumbing, supporting an undermount sink, or fixing water pressure and backflow problems, it’s time to seek expert advice.
These situations often require precise installation that goes beyond a basic DIY job. You risk water damage, loose fittings, or system failure without proper handling.
When in doubt, don’t push through it. A professional plumber can install sink step by step, saving you time and preventing costly repairs later. Peace of mind is always worth the call.
If you’d rather skip the mess and guesswork, the Gold Coast Plumbing Company team is ready to help. Our licensed tradies know how to install a kitchen sink properly, using the right tools and techniques to ensure it’s sealed, connected, and ready to go.
We handle everything from selecting the best sink for your layout to completing a clean, efficient kitchen sink installation without the headaches. No leaks, no loose fittings—just quality work done right the first time.
Not every job needs to be a DIY adventure. We’ve got your back if you’re unsure or short on time.
Contact Gold Coast Plumbing Company today and let us handle the hard part so you don’t have to.