7:00AM to 5:00PM
A dripping tap is more than just a minor annoyance; it’s a silent syphon on your water bill and a needless strain on our precious water resources. But before you call in the cavalry, know that the fix could be at your fingertips—literally.
Often, the villains behind these vexing leaks are worn-out washers and degraded O-rings, small in stature but critical in function. In this blog, we’re diving into the do-it-yourself spirit, armed with a wrench and a can-do attitude, to tackle the common household plight of leaking taps.
Whether you’re a home repair rookie or a seasoned DIY enthusiast, our comprehensive guide on replacing washers and O-rings will help you precisely and confidently nip leaks in the bud. So, let’s roll up our sleeves and turn off that drip once and for all!
Vigilance is key when it comes to maintaining your taps. Look for telltale signs of wear that signal it’s time for upkeep. The most apparent red flag is constant dripping from the spout, an undeniable sign that the internal seal is compromised.
You might also notice a change in how the tap feels when you use it—stiffness or a lack of smoothness could indicate a washer or O-ring crying out for replacement. Listen for unusual sounds, like squeaking when the tap is turned, suggesting that the rubber parts have lost their flexibility.
Visible signs of wear, such as cracks or distortion on the washer or O-ring, indicate that they need to be swapped out. Additionally, if the water flow from your tap starts to come out unevenly or at strange angles, a failing washer or O-ring disrupts the pressure. Catching these symptoms early can save you from the inevitable headaches of a leaky tap, ensuring its efficient function and extending its lifespan.
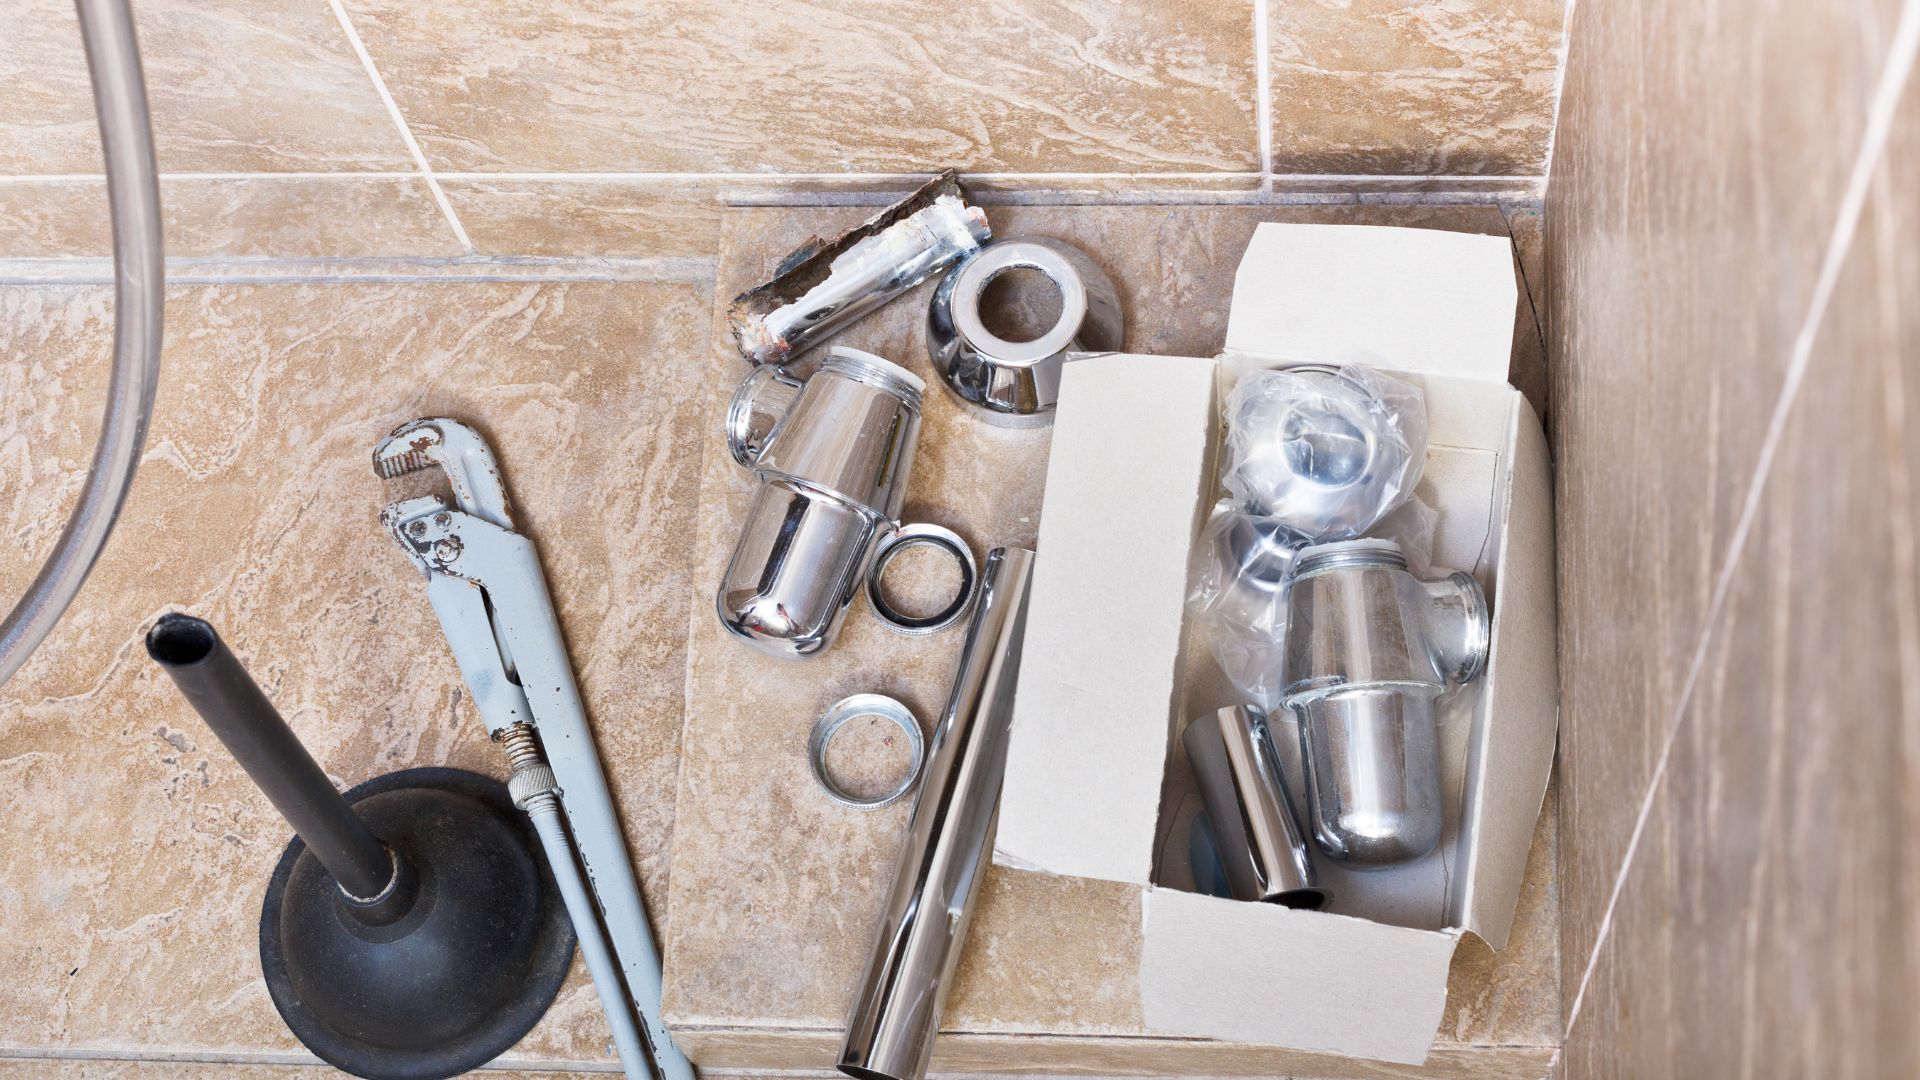
You must use the right tools and materials to replace washers and O-rings in your leaking taps. A basic adjustable wrench or a set of spanners is essential for loosening and tightening the nuts that hold your tap together.

A flat-head and a Phillips screwdriver will likely be necessary for handling screws in the tap assembly. You’ll also need a pair of pliers to help remove the old washer and O-ring.
Ensure you have replacement washers and O-rings on hand; these should match the size and type specific to your tap to ensure a proper fit. It’s a good idea to have some plumber’s tape, which is used to create a watertight seal on the threads when reassembling the tap.
A small container or cloth can catch drips or hold small parts. Lastly, keep a clean rag nearby to wipe away excess water or debris as you work. With these tools and materials, you’ll be well-equipped to tackle the job confidently.
Replacing the washers in your taps is a straightforward process that can prevent leaks and save water. Following these simple steps, you can efficiently replace a worn-out washer and ensure your taps function properly. Let’s walk through the procedure.
Turn off the water supply before you begin working on the taps to prevent accidental flooding. Locate the isolation valve beneath the sink or in the cabinet where the pipes enter the wall.
Turn the valve clockwise to shut off the water. If you can’t find an isolation valve, you may need to turn off the main water supply to your home.
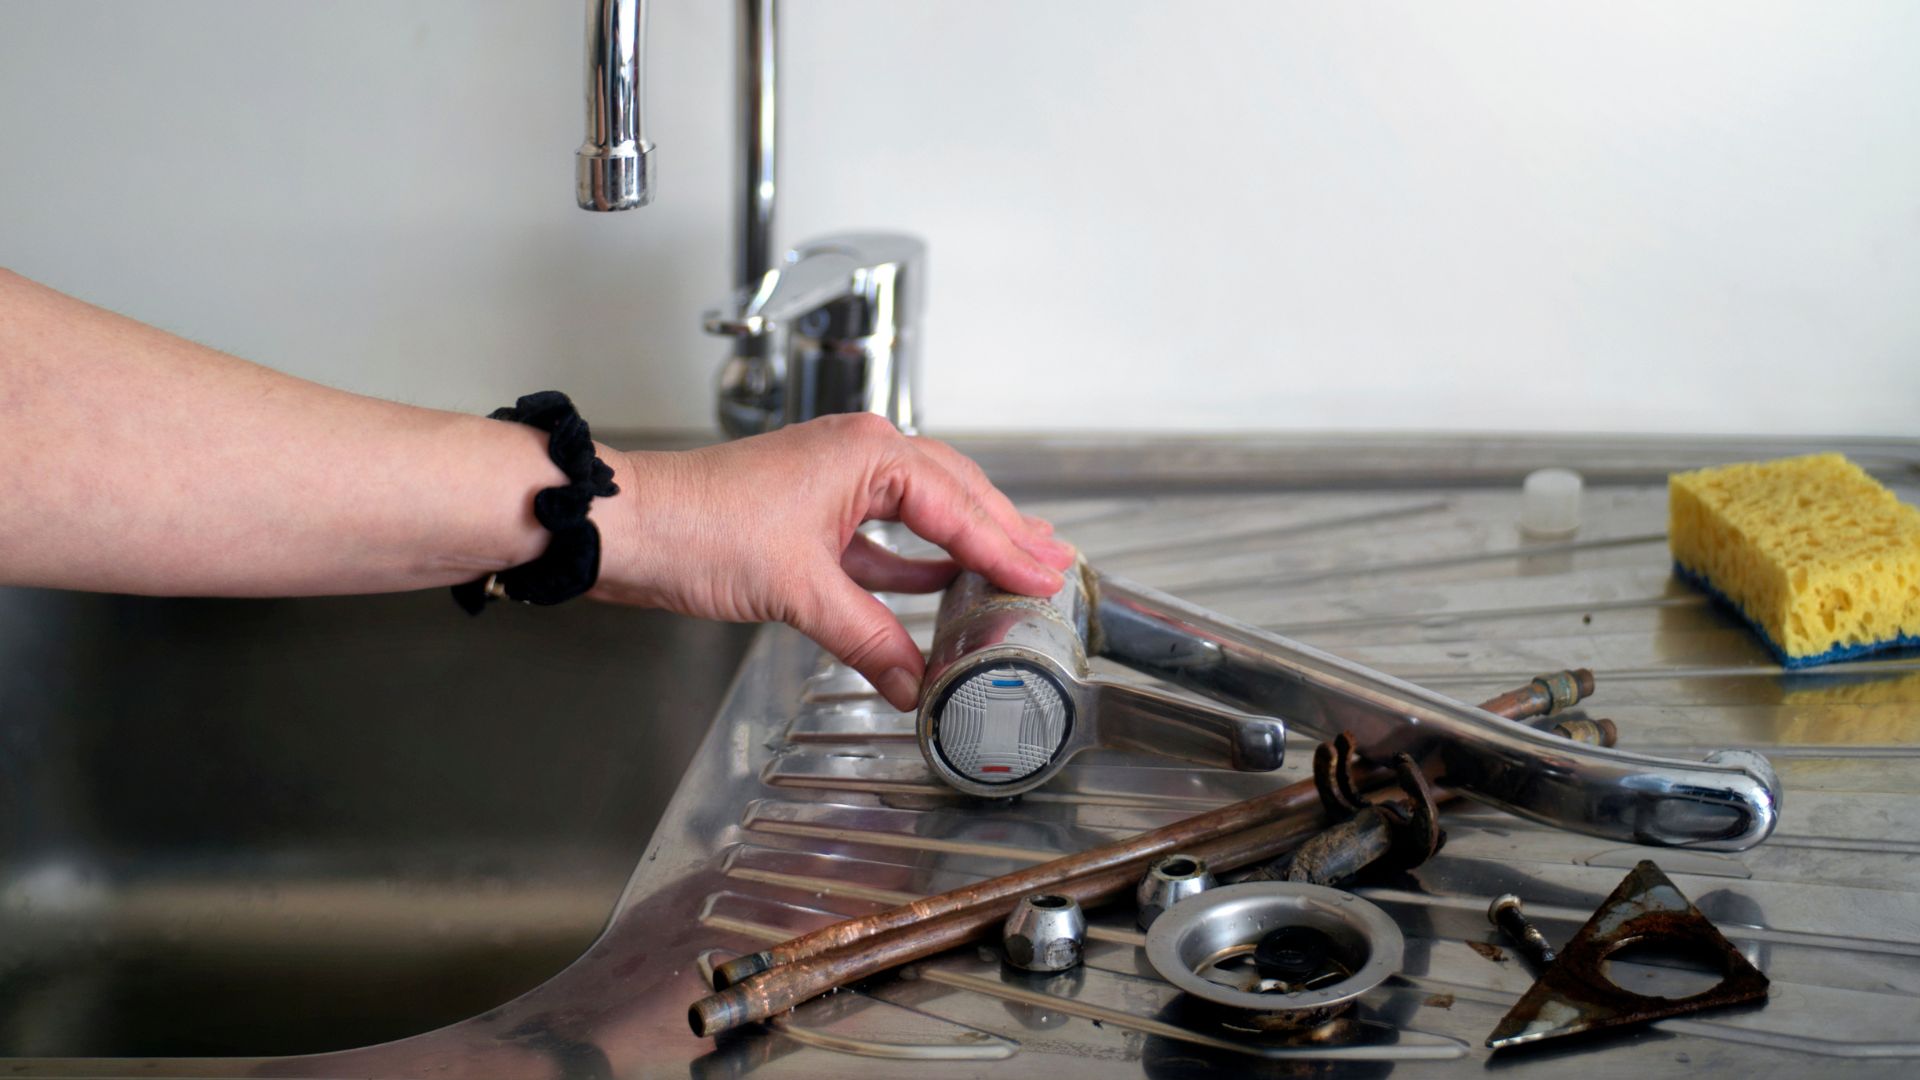
Once the water supply is off, open the tap to release any remaining water in the pipes. Then, remove the tap’s handle by loosening the screw that holds it in place—this is typically hidden under a decorative cap on the handle, which you can gently pry off with a flat-head screwdriver. With the handle off, use an adjustable wrench to unscrew the tap bonnet or cover, exposing the internal components.
With the tap dismantled, you’ll see the washer seated at the base of the stem. Please take note of its position and how it sits in the assembly for easier reinstallation of the new washer.
Use the pliers to remove the old washer. It may be held in place by a screw or fit onto the valve seat. Be careful not to damage any surrounding components as you remove it.
Before installing the new washer, clean the valve seat within the tap to ensure a clean and secure fit. Position the new washer exactly where the old one sat.
If your washer is secured with a screw, tighten it enough to hold the washer firmly in place but avoid over-tightening, which can cause damage. Once the new washer is fitted, reverse the dismantling process: reattach the tap bonnet, handle, and decorative cap.
Replacing the O-rings on your taps is an essential maintenance task that can help prevent leaks and ensure smooth operation. O-rings are crucial for creating a tight seal; over time, they can become brittle or cracked, leading to leaks. Follow this step-by-step guide to replace your O-rings and keep your taps in tip-top shape.

Before replacing an O-ring, you need to know the correct size. To prevent water flow, turn off the water supply to your tap. Then, dismantle the tap per the instructions for washer replacement to access the O-ring.
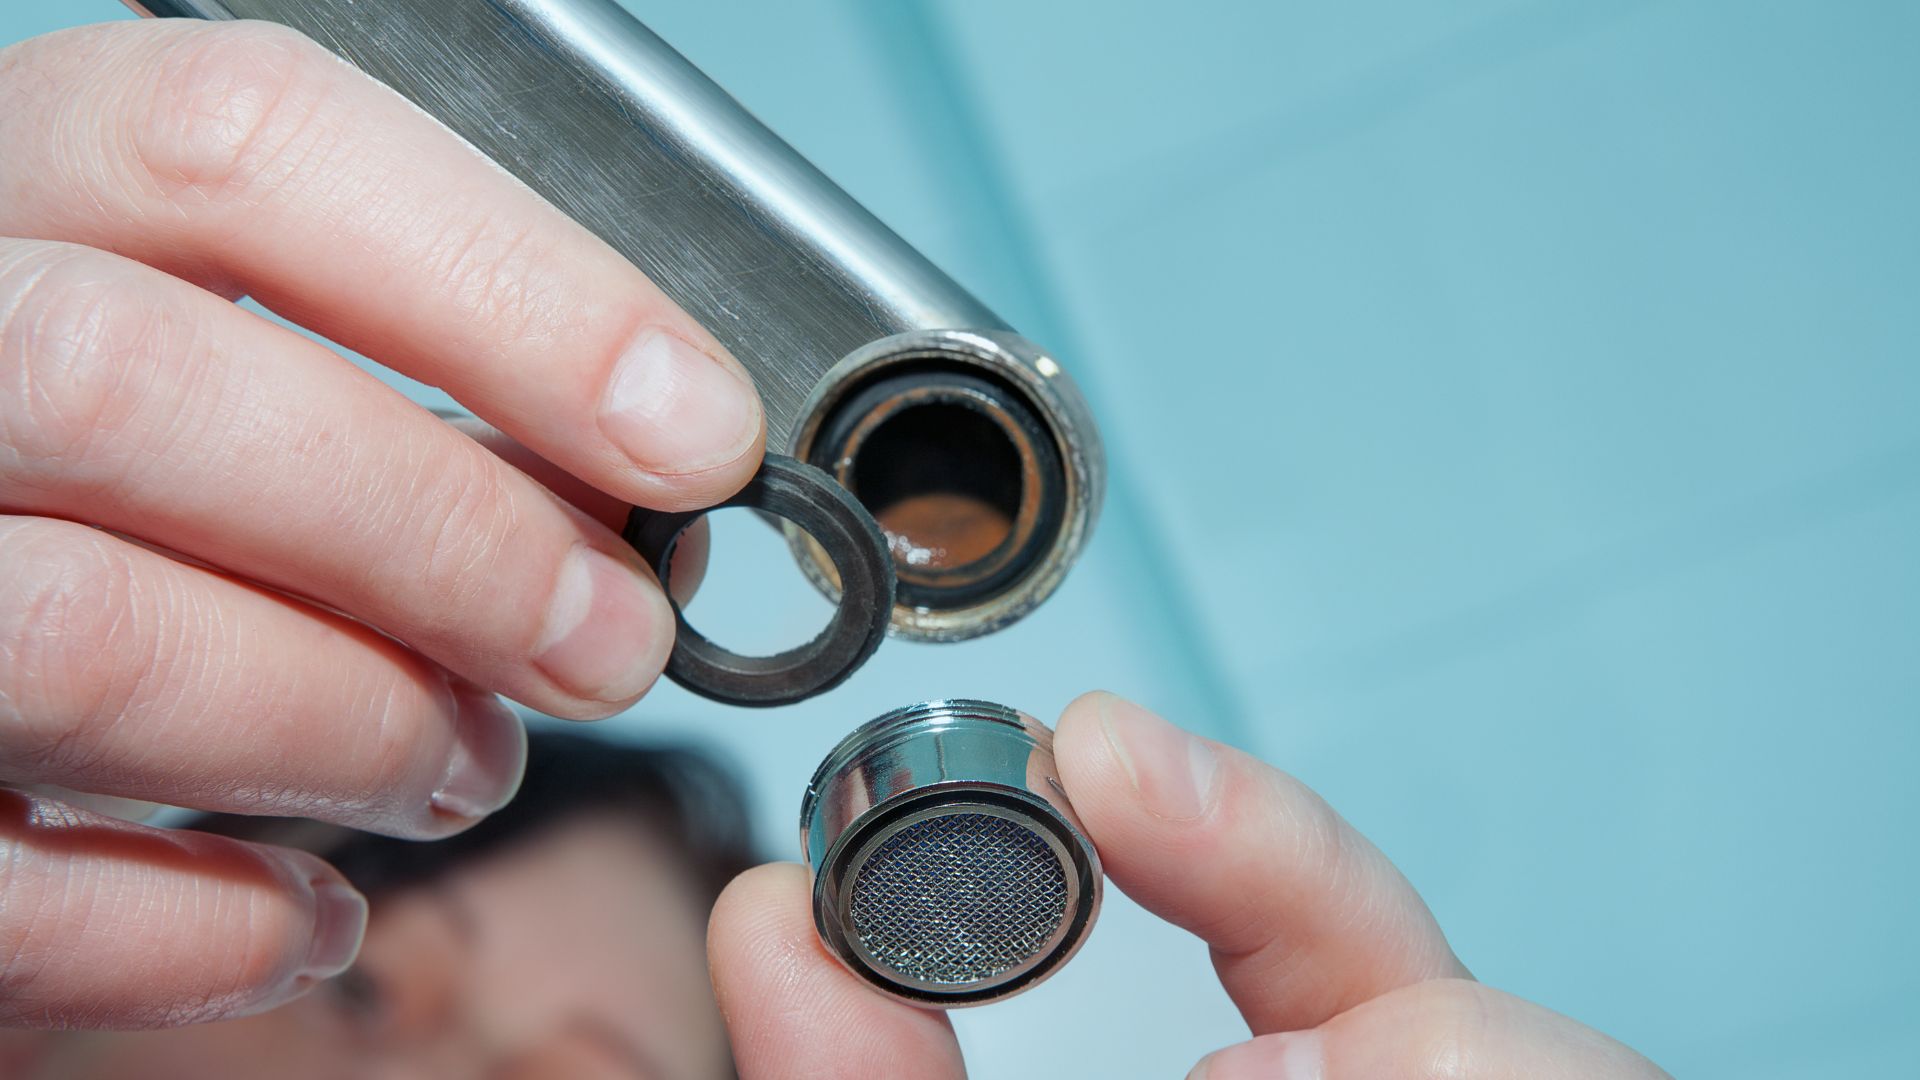
Once you’ve reached the O-ring, carefully remove it and take it to a hardware store for sizing. If you have precise tools, measure its diameter and cross-section. Purchasing a matching O-ring ensures a good fit and prevents future leaks.
You can begin the removal process by hand with the correct replacement O-ring. Use a small flat-head screwdriver or a specialised O-ring removal tool to pry the old O-ring off its seat gently.
Be careful not to scratch or damage the surface of the tap, as this could cause leaks even with a new O-ring installed. If the O-ring is particularly brittle or stuck, you may need to cut it carefully to remove it.
Before placing the new O-ring, clean the area where it will sit to ensure a clean, snug fit. If applicable, lubricate the new O-ring with a bit of plumber’s grease to help it slide into place more easily and prolong its life.
Never use oil-based lubricants, as they can deteriorate the rubber. Carefully roll the new O-ring into its groove to avoid twisting or pinching it. Once the new O-ring is in place, reassemble your tap, ensuring all parts are secure.

After replacing washers and O-rings, you might still encounter issues that require troubleshooting. If the tap continues to drip or leak, ensure that the water supply has been turned back on and that the tap is fully reassembled correctly with no spare parts left over.
Sometimes, the cause can be as simple as a washer not the right size or an O-ring that hasn’t been seated properly. Check for any misalignment or damage to the parts you’ve installed. If everything seems in place, consider whether the valve seat — the area where the washer sits to form a seal — might be worn or corroded.
A valve seat that’s not smooth can prevent a tight seal and may require resurfacing or a complete replacement. In some cases, the issue might not be with the parts you’ve replaced but with other tap components, such as the cartridge or the aerator, which might be clogged or worn.
If the troubleshooting proves fruitless, the problem might be beyond a simple DIY fix, and it could be time to call a professional plumber to diagnose and resolve the more complex issues.
Once you’ve addressed any issues and are satisfied that your tap is functioning correctly, it’s time to finish the job. Ensure that all fittings are tightened securely but not over-tightened, as this can damage the new components and affect the tap’s operation.
Clean any debris or fingerprints from the tap’s surface to make it look as good as new. Finally, turn the water supply back on and observe the tap for a few minutes to ensure no leaks.
Your work is done if the tap operates smoothly and there’s no sign of drips. Watching the tap over the next few days is good practice to ensure the problem is entirely resolved. With the job completed, you can take pride in your DIY skills, knowing that you’ve extended the life of your tap and saved water and money in the process.
Replacing washers and O-rings in your taps effectively addresses leaks, conserves water, and saves on utility costs. This DIY fix can enhance the longevity and performance of your plumbing fixtures.
However, if you encounter persistent issues or are uncomfortable performing these repairs, don’t hesitate to seek professional assistance. A reputable Gold Coast Plumbing Company has the expertise and experience to ensure your taps are in optimal working order.
Whether you require a simple washer replacement or a more complex plumbing solution, contacting your local experts can provide peace of mind and guarantee a job well done. Remember, every job is just enough and simple for the seasoned Gold Coast Plumbing Company professionals.