7:00AM to 5:00PM
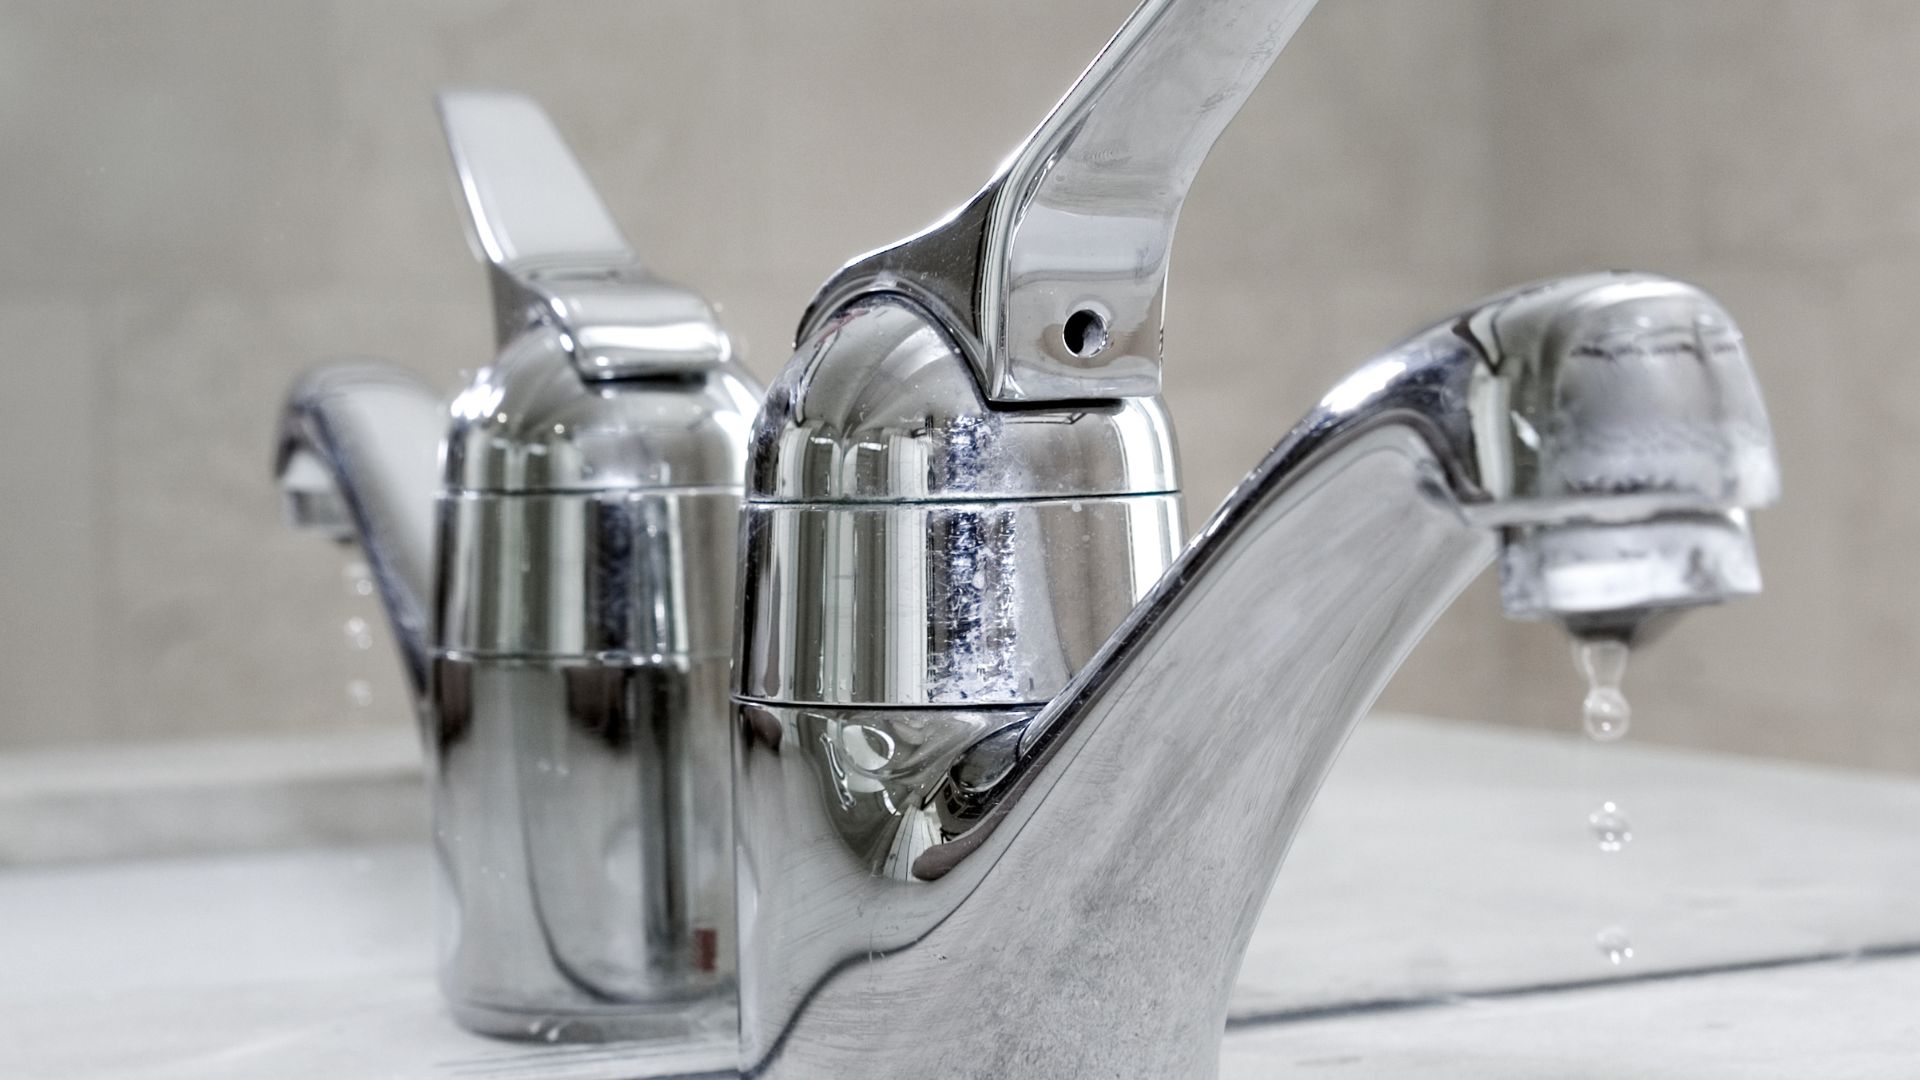
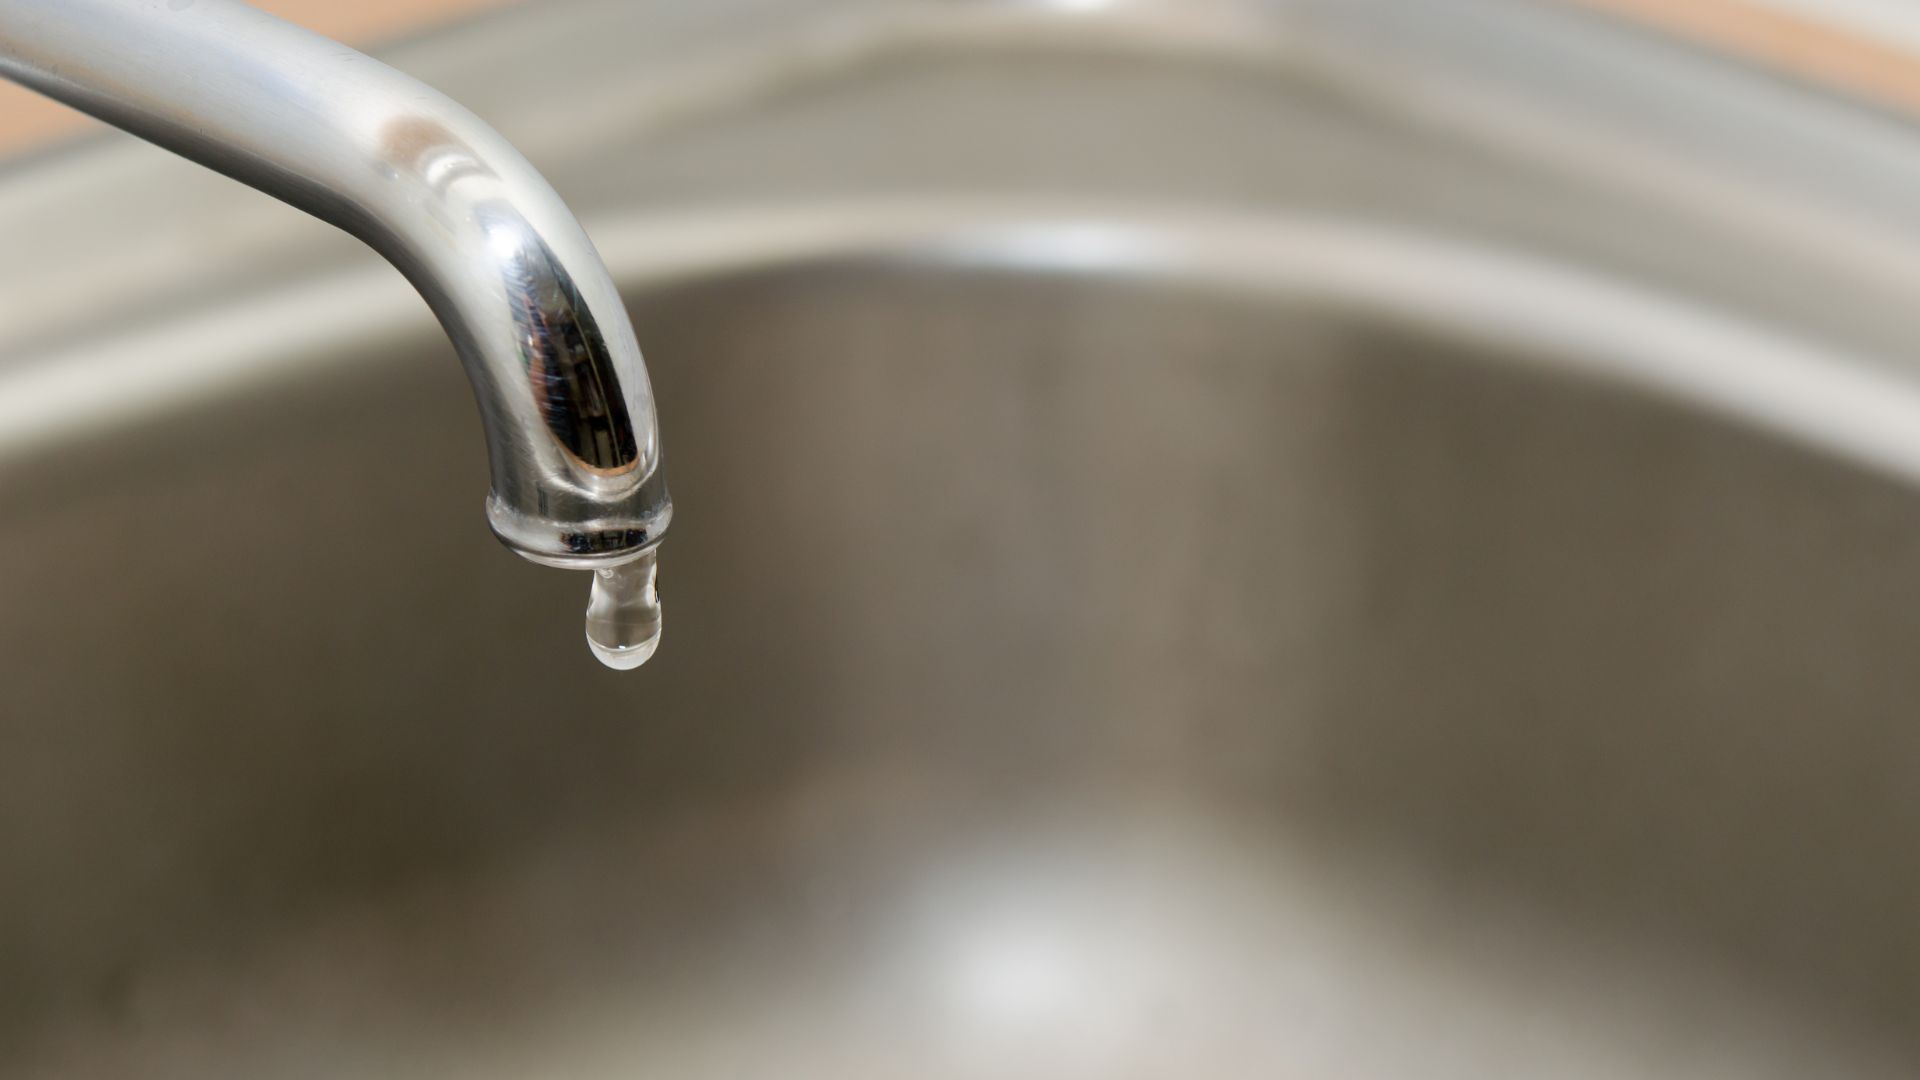
A leaking tap might seem like a minor inconvenience, but over time, those steady drips add up—wasting thousands of litres of water yearly. And with Australia’s focus on water conservation, that’s not just bad for the environment, it’s bad for your wallet too. The good news? With a few simple maintenance steps, you can prevent leaks before they start and keep your taps in top shape.
This essential guide will equip you with the knowledge and skills to prevent tap leaks in your home. Whether you’re adept with tools or a novice ready to learn, these maintenance tips and tricks will help you keep your taps functioning flawlessly and your water bills in check.
From understanding the basics of your tap’s design to routine maintenance rituals and quick and temporary fixes, we ensure your taps are as water-wise as the land they serve. So tighten your grip on that spanner—it’s time to give water wastage the flick!
Understanding how your tap works is the first step to stopping leaks before they happen. Australian homes feature a mix of tap types, each with quirks and maintenance needs. Knowing what’s inside your tap makes fixing issues easier and keeps everything running smoothly.
The traditional compression tap, often found with separate handles for hot and cold, relies on a washer pressed against valve seats—wear and tear is a common leak offender here. The valve seat is a small metal component that connects the specific tap spout to the tap body. On the other hand, mixer taps allow temperature fine-tuning through a single tap handle and house a cartridge system that, if faulty, can lead to dripping.

Ceramic disc taps offer a sleek, modern appeal. They have two ceramic plates that slide to control the water flow. While they are celebrated for their longevity, the ceramic plates can be the source of leaks when damaged. Then there’s the ball tap, with a lever-operated ball that adjusts water temperature and flow. Leaks typically point towards a worn-out washer, O-rings, or a compromised ball mechanism.
There are many causes behind a leaking faucet, such as worn-out components, a faulty tap washer, high hot water and cold water flow, and improper installation. Recognising which system your tap employs is the cornerstone of targeted maintenance, ensuring that your fixtures remain efficient and leak-free.
Stopping a dripping tap starts with a bit of regular maintenance and keeping an eye out for early warning signs. Here are some easy ways to keep your taps in great shape and avoid those annoying leaks:

Make it a habit to inspect your taps periodically. Check for corrosion, mineral deposits, or minor leaks, and listen for any unusual sounds that may indicate a problem.
Unscrew the aerator and spout end regularly to clean out any debris or sediment build-up that could cause blockages and lead to leaks.
Use a wrench to tighten any loose nuts or fittings gently. Be careful not to overtighten, as this can damage the parts.
Once you identify the culprit, you can find a replacement at a local hardware store. Over time, washers and seals can wear out. Replacing them at the first sign of wear can prevent leaks from developing. This is especially true for compression taps, which depend heavily on the washer condition.
Occasionally, lubricate the tap’s moving parts, such as the threads and O-rings, with the plumber’s grease to ensure smooth operation.
High water pressure can cause undue stress on your plumbing fixtures. If you suspect high pressure, consider installing a pressure-reducing valve.
When parts need replacing, opt for high-quality replacements. They may cost more upfront but will save you money by reducing the frequency of repairs.
Pay attention to any signs of corrosion on your tap’s metal components, which can lead to deterioration and leaks. If you notice a green or white build-up, address it promptly with appropriate cleaning agents or consider replacing the affected parts to prevent future leaks.
A little routine maintenance goes a long way in preventing tap leaks. Set aside some time each month for a quick plumbing check-up—looking over your taps for any signs of wear or leaks before they become bigger problems.
Start with a visual inspection for corrosion or mineral deposits, notorious for compromising tap integrity over time. Feel for any dampness around the base and joints, as moisture here can flag a slow leak.
Don’t ignore minor surface anomalies; a simple spot or stain might hint at an underlying issue. Listen closely, too—it sounds like hissing or dripping when the tap is off, which can be telltale signs of internal problems.
And while you’re at it, give the handles a gentle wiggle to ensure they’re not loose or gritty, which could indicate wear in the tap’s internal components. It’s also wise to gently test the water pressure and temperature mixing ability, as fluctuations here could suggest problems within the tap mechanism. Through consistent checks, you’ll be well-positioned to catch and address the faintest whisper of a leak before it becomes a shout.
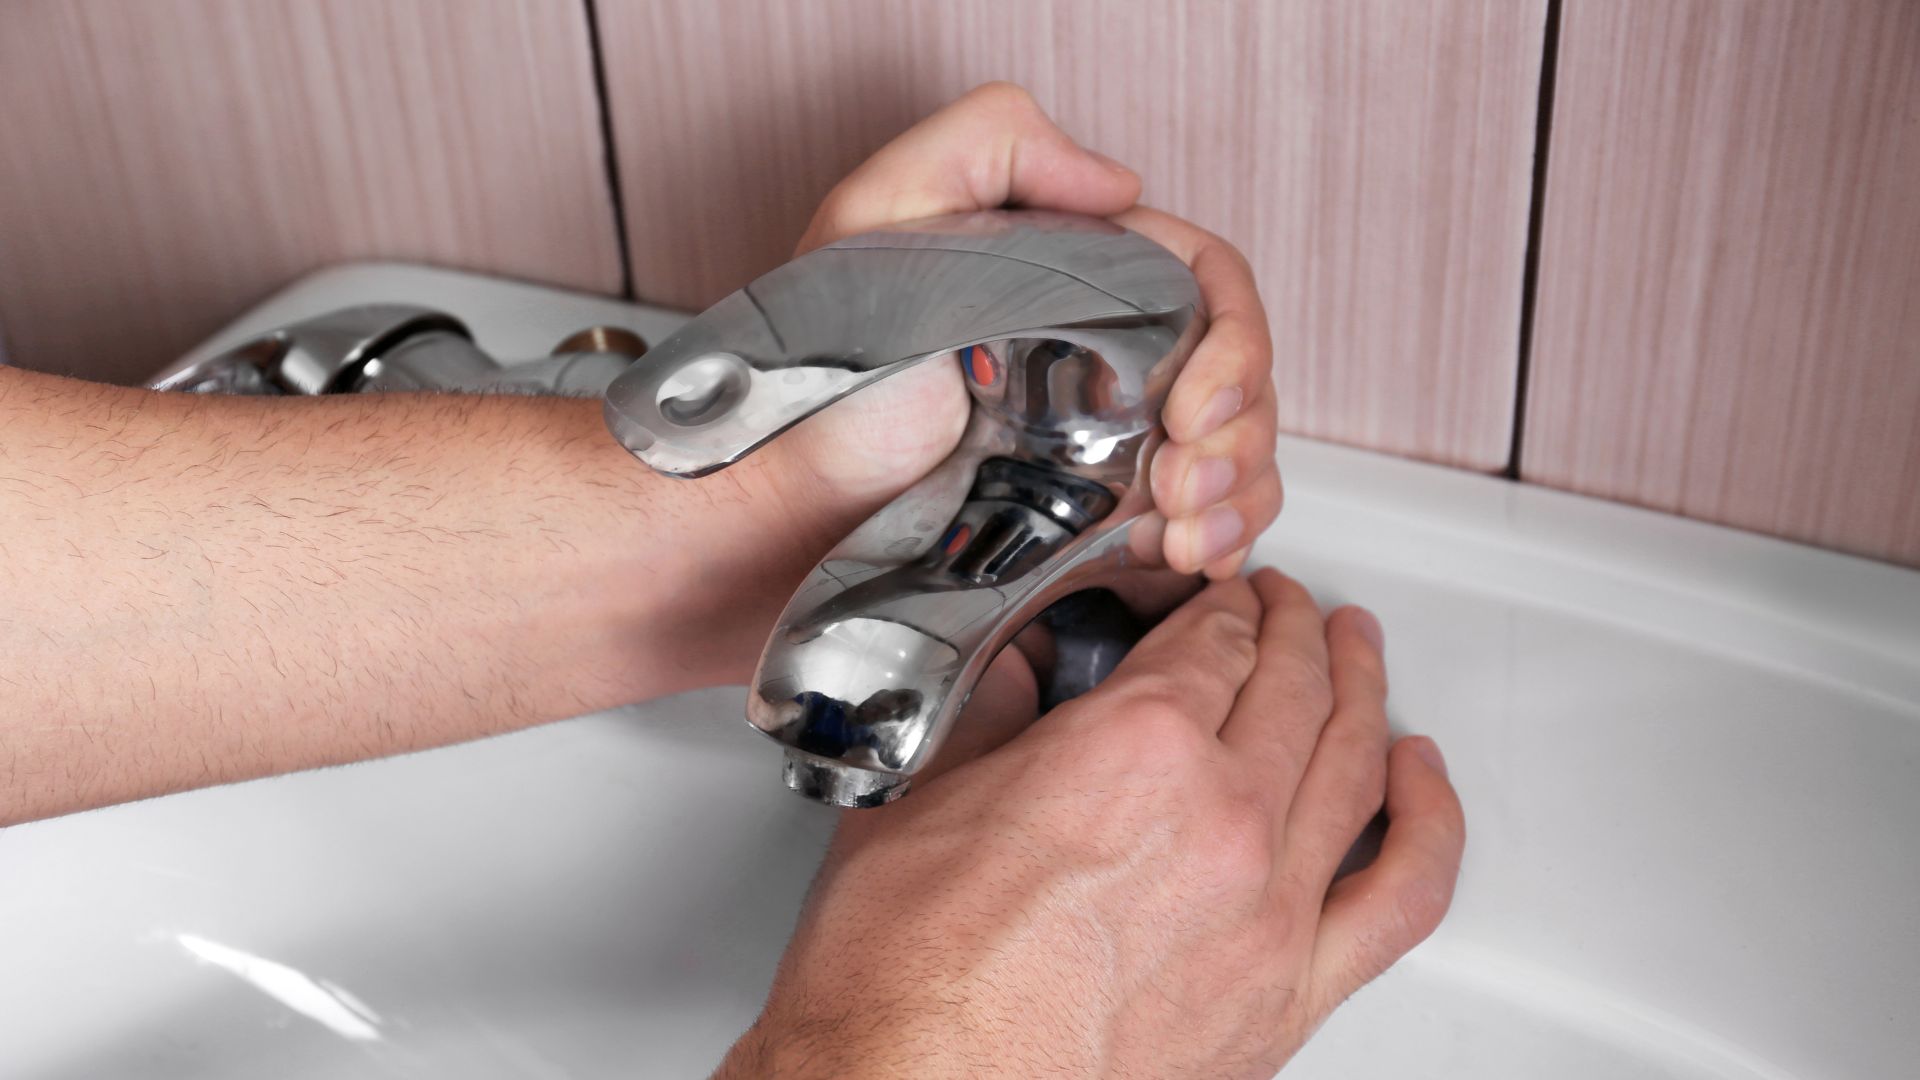
You don’t always need a plumber to keep your taps in excellent condition—plenty of easy DIY fixes can help prevent leaks and extend the life of your fixtures. First, familiarise yourself with the basic anatomy of your tap to make DIY tasks less daunting. Try tightening the packing nut slightly when a leak occurs, as a loose nut can often cause tap leaking.

The first step to learning how to fix a leaking tap is plugging the drain and turning off all the valves for the water supply. If that doesn’t solve the issue, shut off the leaking water supply and disassemble the tap to inspect the washer, O-ring and jumper valve, typically the culprits behind leaks. You must find the isolation valve and turn it off to do so. Replace any worn-out parts with new, high-quality components.
Remember to clean any mineral build-up from the faucet parts with vinegar or a suitable cleaning agent, as this build-up can prevent a watertight seal and lead to drips. When reassembling, ensure everything is snug but not overtightened—overzealous turns can damage the parts and worsen leaks.
Lastly, some plumber’s tape applied to the threads can help secure a leak-free reconnection. These simple DIY maintenance tips can extend the life of your taps and save you from the hassle and cost of unnecessary repairs.
Monitoring your taps for early signs of wear is essential to ensure optimal performance and water efficiency. You should consider replacing washers and cartridges when you notice any dripping, even if it is minor, or turning the tap off becomes increasingly challenging. These symptoms typically signal that these components are worn and can no longer form a tight seal.
A consistent drip or an unexpected change in water flow can indicate it’s time for maintenance. In regions with hard water, mineral deposits can accelerate the deterioration of tap components. As such, you may need to replace washers and cartridges more frequently to preempt leaks and preserve the seamless functionality of your taps.
Regularly updating these parts prevents water wastage and ensures a smooth, like-new operation of your taps, contributing to the overall longevity of your plumbing fixtures.
Preventing dripping taps is mainly about staying vigilant with routine checks and knowing when to roll up your sleeves for some DIY maintenance. Following our shared tips and tricks, you can keep your leaky taps in excellent working order, conserve water, and save water bills.
However, don’t hesitate to call a professional plumber when a leak is persistent, or the job seems beyond your comfort zone. You must avail yourself of the plumbing services of reputed companies. Gold Coast Plumbing Company is always at your service, bringing expertise and efficiency to your doorstep. If you’re facing a plumbing puzzle or wish for peace of mind, contact us—the experts in keeping your water flowing just right.
Preventing leaks involves regular checks and a bit of DIY know-how. Following these simple tips, you can keep your taps working correctly, save water, and reduce your bills.
Of course, some leaks need a professional touch. If a drip won’t quit or a repair seems beyond your skills, it’s time to call in the experts. Gold Coast Plumbing Company is ready to help—offering reliable, efficient service to keep your plumbing in perfect shape. Need a fix? Get in touch with us today.