7:00AM to 5:00PM
Replacing a tired old kitchen tap with a stylish new mixer tap can revitalise your kitchen and improve functionality. But why call a plumber when you can tackle the job yourself? Installing a mixer tap offers a range of benefits. Not only will you save on plumber fees, but you’ll also gain a rewarding sense of accomplishment and learn valuable plumbing skills that can come in handy for future DIY projects.
While there are different types of mixer taps available, from kitchen and bathroom models to single lever and thermostatic designs, the general installation process for most is remarkably similar. This guide will equip you with the knowledge to approach most mixer tap installations with confidence, helping you transform your kitchen with a brand-new tap.
Before diving into the exciting task of installing your new kitchen mixer tap, a little prep work goes a long way. Taking the time to prepare properly helps prevent frustration, water leaks, and potential plumbing issues down the track.
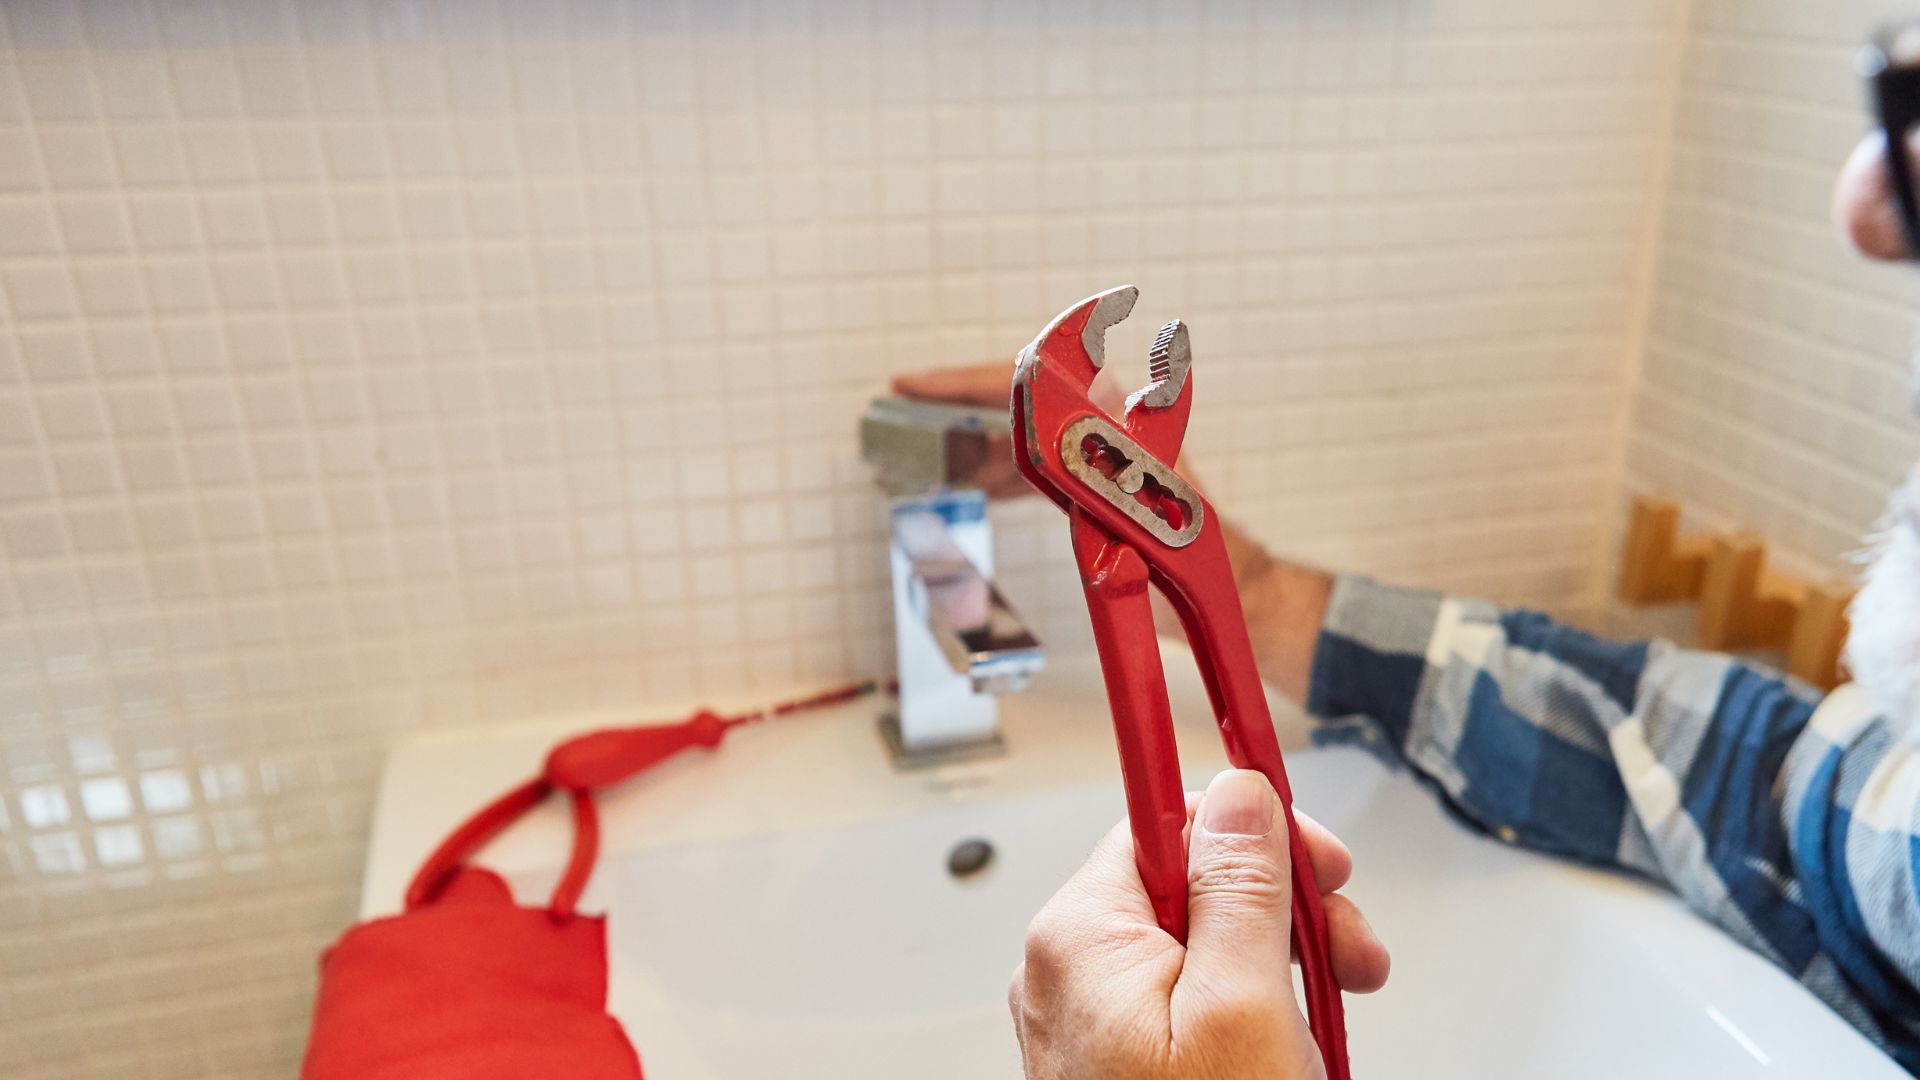
Gather your tools: adjustable spanners, a flathead and Phillips screwdriver, a bucket to catch drips, rags for cleaning, and, optionally, some plumber’s tape. Ensure all your tools are in good working condition – the last thing you want is a stripped screw or a flimsy spanner halfway through the job.

These are the first steps in your kitchen mixer tap installation process. Remember, several factors can vary depending on your existing plumbing setup. If you encounter limited space or have concerns about your plumbing system, consulting a professional is always recommended. Having the right tools and following clear instructions helps prevent leaks and ensures a smooth installation.

Take a moment to inspect your new kitchen mixer tap. Get familiar with its components: the main body, mounting nut, washers and those all-important flexible hoses. These hoses, also known as supply hoses, are what connect the tap to your existing plumbing system. The washers help create a watertight seal – you can’t have leaks! For added leak prevention (optional), consider wrapping the threaded connections on the hoses with the plumber’s tape.
Now, let’s get this new mixer tap installed! First, hand-tighten the flexible hoses onto the corresponding hot and cold water inlets on the tap body. Hot goes to hot, and cold to cold – simple! If your tap has a mounting ring and washer, place them onto the tap shank (the threaded rod) from underneath the kitchen sink.
Here comes the fun part – carefully feed the tap body and hoses through the hole in your kitchen sink or basin. Take note some taps might have slightly different assembly instructions, so if needed, refer to the manufacturer’s manual for specific details. They’ll guide you through any variations in the process.
Once you’ve removed the old tap and cleaned the surface around the hole to a smooth finish, it’s time to secure your new mixer tap. Here’s how:
Following these steps carefully will help ensure your new kitchen mixer tap is installed securely, preventing leaks and ensuring a quality water flow for your kitchen sink.
It’s time to connect the new kitchen mixer tap to the water supply. Locate the isolation valves under the kitchen sink – these are the taps that control water flow to the mixer tap. With clean and smooth surfaces on the hoses and connection points, use the supplied supply hoses and attach them to the corresponding isolation valves.
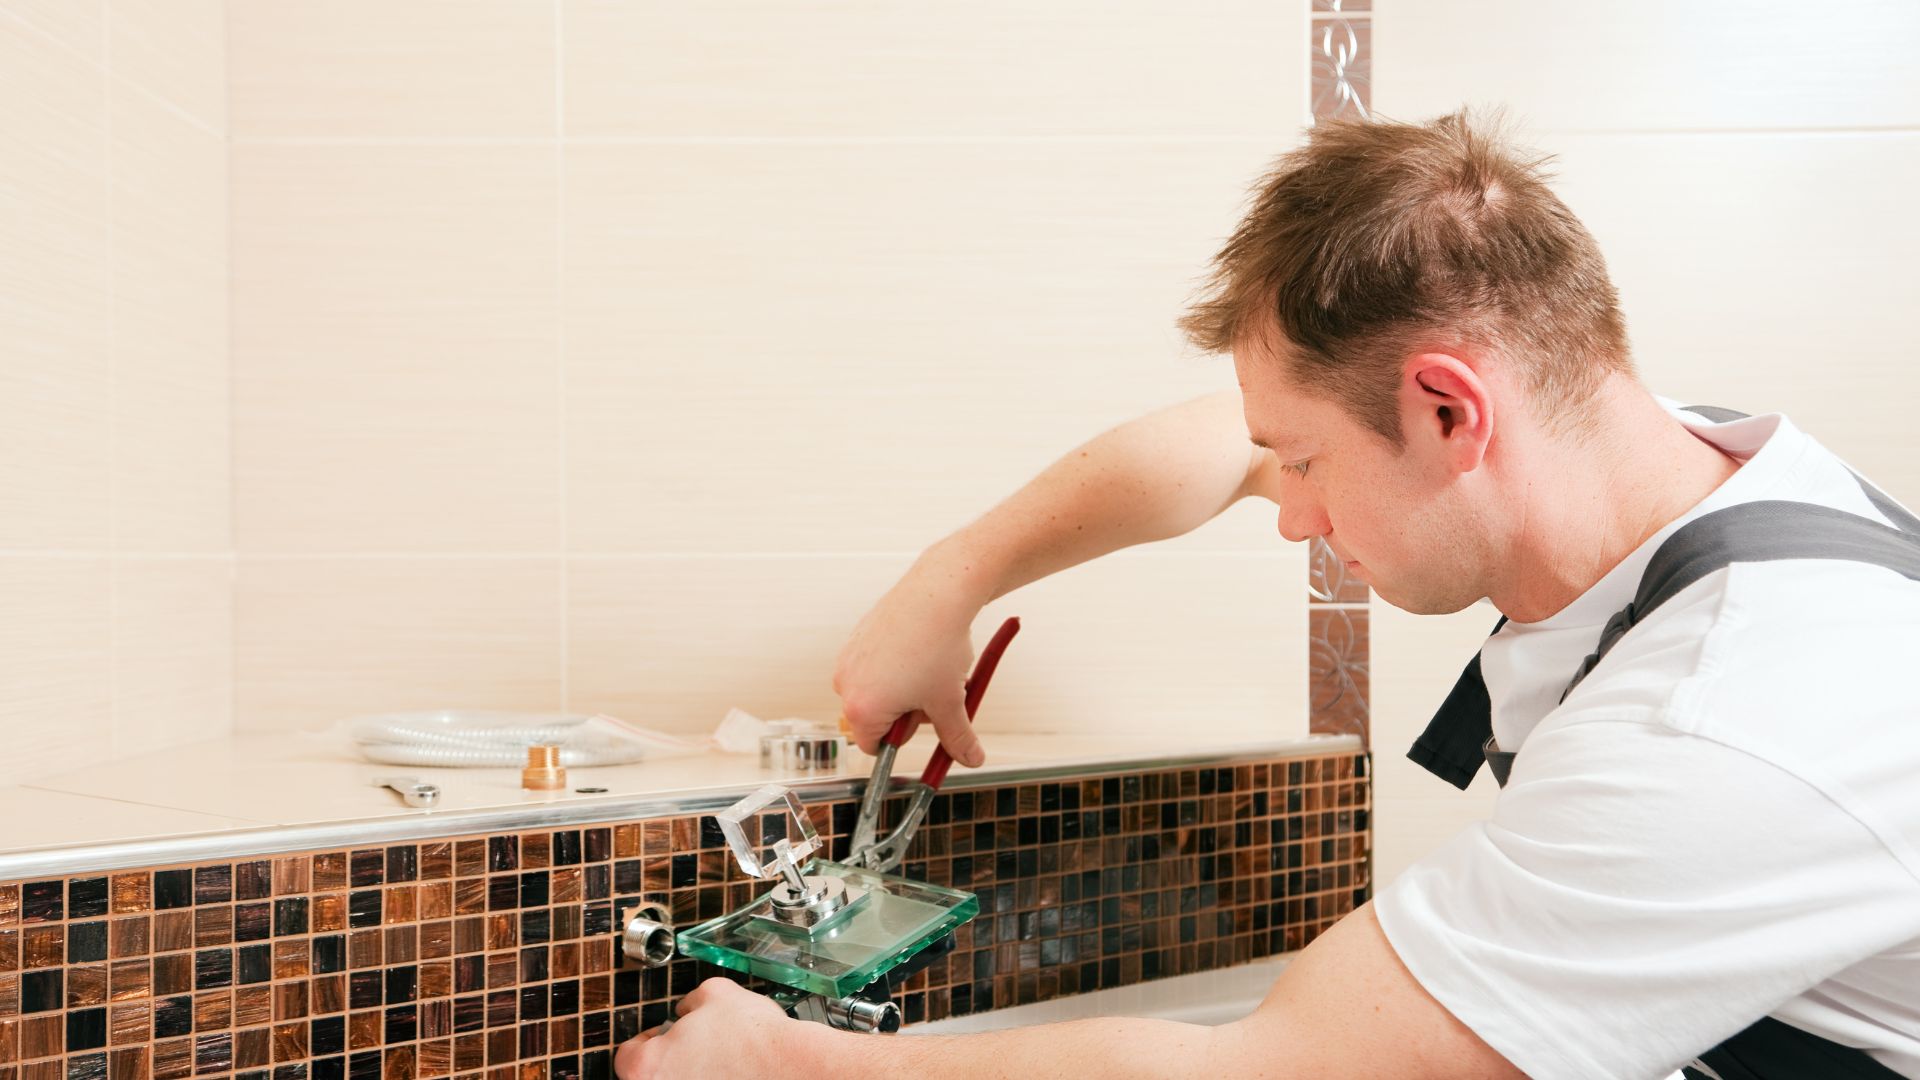
Most hoses feature a nut and olive fitting. Tighten these by hand first, ensuring a good fit. Then, for a final snug fit without damaging the seal, use an adjustable wrench or basin wrench (also called an open-ended spanner).
Keep in mind that a good seal is essential to prevent leaks! Avoid over-tightening, though, as this can damage the seal or components.

With your new kitchen mixer tap installed, it’s time for testing and finishing touches. Slowly turn on the isolation valve, allowing water to gently flow back into the plumbing system. Check for leaks at all connections – any drips around the tap body, hoses, or underneath the sink? Tighten those connections with an adjustable wrench if needed.
Now, clean up any mess and check the tap operation itself. Does hot and cold water flow smoothly from the new mixer tap? Are the handles easy to turn, offering a clean and smooth surface?
Congratulations! You’ve replaced your old kitchen tap with a brand-new mixer, giving your sink a modern touch. Remember, if you’re unsure about any part of the installation process, consulting a licensed plumber is always a wise decision.
With a bit of planning and these helpful steps, you can successfully install your new mixer tap yourself. For a smooth installation, ensure you have the proper tools and follow the instructions carefully.
Remember, if you run into any snags or simply don’t feel comfortable completing the task, don’t hesitate to call in a professional plumber. The Gold Coast Plumbing Company’s trusted technicians are always happy to help and will ensure your mixer tap is installed securely and leak-free. Visit our website or contact us today!