7:00AM to 5:00PM
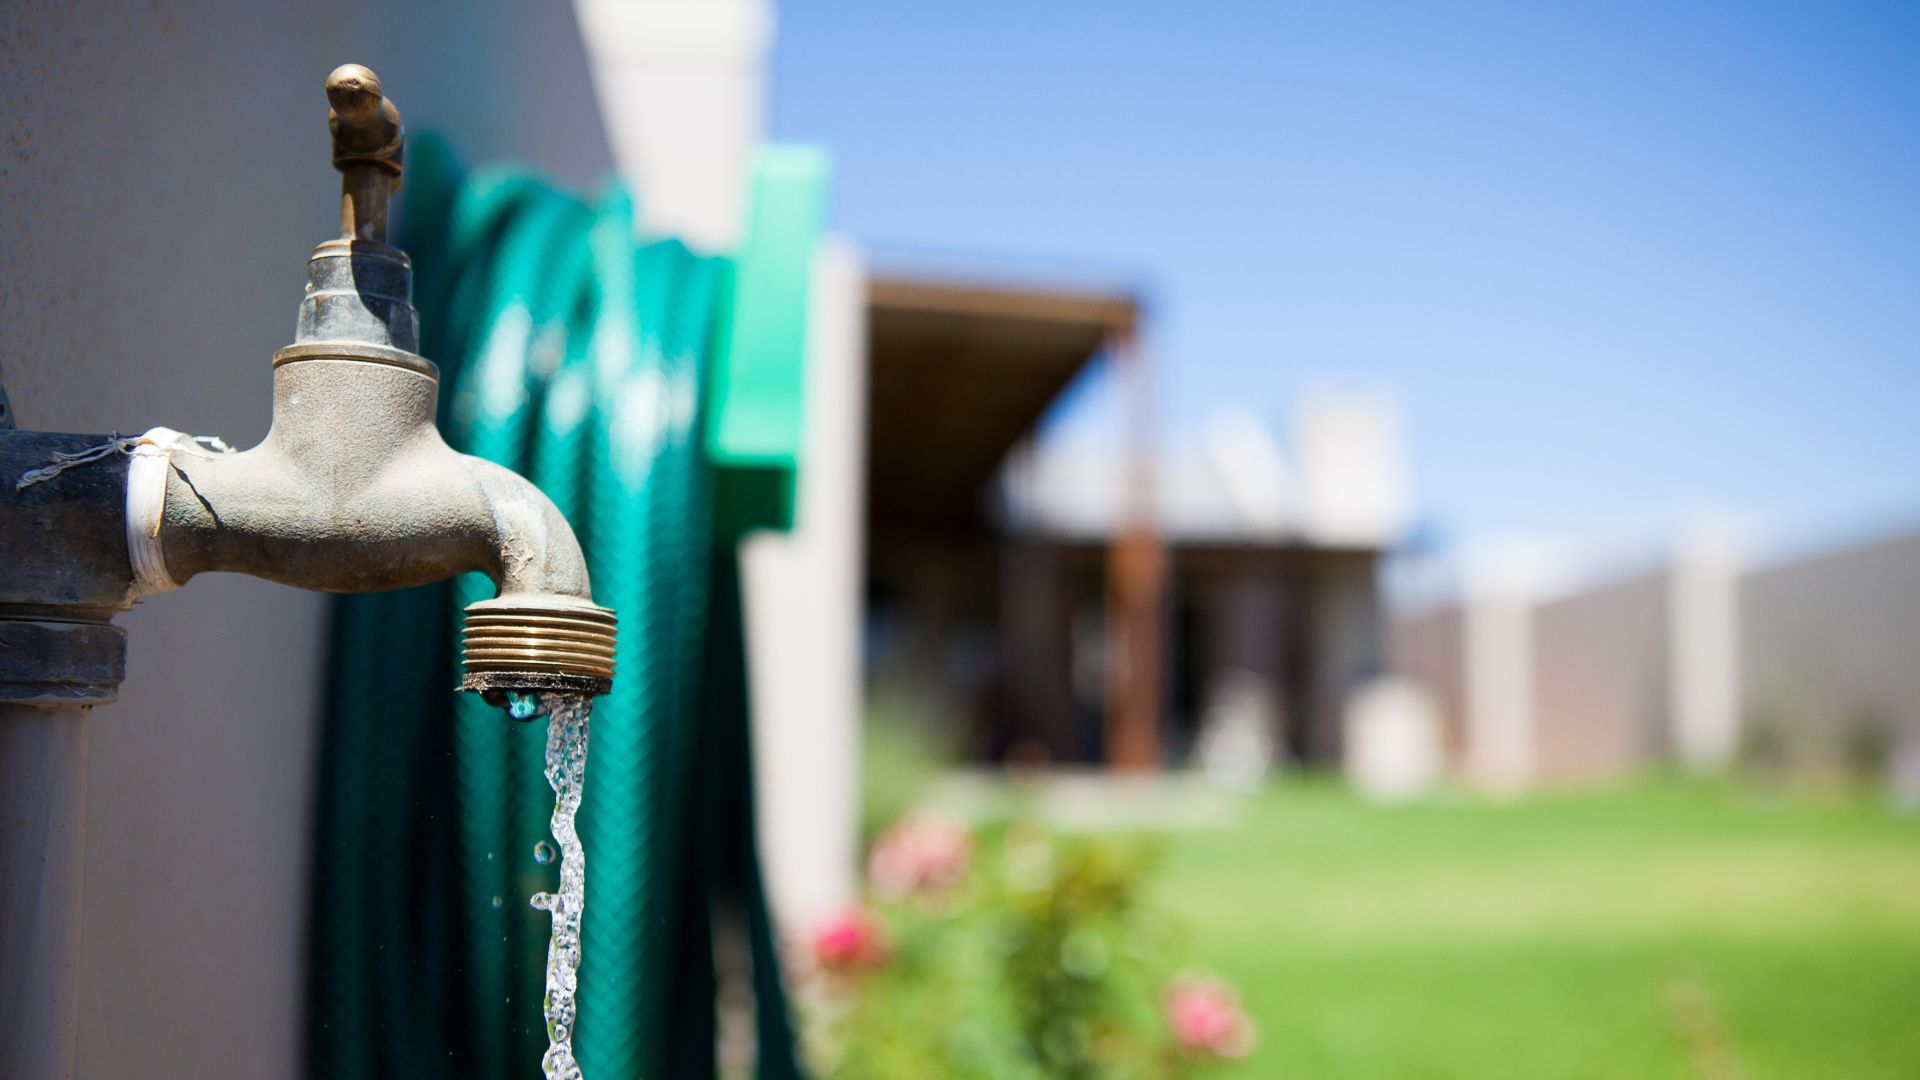
Did you know a typical garden hose can waste up to 10 gallons of water per minute? That’s a lot of precious H2O going to waste! Garden taps are a more efficient and convenient way to water plants, fill outdoor pools, or even wash your car.
Installing a garden tap might seem intimidating, but it’s a fairly straightforward DIY project that even beginners can tackle. With the right tools and a little know-how, you’ll enjoy a garden tap’s benefits in no time.
You’ll need several essential tools and materials to install a new garden tap.

Select a spot close to the water supply, such as near the kitchen sink or existing plumbing lines, ensuring the area is convenient for connecting a garden hose. The chosen location should provide easy access to tight spaces or corners and be suitable for placing the wall plate securely on the outside wall.
Clear the area and ensure the surface is level. Confirm that the outside wall can support the installation of a new outdoor tap, with enough stability for the wall plate and tap screw.
Mark the precise position for the tap installation. Drill accurate holes into the outside wall, ensuring alignment with the wall plate and future connection to water pipes.
Fix the wall plate firmly in place with screws, creating a stable mounting point for the tap. Use a tap screw to ensure the connection remains secure.
Measure and cut copper or plastic water pipes to the required length. Connect the pipes to the new outdoor tap using compression fittings and an isolation valve.
Wrap PTFE tape around threaded connections to create a watertight seal and prevent leaks.
Verify that the installation complies with all local water supply regulations and guidelines to ensure a safe and legal setup.
Cover exposed water pipes and fittings to shield them from weather elements, ensuring the long-lasting durability of the new outdoor tap and its connections.
To connect the garden tap to the main water supply, begin by shutting off the water supply to the house. This step is crucial to avoid any leaks while working.
Once the water is off, locate the existing copper pipe or plastic pipe where you want to connect the new tap. Use a pipe cutter to cut into the existing pipe, ensuring the cut is clean and even. If necessary, drill a hole through the wall to feed the new pipe to the garden.
Next, position the back plate on the wall where the garden tap will be mounted and screw it in place. Attach the new tap to the back plate, ensuring it is secure. Use appropriate fittings and elbows to connect the new tap to the existing copper pipe for copper piping. For plastic pipes, use compatible fittings to make the connection.
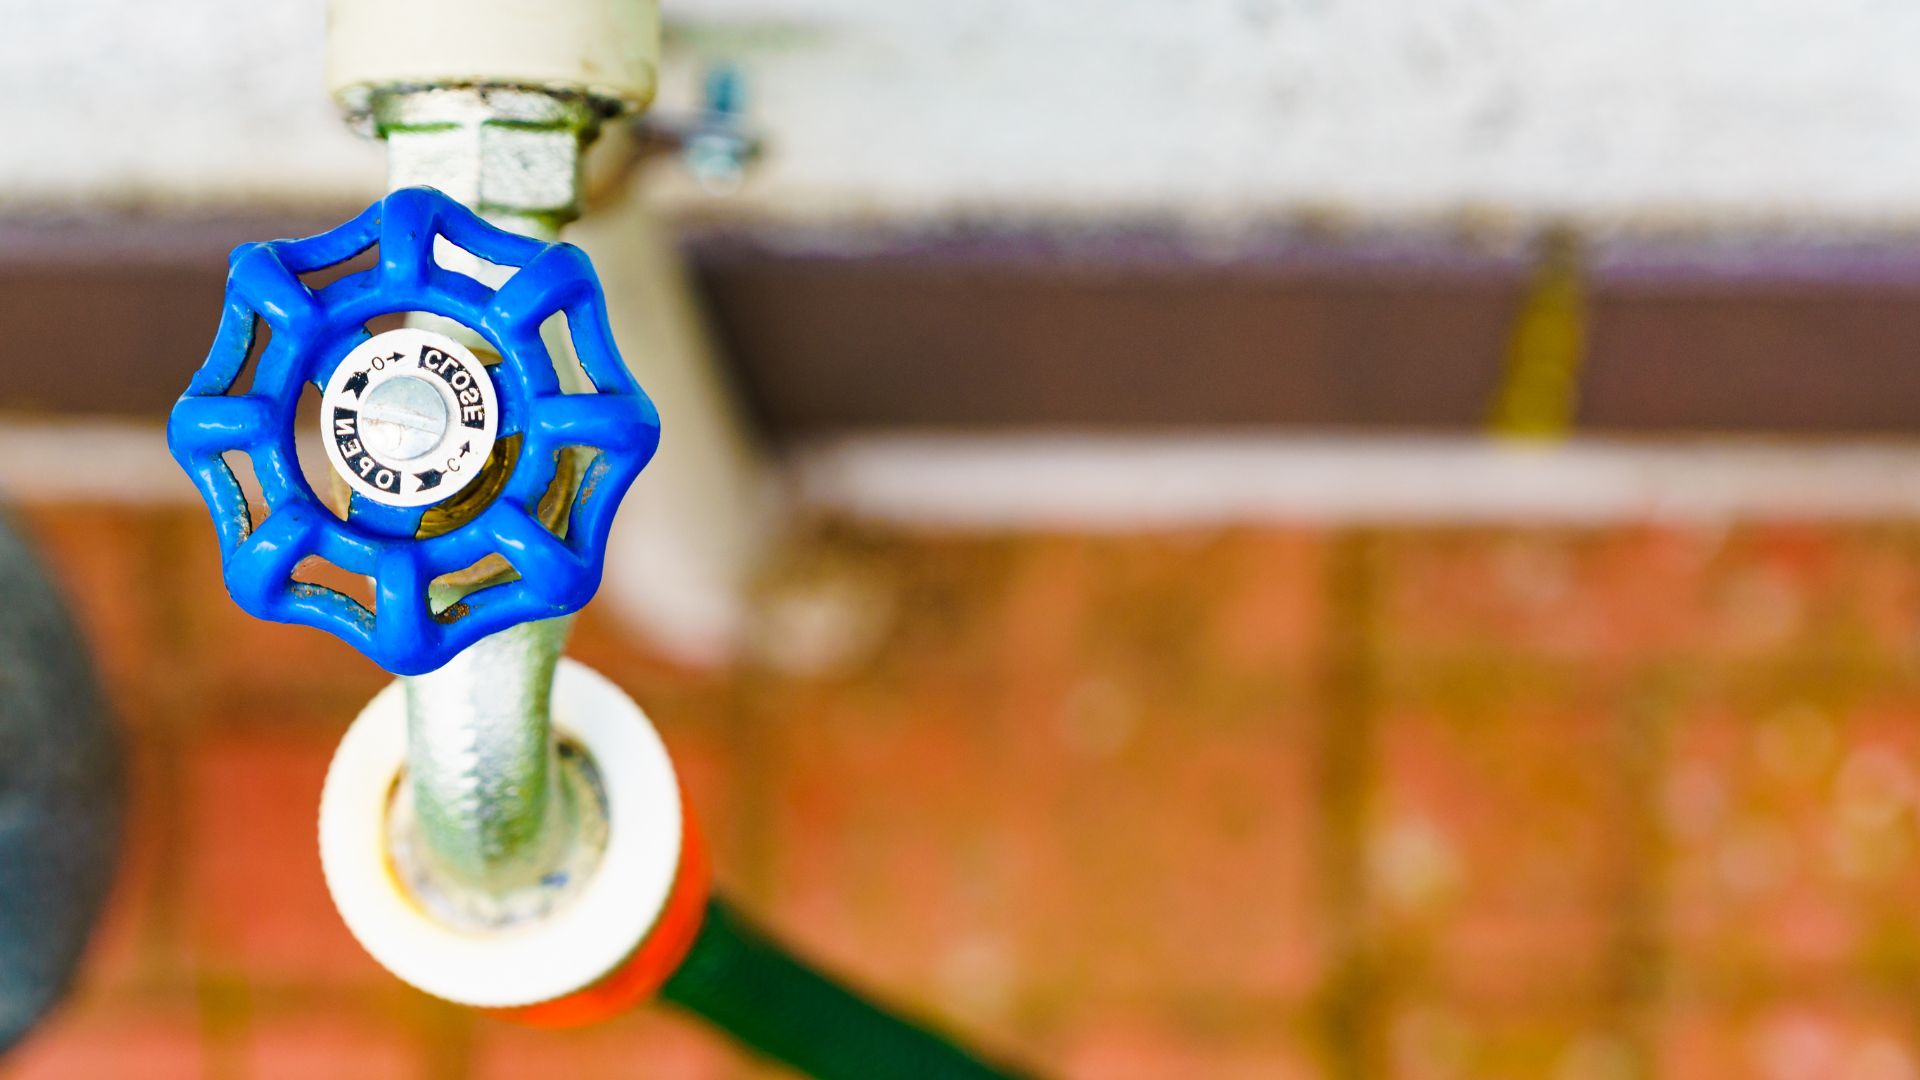
Before connecting, wrap Teflon tape around the threads of all fittings to ensure a watertight seal. This will help prevent leaks at the connection points. Insert the fitting into the pipe, attach it securely, and pop it into position. Make sure to attach the isolation valve to control water flow.
Once everything is connected, turn the water supply back on and check for leaks. If a leak is detected, slightly tighten the fittings or add Teflon tape to the threads.
Safety is important, so wear gloves and goggles while cutting or drilling. Avoid common mistakes such as not shutting off the water, forgetting to use Teflon tape, or failing to tighten fittings properly. Purchase quality materials to ensure the job is done right.

Position the backplate against the wall, ensuring it is level before securing it with screws.
Drill the necessary holes to support the backplate and tap fitting. Make sure the holes are correctly aligned and sized.
Thread the tap onto the fitting and hand-tighten it. Then, use a wrench to give it an additional turn, ensuring a tight connection without over-tightening.
Connect the pipe to the tap using appropriate fittings on the other side of the wall. Include an isolation valve to control the water flow.
For brick or concrete walls, use masonry bits to drill and remove debris before securing the screws. For timber walls, standard wood screws will be sufficient.
Wrap Teflon tape around the threads to prevent leaks and ensure a secure connection.
Ensure all fittings are properly secured, making adjustments based on the wall or surface type to avoid leaks.
Inspect each fitting to confirm everything is properly tightened and secured, as even minor leaks can cause damage over time.
To test the newly installed garden tap, turn on the water supply and slowly open the tap to check for proper water flow. Inspect all connection points for leaks. If you notice a leak, turn off the water, tighten the fittings, or add Teflon tape to the threads.
If the water pressure is low, check the isolation valve to ensure it is fully open. Additionally, inspect the pipe for any kinks or blockages that could restrict water flow. If the issue persists, you may need to consult a plumber to determine if there is a problem with the main water supply line.
Ensure all fittings are properly tightened and that Teflon tape is used effectively for minor leaks. If leaks continue, you may need to replace a faulty fitting. Consider calling a professional plumber for assistance if the job becomes too challenging.
Congratulations on installing your new garden tap! Now that it’s in place, you can enjoy its convenience for all your garden needs, from watering the lawn to connecting sprinklers and washing outdoor areas. Garden taps make outdoor chores much more manageable and enjoyable, allowing you to keep your garden in top condition easily.
If you’re uncomfortable with DIY projects or have issues, don’t hesitate to contact the professionals. Gold Coast Plumbing Company is here to help with all your garden tap installation needs.
Our experienced plumbers are committed to providing quality service and ensuring a reliable and long-lasting installation. Contact us today for expert assistance and to ensure your garden tap is installed perfectly!