7:00AM to 5:00PM
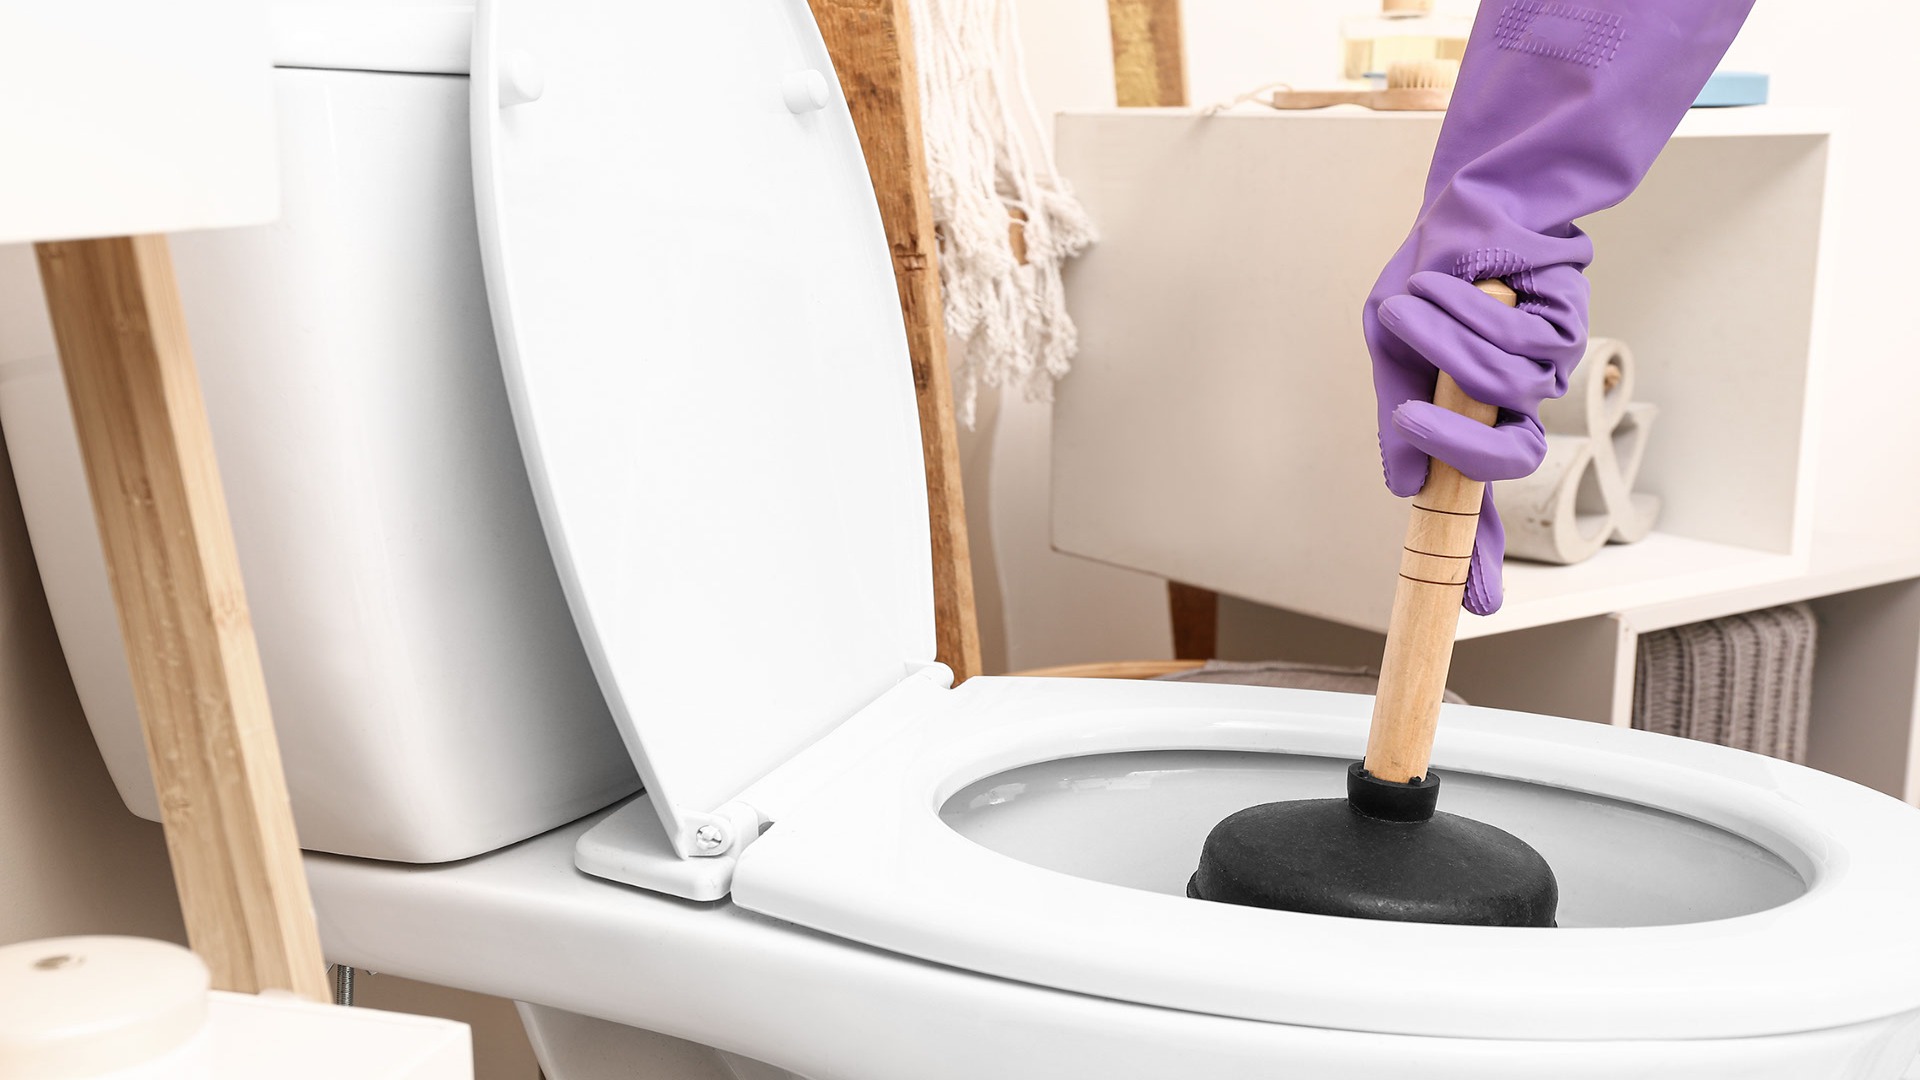
Nothing ruins a day like walking into your bathroom only to discover badly clogged toilet drains. While it’s not the most glamorous of plumbing issues, a stuffed bathroom drain is a common problem that causes stress and inconvenience. Fortunately, clearing a clog is usually a quick and easy DIY fix.
A toilet or sink plunger works almost every time for most typical toilet clogs. They are affordable and simple to use, but plungers are also extremely effective at breaking up clogs caused by paper, flushable wipes, and other bathroom debris. Keeping one under your bathroom sink means you’ll always have the right tool handy when a clog strikes.
In this guide, we’ll walk step-by-step through the basic plunger unclogging method. From assembling your tools to applying the proper technique, you’ll be a plunger pro in no time. We’ll also cover tips and alternatives just in case your first try doesn’t do the job. By the end, you can take on toilet troubles confidently.
A plunger is the go-to tool for clearing mild to moderate toilet clogs caused by everyday bathroom items. It can easily dislodge common culprits, including paper, tissues, toilet cleaners or disinfectants, and flushable wipes, which expand when wet in you plumbing system.
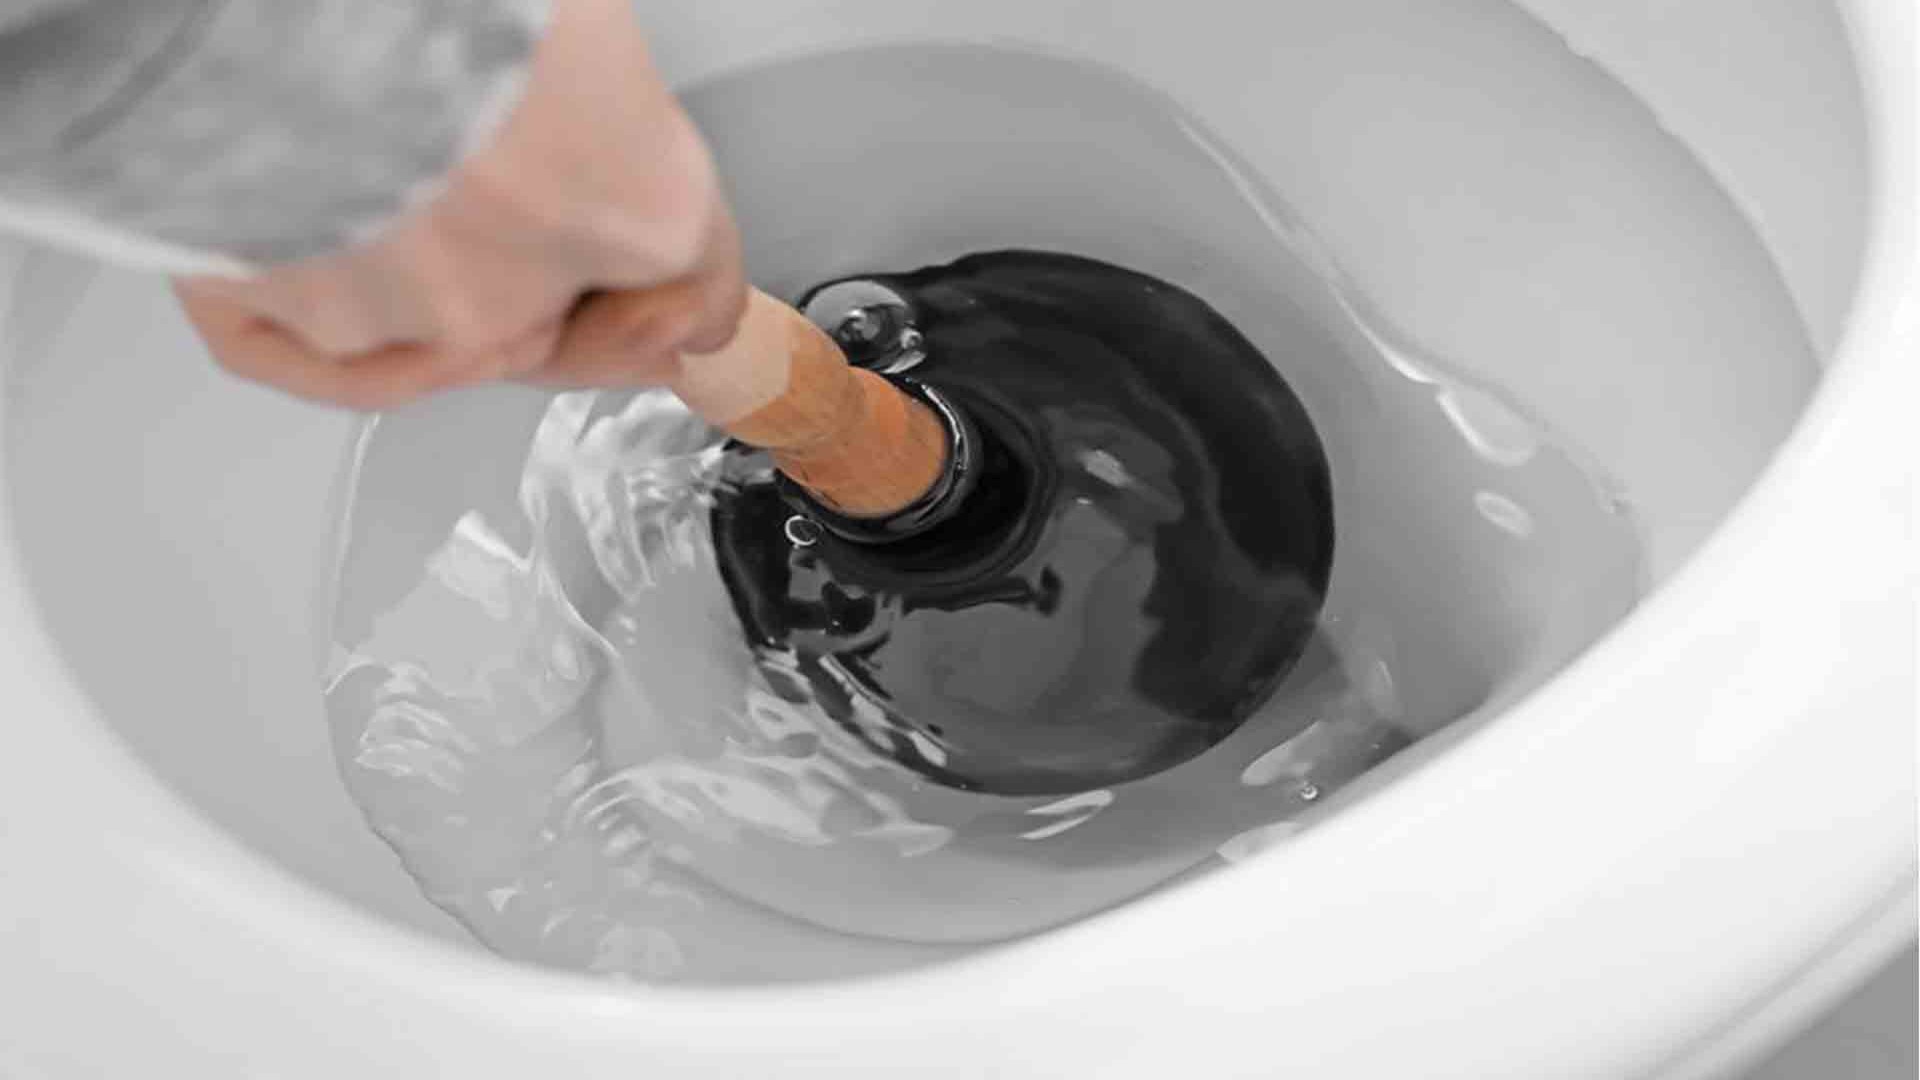
If the item(s) have caused only a partial clog and the water still partially drains away, a plunger will likely remove the blockage. You’ll know your clog is suitable for plunging if you see build-up in the bowl or hear gurgling when the handle is pressed but the toilet doesn’t fully flush.
More severe clogs involving large objects may require a toilet snake or other tool. But a simple plunger is often all you need for swift drainage restoration for typical clogs.
Now that you’ve determined a suitable plunger, it’s time to remove the clog. The process is straightforward, with just a few simple steps:
This reduces unnecessary overflow as you work. Flush it, then use the scooper to clear any remaining contents.
Apply a thin film of soapy water, petroleum jelly or silicone lubricant inside the rim. This helps create a proper seal against the toilet.
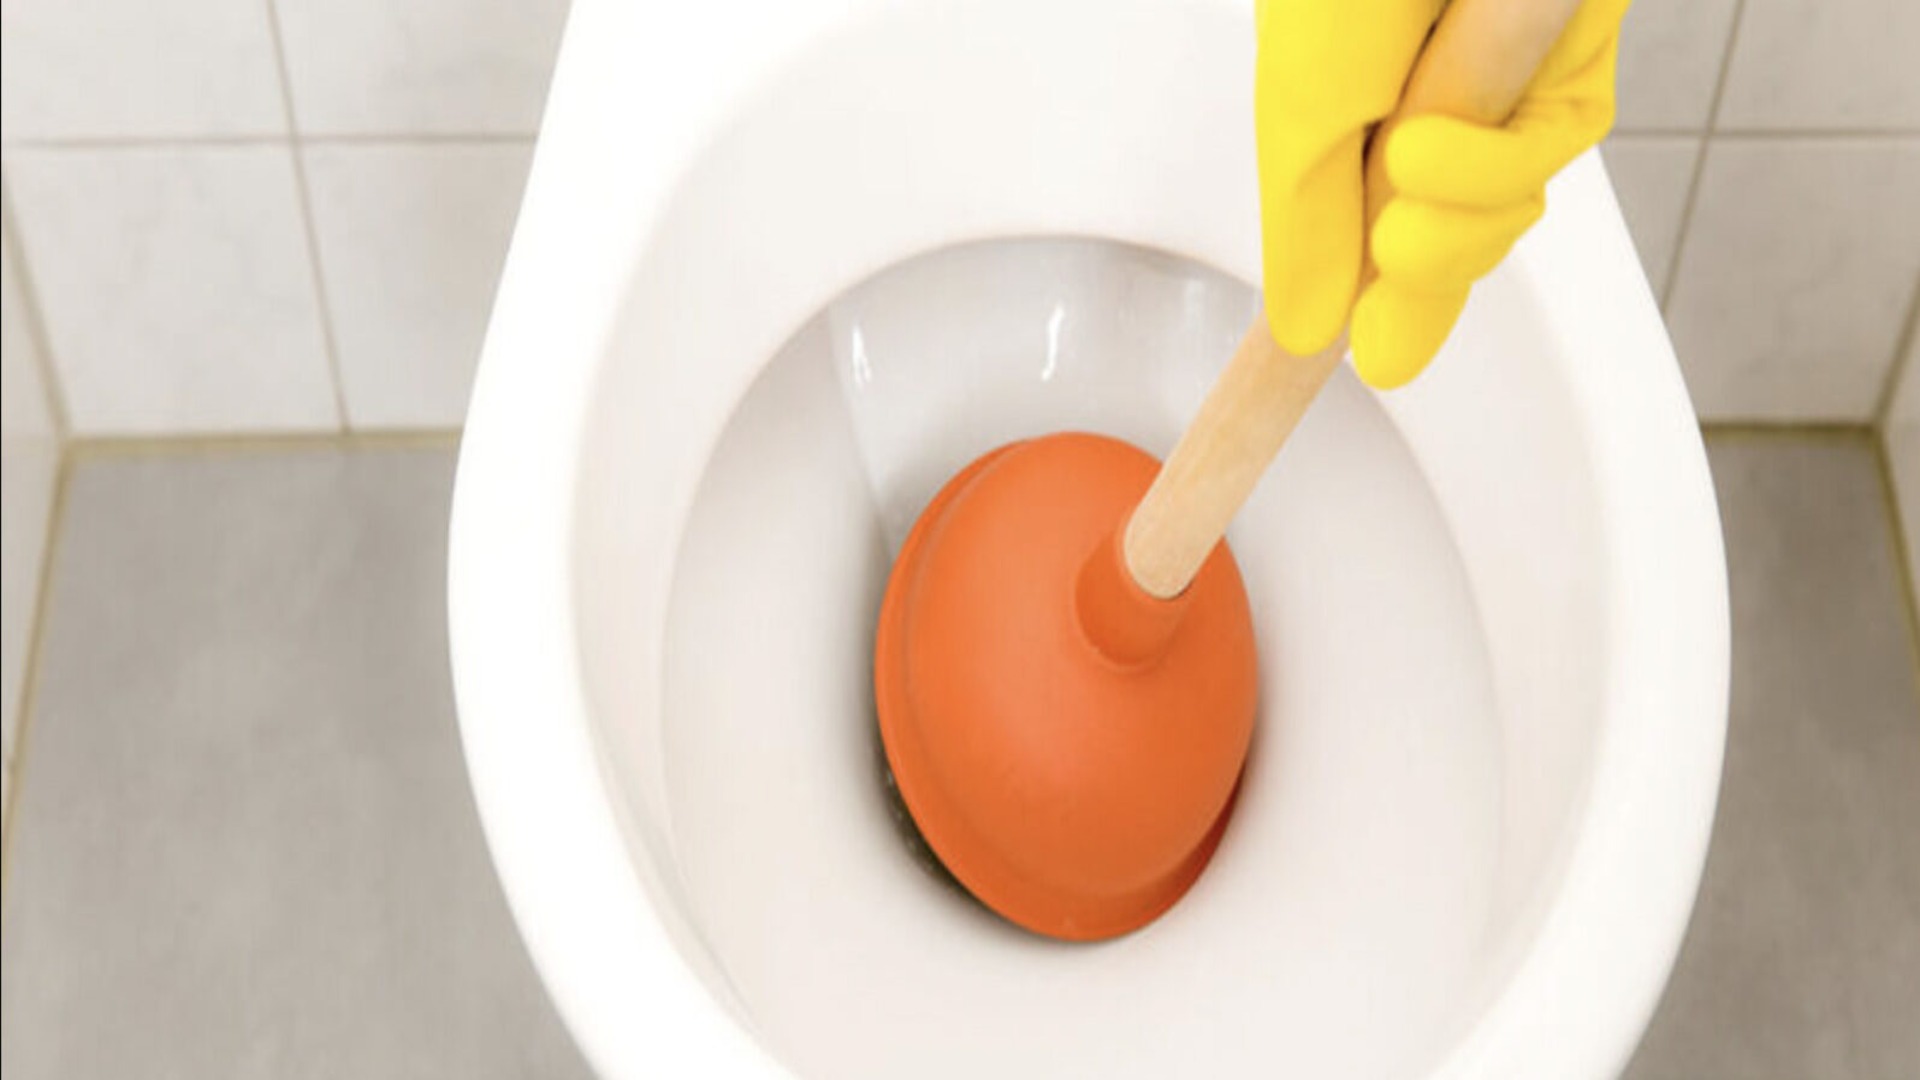
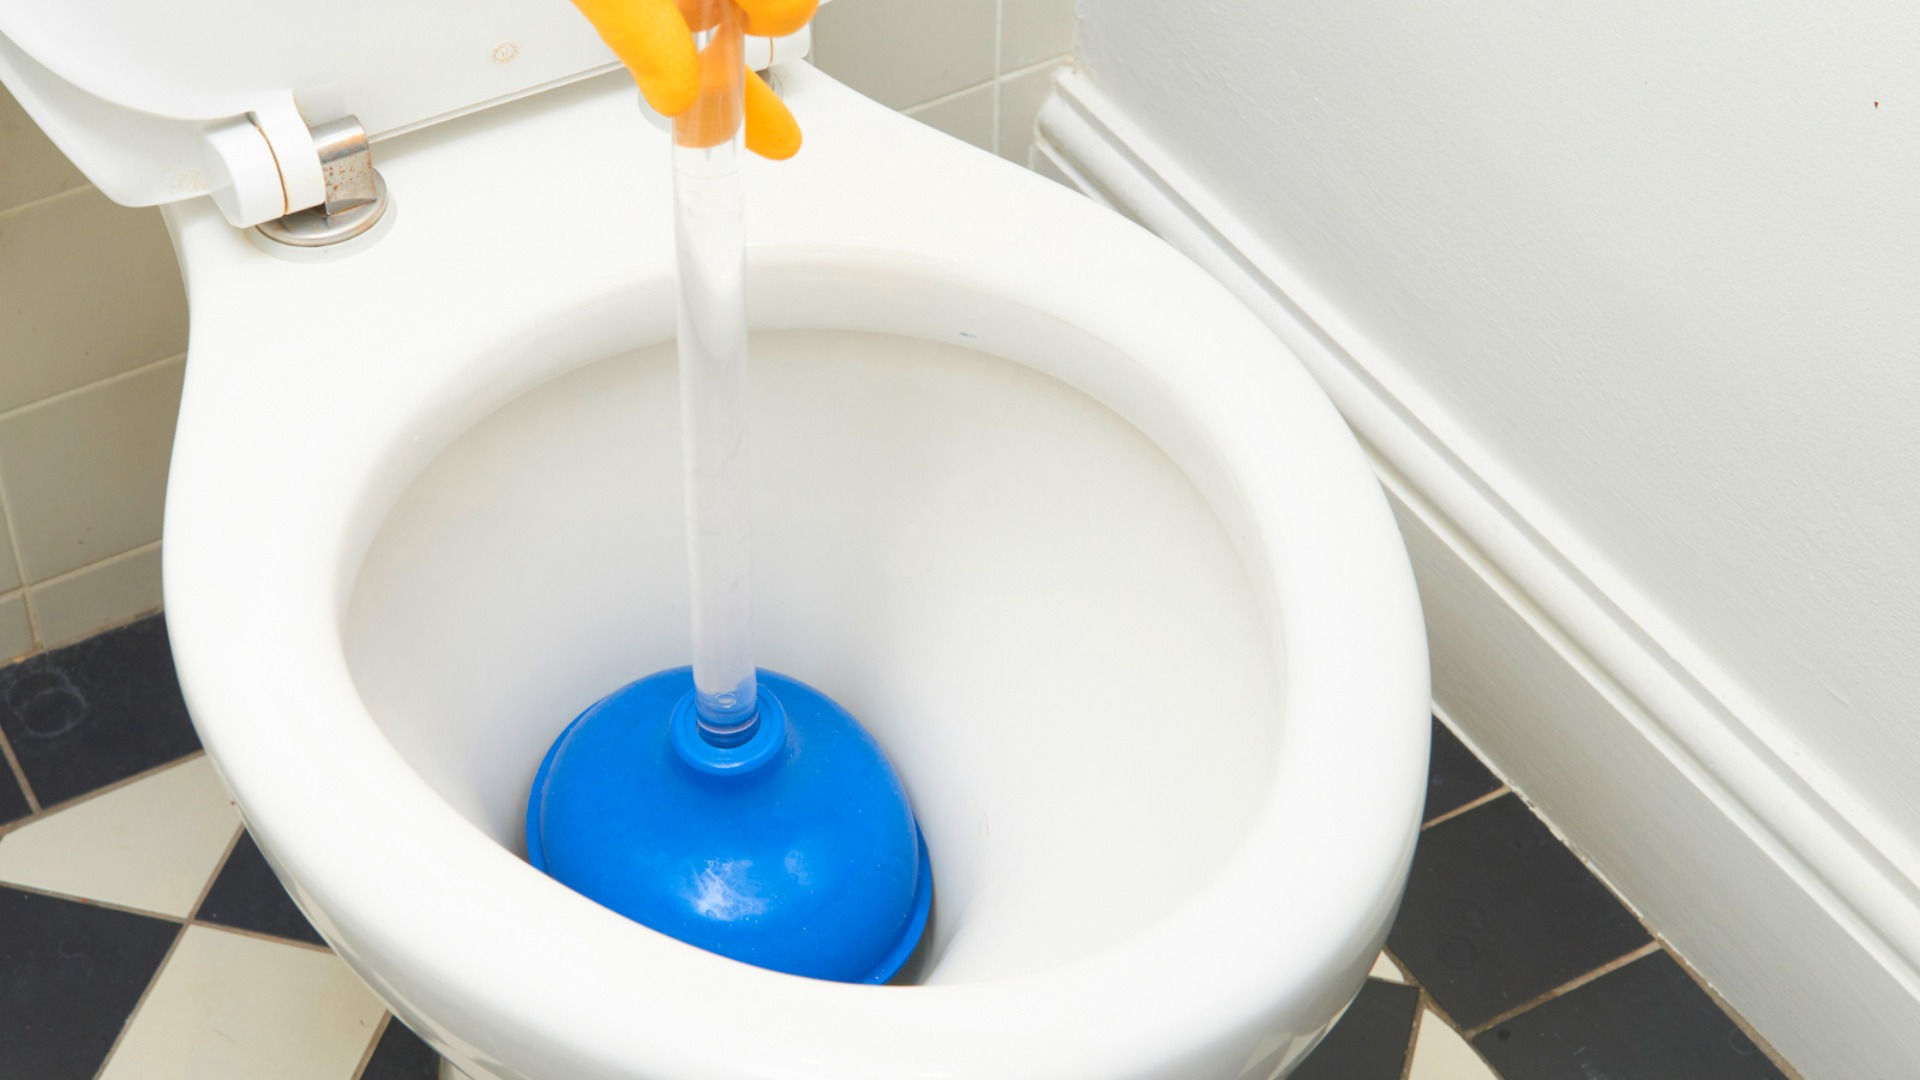
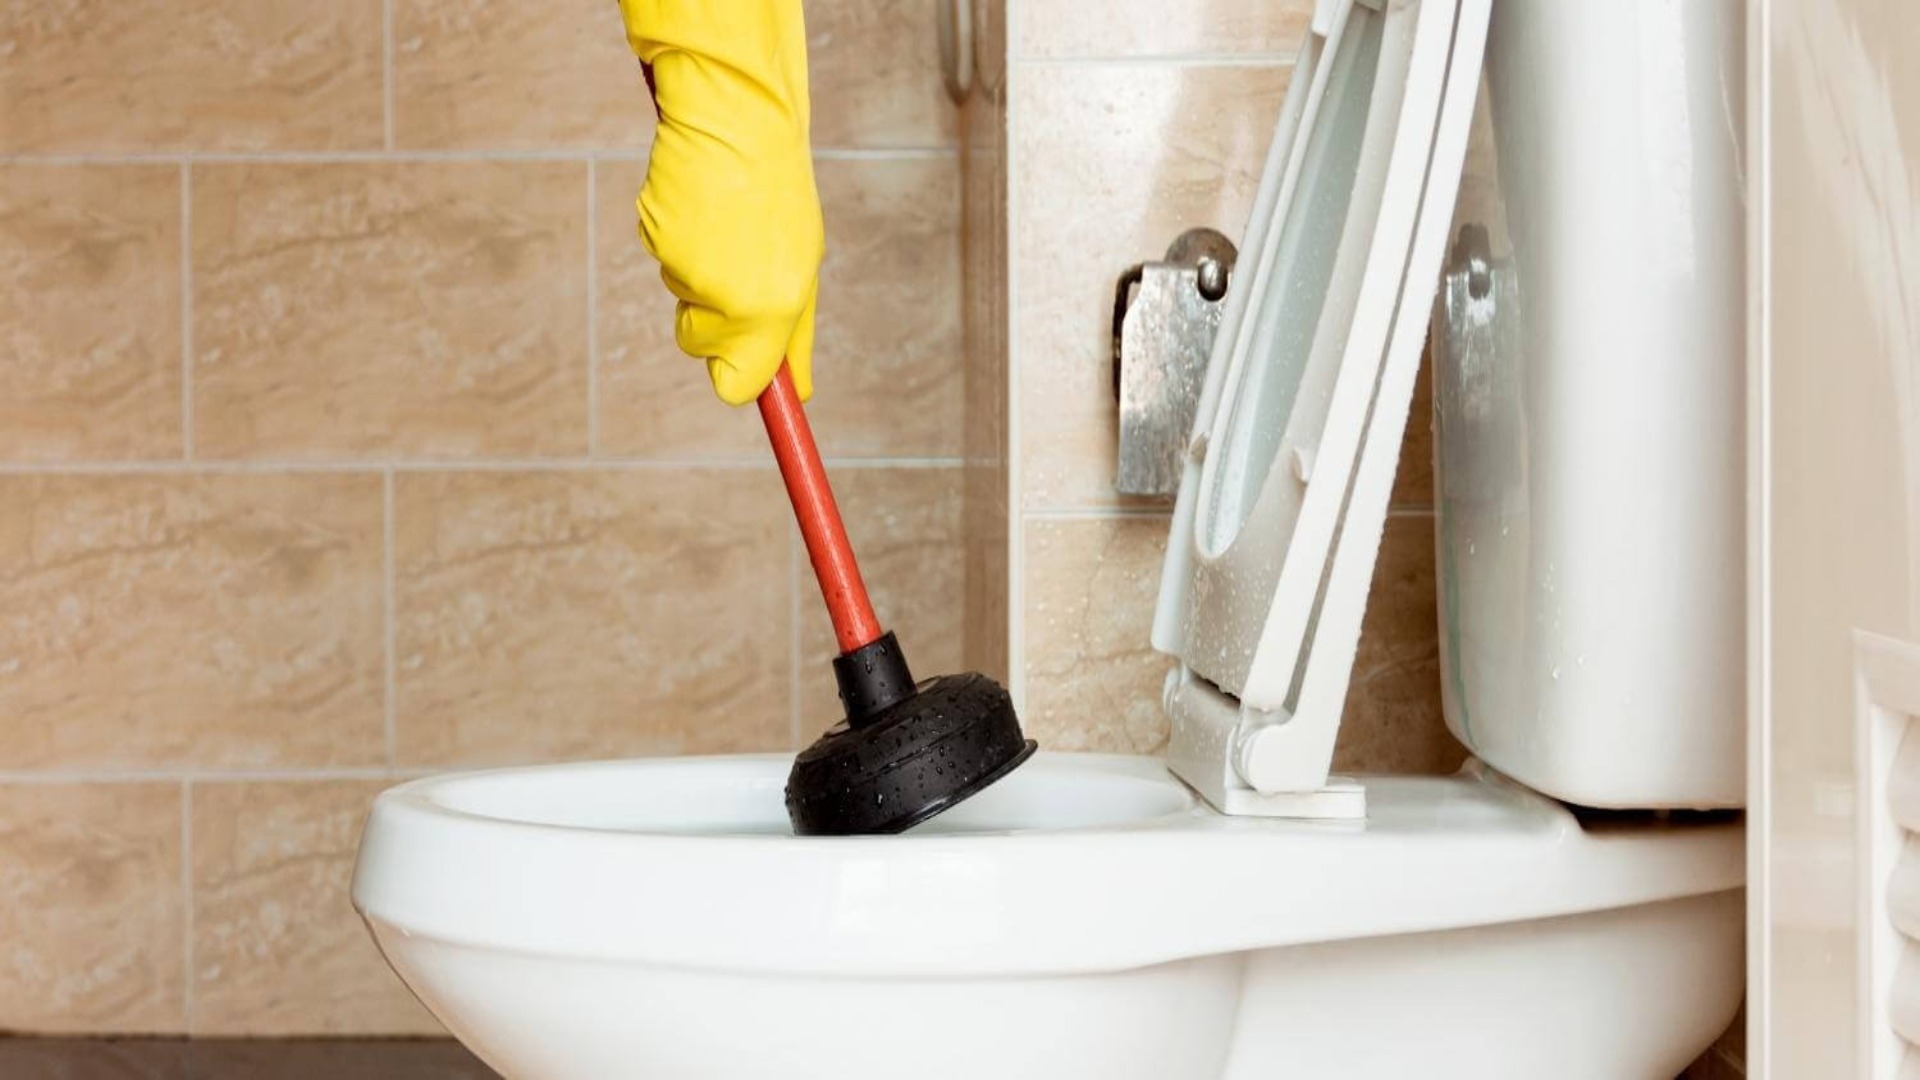
Position the plunger completely over the toilet drain opening. Push it down firmly with both hands and pull straight up in a repeated rhythmic motion. Apply moderate pressure at first, increasing as needed.
Once the plunger no longer encounters resistance, give the handle a flush. Check if the clog has fully cleared by how completely the water swirls away. You may need to repeat the plunging if remnants remain.
Also, don’t forget to mop water out of the tank with a sponge and disconnect the supply line at the bottom of the toilet tank. With patience and elbow grease, the plunger’s suctioning action can break apart and expel even stubborn clogs down the blocked drain.
A few techniques can help you plunge more effectively. Apply firm, steady pressure without overexerting yourself.
Small, rhythmic strokes work better than mashing it forcefully. Adjust your motions if needed – rocking it side to side or twisting gently may help on stubborn clogs.
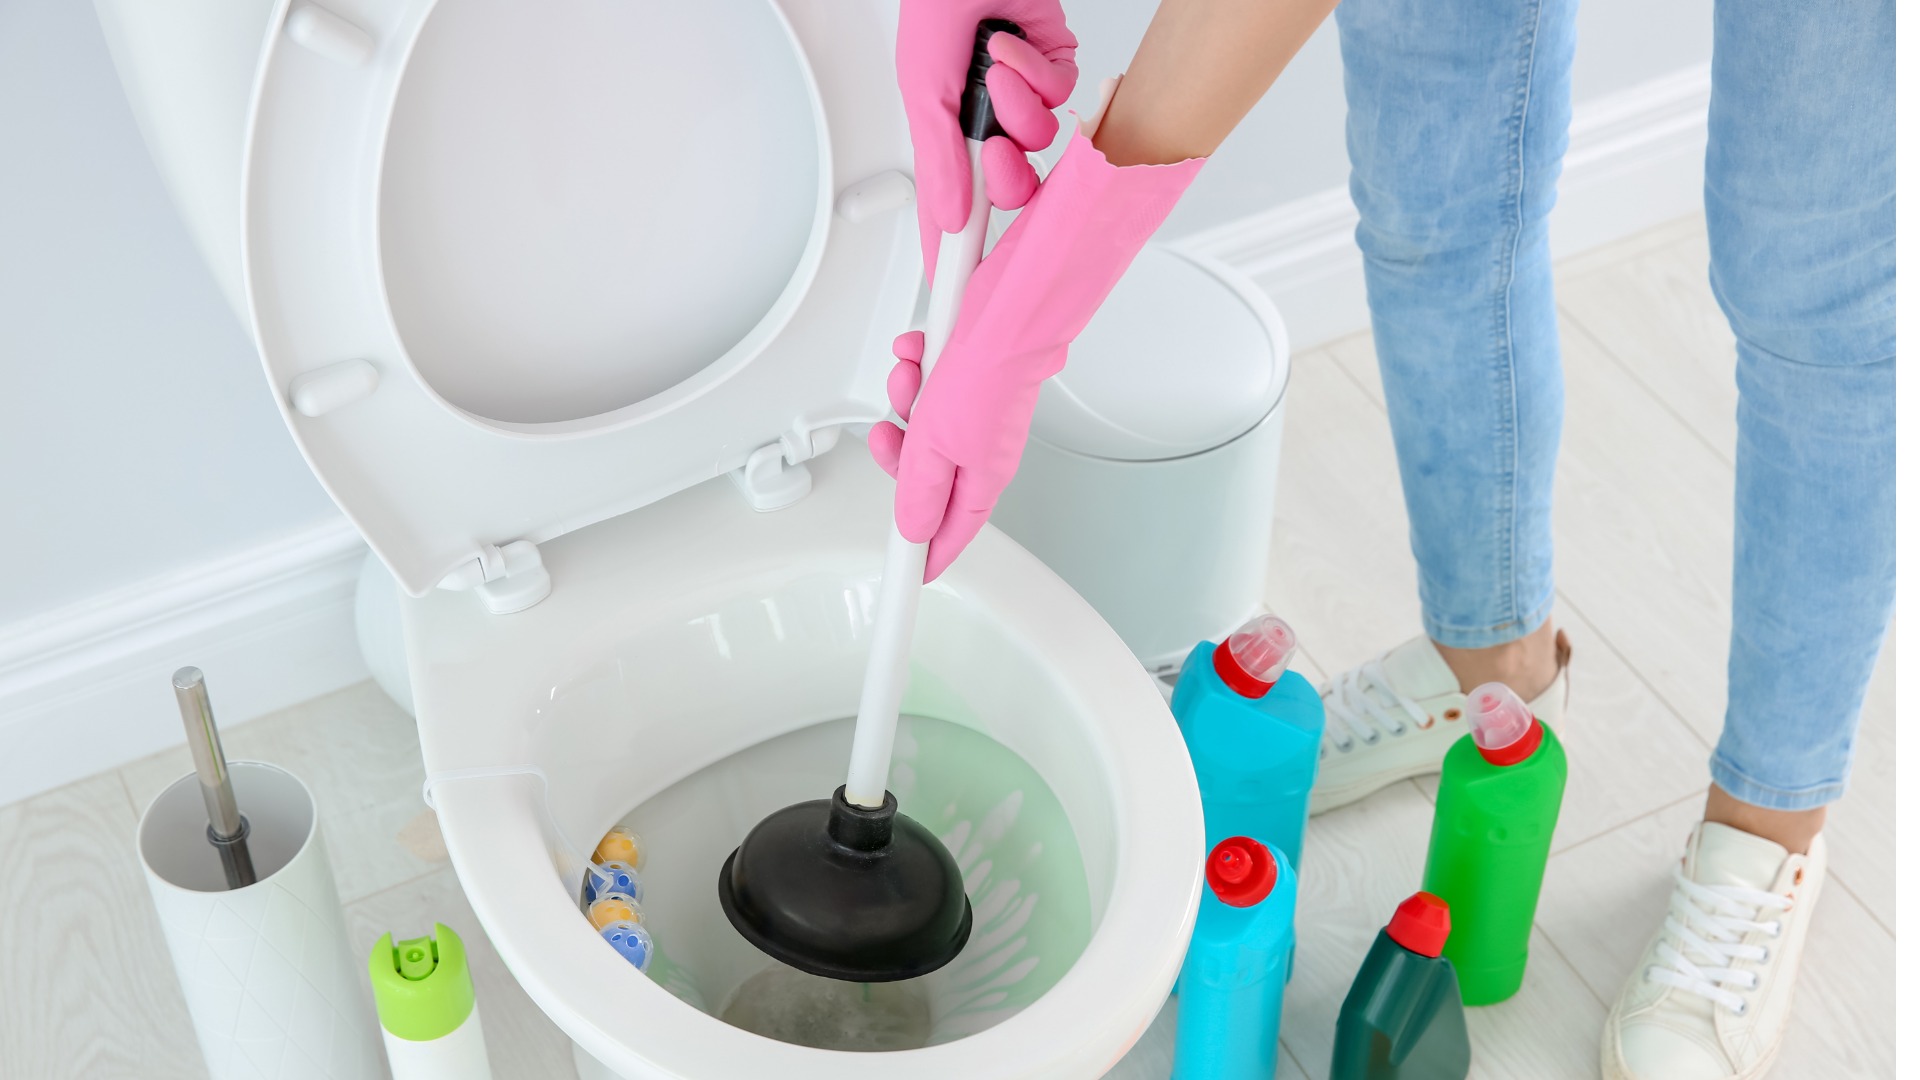
Make sure to position the toilet plunger rim flush against the drain opening so it forms an airtight seal. This helps it suck and eject the clog rather than just pushing it deeper.
Check your angle, too – perpendicular works usually, but try tilting forward or backward if not. And remember to prime the seal by wetting the rim before each use. With the practice of these simple tips, you’ll be unclogging toilets like a pro in no time.
If the clog refuses to budge after several minutes of consistent plunging, it’s time to bring out the big guns. A closet auger wire coat hanger or “snake” can be an effective second choice. This thin, flexible tool with rotating blades is inserted down the drain to break up clogs further inside the clogged pipe.
We also suggest wearing rubber gloves and eye protection. You can use gloves to access the toilet flapper, but don’t worry – the water should be clean. If you can’t find the toilet flapper, you can turn off the water supply to the property via your stopcock.
Another option is pouring a cup of baking soda and 1/2 cup of vinegar into the bowl. Stir the solution well with a wooden spoon or stick until it begins to fizz and heat up. Then, pour it into the blocked drain, leave the solution for 20-30 minutes, and flush with boiling water.
The chemical reaction may break down clogs, especially if they contain soap or hair. Wait 30 minutes before flushing repeatedly. As a last resort, when homemade drain cleaner doesn’t work, commercial drain cleaners containing lye or acid can dissolve organic matter clogging the U-bend. Always wear protective gear and follow all safety instructions when using chemical drain cleaners.
While plungers solve the problem, it’s best to try avoiding clogs in the first place. One key is limiting what goes down the drain.
Don’t flush paper towels, rags, diapers, or “flushable” wipes, which don’t truly dissolve like toilet paper. These items can catch and accumulate over time. You can also pour 1/2 cup baking soda into the clogged drain monthly, then follow with 1/2 cup vinegar to help cut through oils and soap scum build-up.
Consider using a drain strainer to catch hair and other solids before they go down the pipe. Regular maintenance like this helps clear drains so your toilet flows freely. With a bit of practice in prevention habits, you can say goodbye to plunging troubles for good.
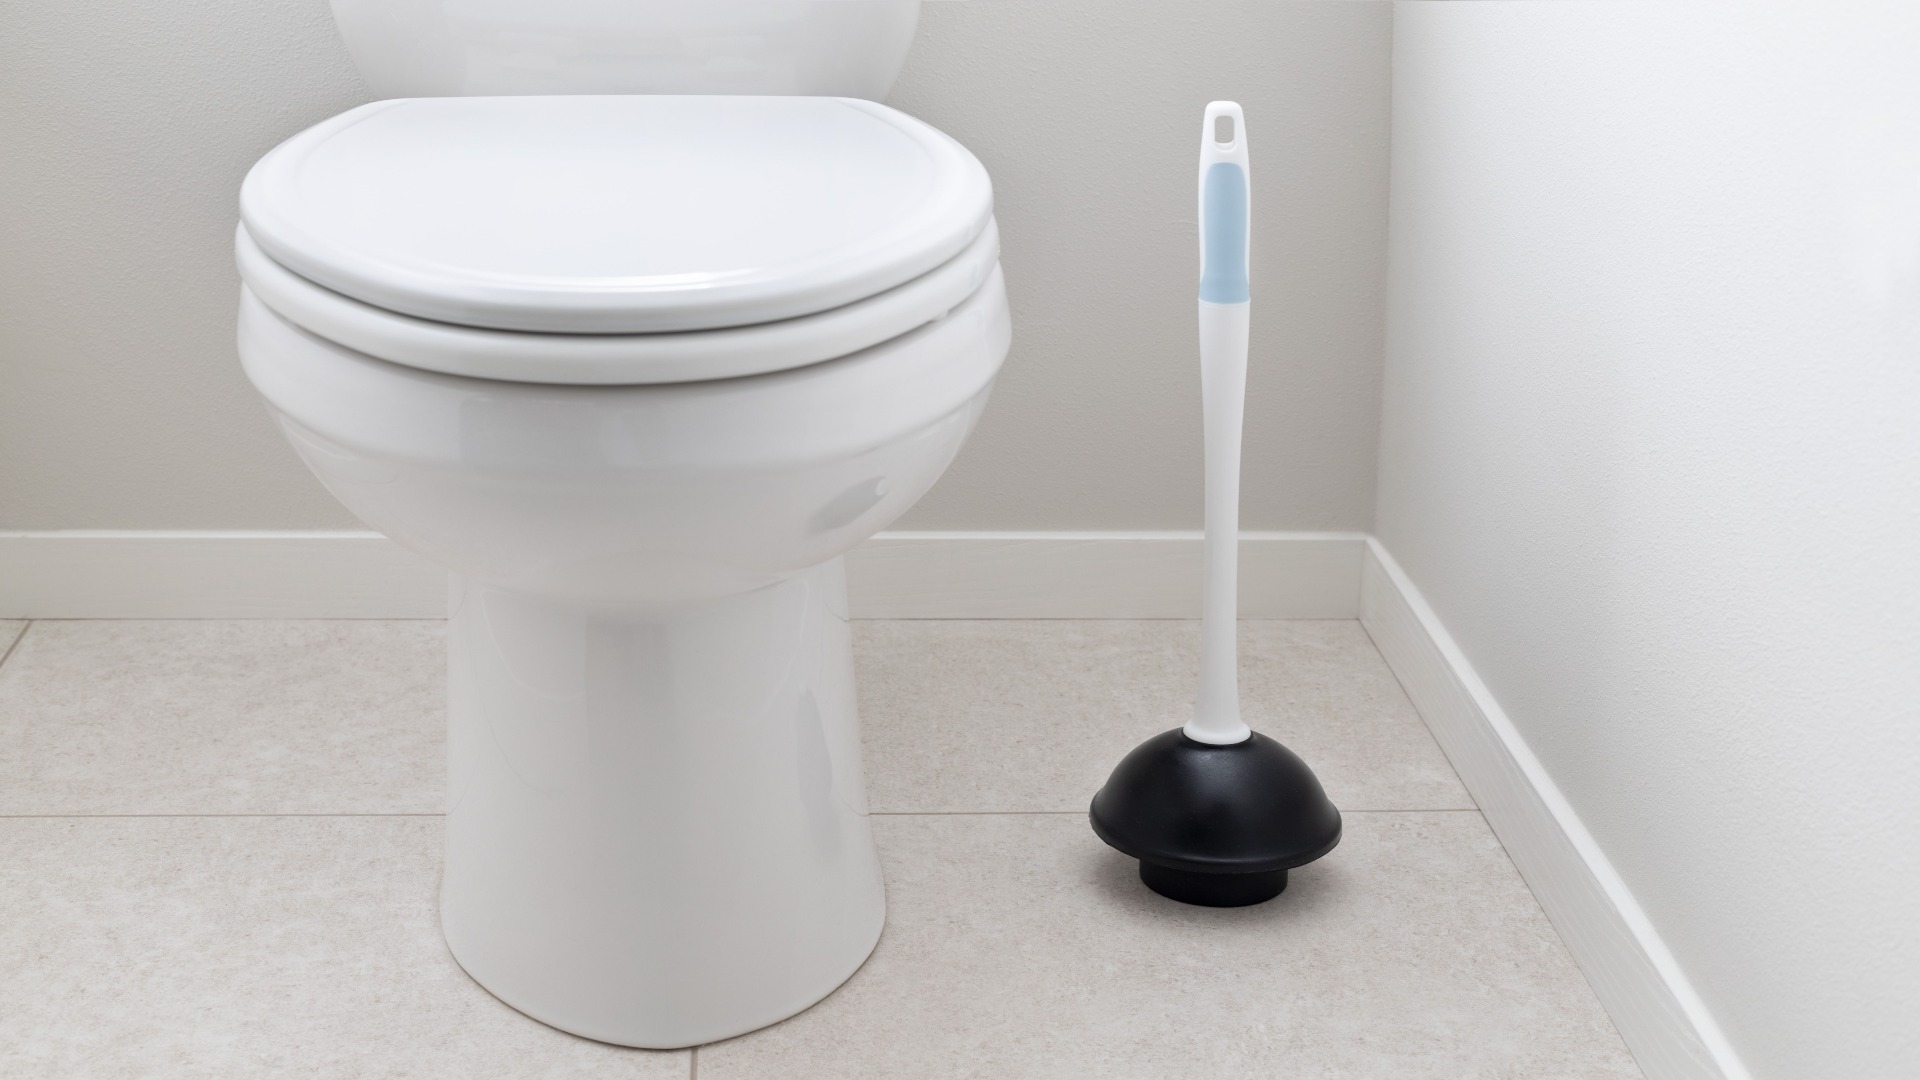
A plunger is perfectly sanitary as long as it is only used on blocked toilets and cleaned with dish soap or hot water afterwards. Plungers have thick handles to avoid contact with waste, and the clog-clearing end remains fully submerged.
Once the blocked toilet is unclogged, flush repeatedly until clean. Any remaining waste can remain in the bowl and be flushed away normally. Avoid manually removing waste unless absolutely necessary for health reasons.
No, as plungers are designed for clearing toilet drains without harm. However, vigorous or prolonged plunging in one spot could crack older toilets over time. It’s best to plunge rhythmically all over the drain opening, not just one area.
If you find yourself with a blocked toilet and no plunger on hand, don’t panic! You can try pouring a mixture of hot water and dishwashing liquid into the bowl to help break up the clog. If that doesn’t work, a plumbing snake or auger can be used to remove the blockage manually. You can also use a wire hanger or plastic bottle as a makeshift plunging tool in a pinch. However, it’s always best to have a proper plunger on hand for quick and easy clog removal.
Yes, recurring toilet blockages can be a sign of a larger plumbing problem that may impact your septic system. If you notice your toilet is frequently clogged or slow draining, it could indicate a blockage further down the drain line. This can lead to excess water and waste backing up into your septic tank, causing it to fill up more quickly and potentially overflow. To prevent septic system issues, address any persistent toilet clogs promptly and avoid flushing non-biodegradable items that can cause blockages.
With the simple tips covered here, you now have the skills and confidence to conquer the most common toilet clogs yourself using a basic plumbing tool – the plunger. Whether maintaining clear drains through prevention habits or springing into action when clogs occur, following this guide means toilet troubles no longer threaten your day.
If problems persist despite your best plunging efforts, don’t hesitate to contact the experts. Gold Coast Plumbing Company is a full-service plumbing company serving the Gold Coast area. It has the expertise to remedy even severe drain blockages.
From unclogs to drainage inspections and repairs, our licensed professionals can ensure your plumbing issues are resolved quickly and properly. Give us a call to discuss any ongoing trouble or for professional drain cleaning, water heater installation, and other plumbing needs. Keep us in mind for all your residential and commercial plumbing needs!