7:00AM to 5:00PM
Dealing with a clogged or damaged bathtub drain, including the overflow drain, can be frustrating. But armed with the correct information and tools, you can tackle tub drain removal and maintenance like a pro. This guide aims to provide DIYers and those considering hiring a plumber with everything needed to take on drain upkeep with confidence.
We’ll walk through the entire process of safely removing a bathtub drain in a strategic, step-by-step manner. You’ll learn insider tips on disassembling drain parts, catching pesky dropped parts, ensuring proper realignment, and troubleshooting old or stubborn drains. We’ll also cover how to remove various drain stoppers and provide detailed instructions on removing a bathtub drain, regardless of age or condition.
Whether you want to save money by tackling drain maintenance solo or wish to learn the intricacies involved before calling a plumber, this guide will take the mystery out of bathtub drain removal.
Follow along as we dive into the specifics and equip you to deal with any drain like an expert!
Before removing your bathtub drain, performing a thorough assessment and making the necessary preparations is crucial. This initial stage sets the foundation for a successful removal process. Follow these steps diligently:
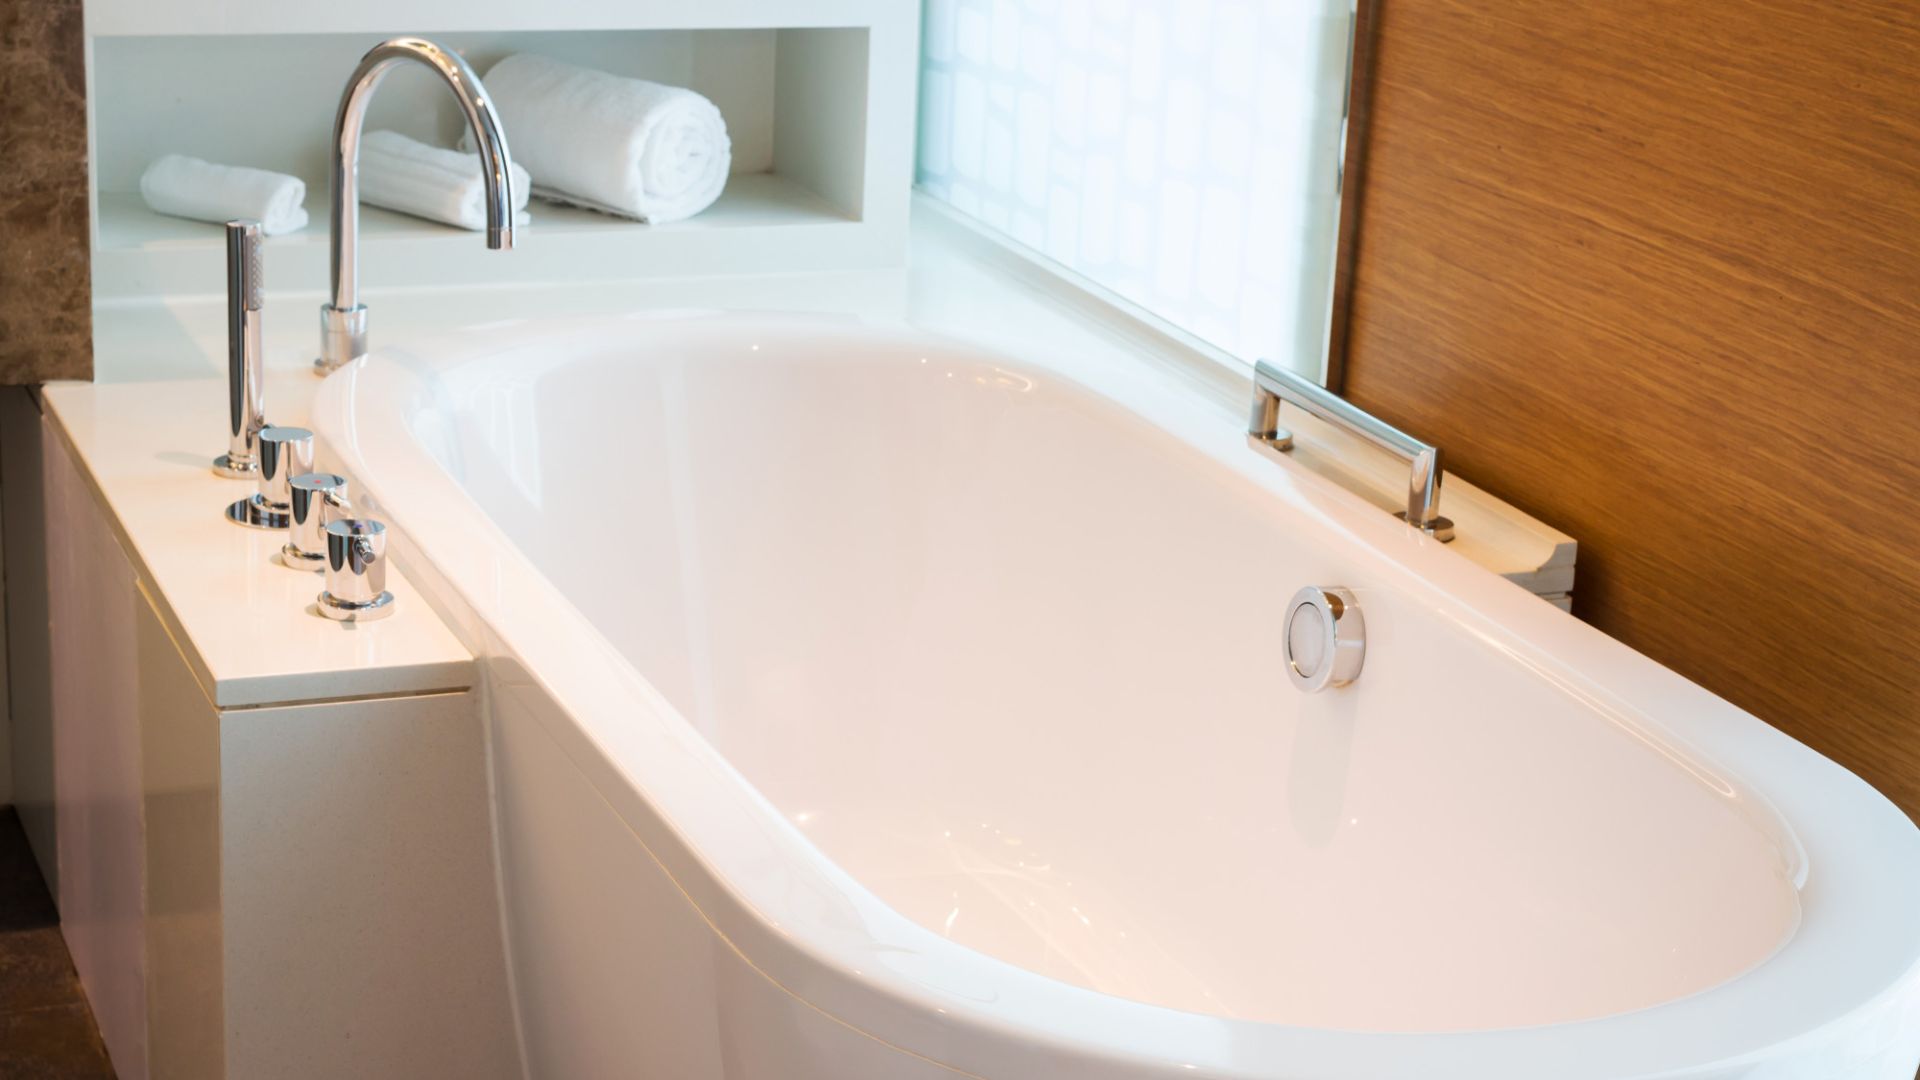
These typically include a pipe wrench, pliers, screwdrivers, plumber’s putty, a bucket, and safety gear such as gloves and safety glasses. Having everything within reach will save you time and frustration.
Usually, they are either on the wall near the tub or under the floor. Turn off the hot and cold water supplies to ensure no water flows during removal.
Remove any objects or obstacles around the bathtub to create a clear workspace. This will give you better access to the drain and prevent accidents or damage to your belongings.
Look for signs of corrosion, damage, or wear and tear. Understanding the drain’s current state will help you anticipate any challenges during removal.
Wear appropriate safety gear, including gloves and safety glasses, to protect yourself from harm.
Now that you’ve completed the initial assessment and preparations, it’s time to dive into the step-by-step guide for removing your bathtub drain. Follow these instructions carefully to ensure a successful removal process:
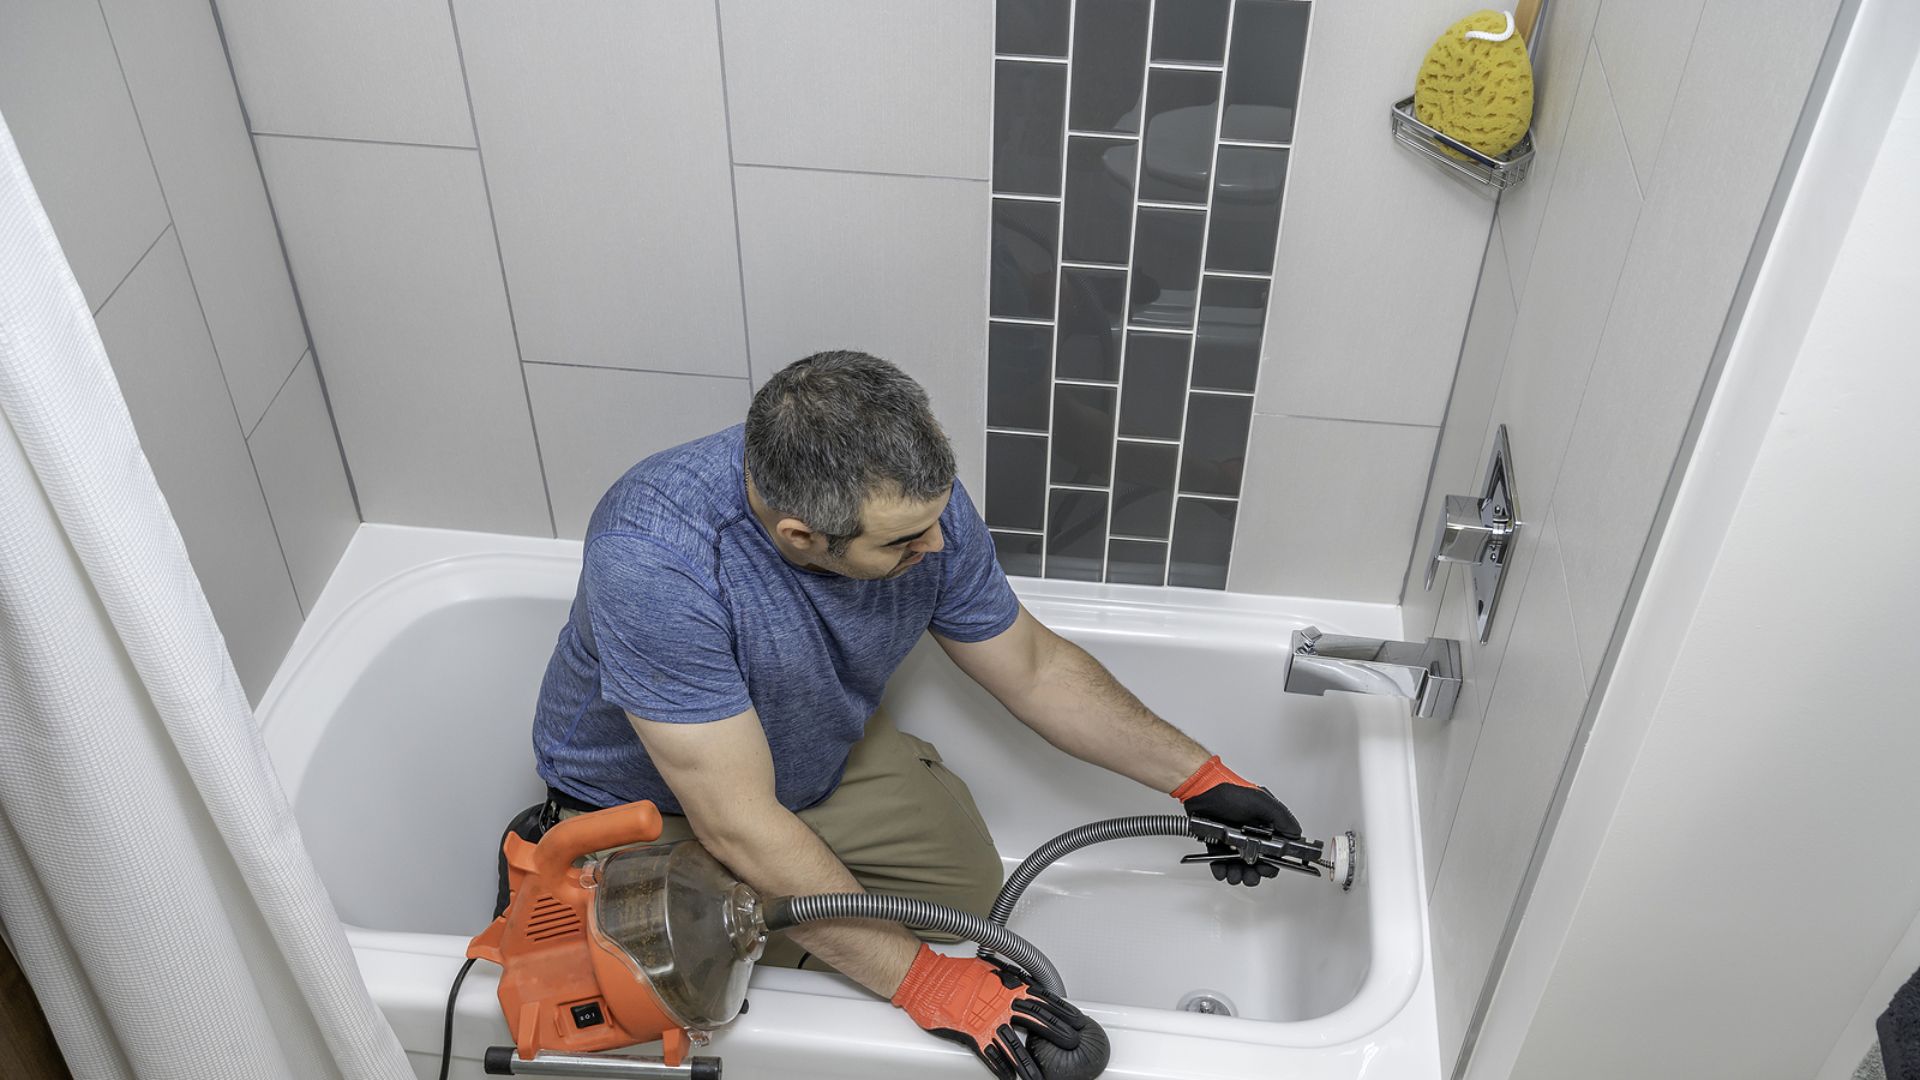
Begin by removing the drain stopper from your bathtub. Depending on your stopper type, this may involve unscrewing it counterclockwise or carefully prying it up with a flathead screwdriver. If you have a trip lever or removable knob, you may need to remove it first. Set the stopper aside.
To access the drain, you may need to remove the overflow plate, typically located just below the faucet. Use a screwdriver to remove the screws holding the plate and gently pull it away from the wall. If you encounter a set screw, use needle nose pliers to remove it.
Insert a pair of pliers or locking pliers into the drain and turn it anti-clockwise. Be cautious not to damage the drain or the surrounding bathtub surface while doing this. If the flange is stubborn, applying penetrating oil can help.
Once the drain flange is loose, carefully unscrew it and lift it out of the drain hole. You may need to wiggle it slightly to free it from any remaining sealant or plumber’s putty.
With the drain flange removed, clean the drain opening thoroughly. Using a putty knife or similar tool, remove any old plumber’s putty, debris, or buildup. A clean surface ensures a better seal when you reinstall the drain later.
If you’re replacing the drain with a new one, follow the manufacturer’s instructions for installation. Apply a fresh layer of plumber’s putty around the underside of the new drain flange and carefully thread it into the drain hole. Tighten it securely but avoid over-tightening, which could damage the drain or tub.
Reattach the overflow plate you removed earlier, ensuring it’s securely fastened to the wall with the screws.
Before using your bathtub again, turn the water supply back on and let the tub fill. Check for leaks around the drain area and ensure the drain functions properly. If you notice any leaks, tighten the drain flange or reapply the plumber’s putty as needed.
If you encounter any plumbing problems or find yourself in an emergency plumbing situation that you can’t resolve with essential tools, don’t hesitate to contact a professional plumbing service like Brisbane Plumbing & Drainage Pty Ltd to remove the drain and address any issues safely and effectively.
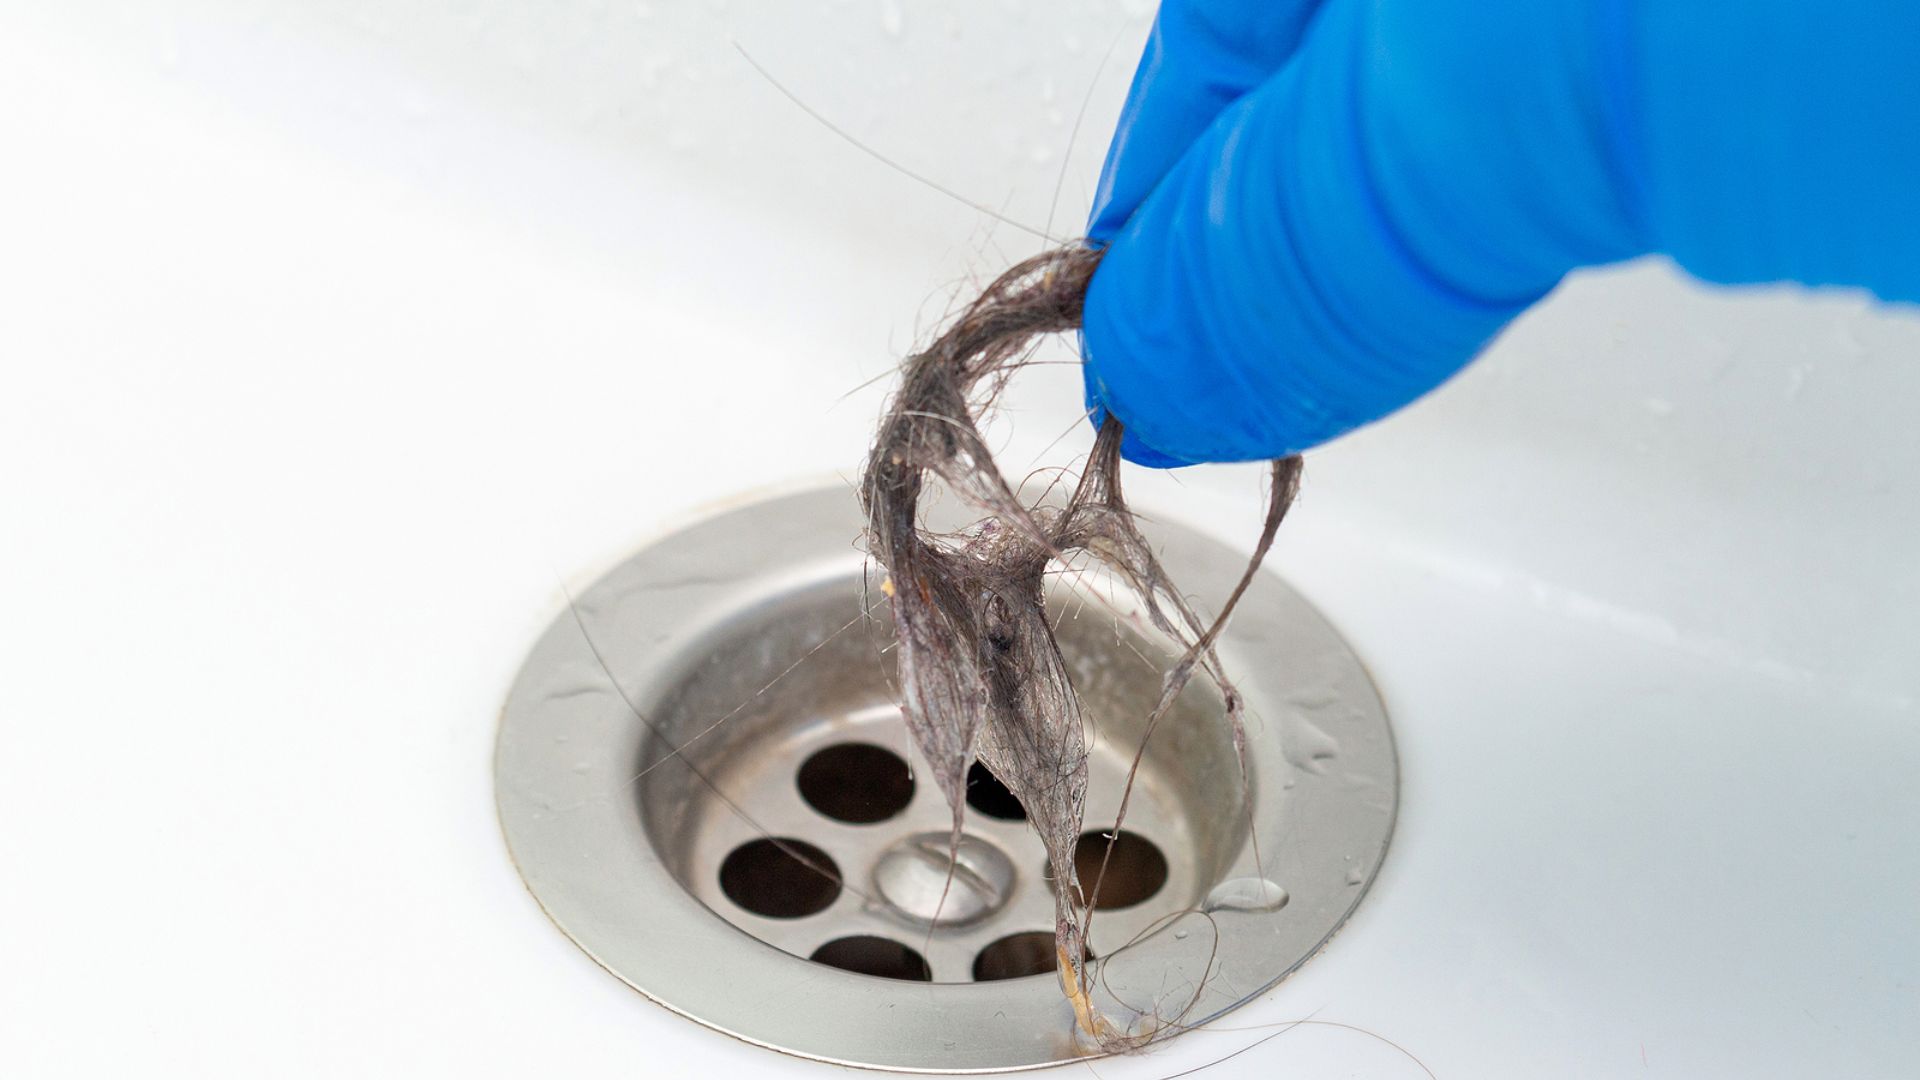
Dealing with stuck or corroded bathtub drains during removal is common but poses additional challenges. Start by applying a penetrating oil, like WD-40, to the threads of the stuck drain flange. Let it sit for 15-20 minutes to loosen corrosion or rust. After the penetrating oil has worked, cautiously attempt to turn the drain flange counterclockwise with a pipe wrench or pliers. Apply steady, controlled force, avoiding excessive pressure to prevent damage.
If the drain remains stuck, use heat to expand the metal slightly. Use a heat gun or propane torch to ensure even heating. Then, try turning the drain again, taking care of open flames and ventilation. Consider employing a drain removal tool if previous methods fail. These tools are designed for stubborn flanges; follow the tool’s instructions carefully to avoid damage. If all else fails or you’re uncomfortable with the force required, consult a professional plumber. They possess the expertise and specialised tools for safely and efficiently handling stuck or corroded drains.
Addressing stuck or corroded drains requires patience. Avoid excessive force to prevent further damage, which might lead to more extensive repairs. If uncertain at any point, seek assistance from a professional plumber.
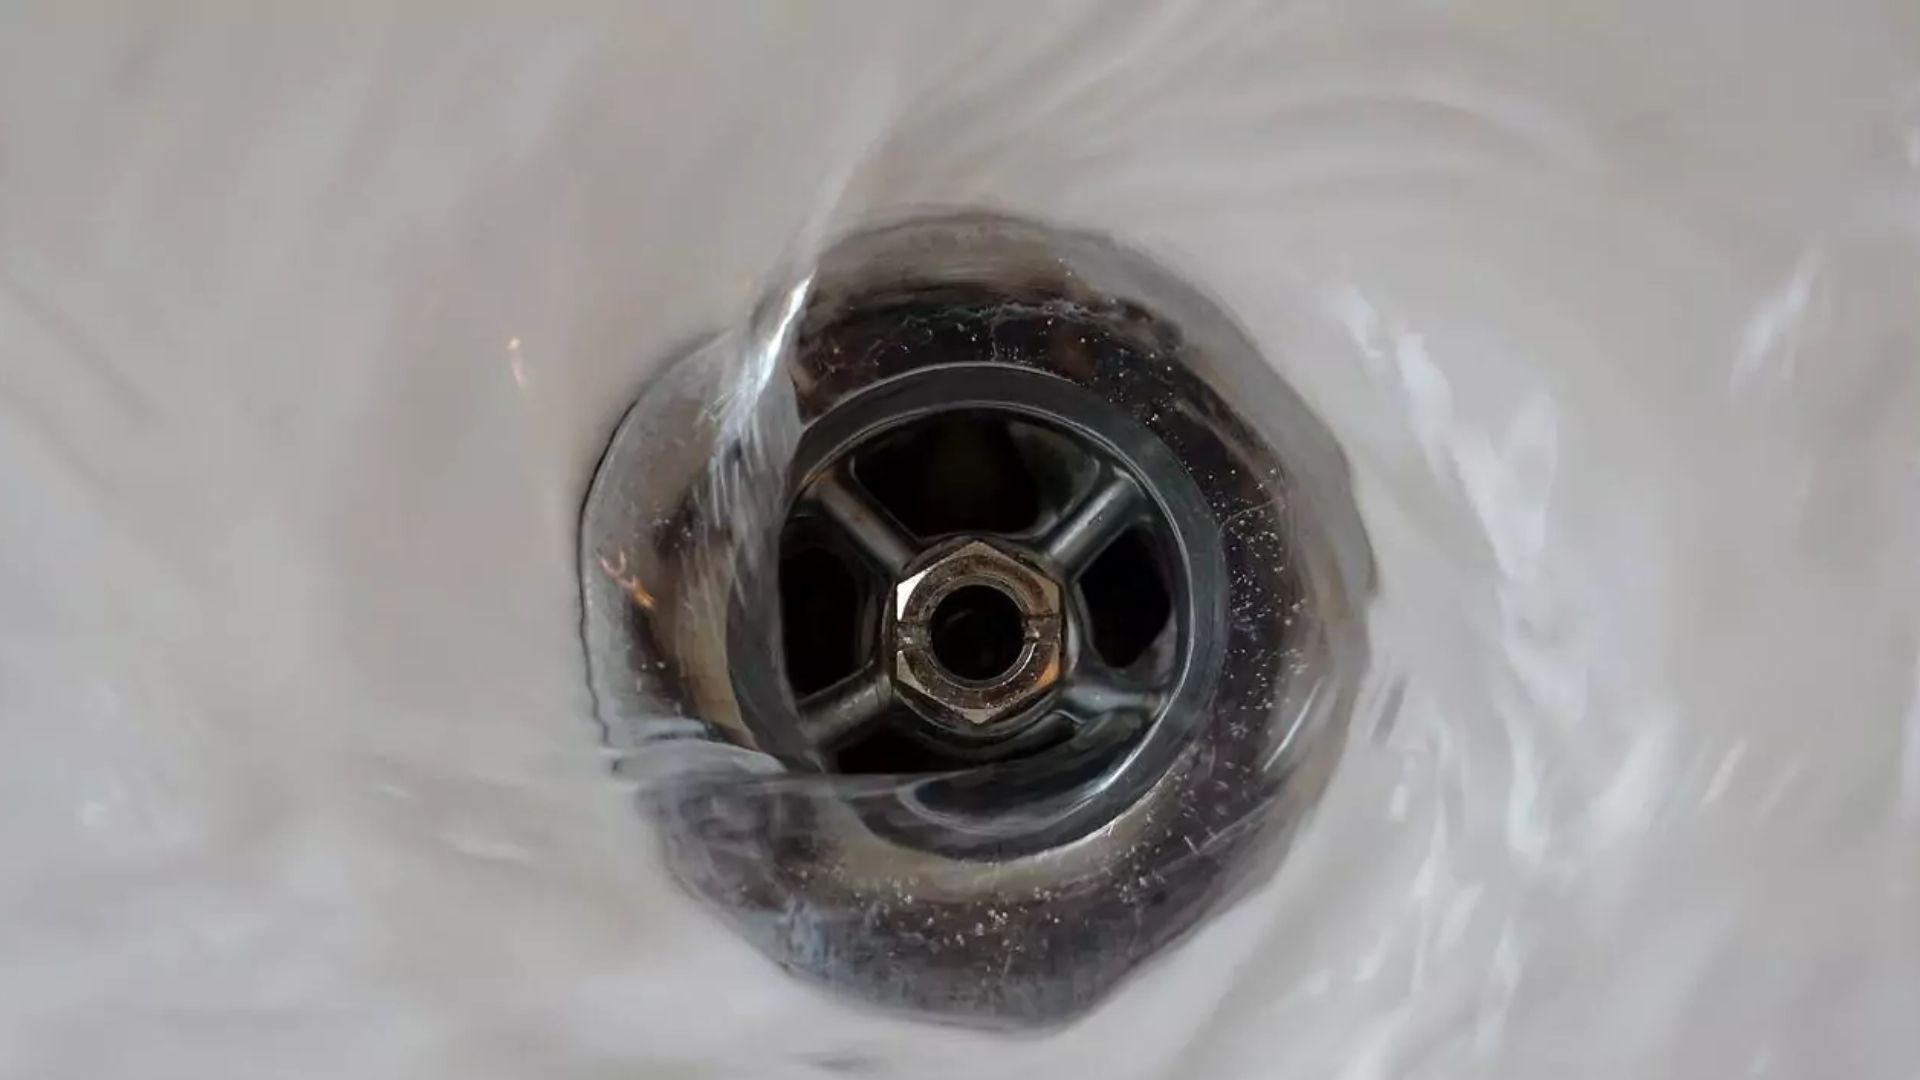
After successfully removing your bathtub drain, ensuring a clean and safe bathroom environment is vital. Here’s what you should do: Inspect the area for debris, old sealant, or plumber’s putty, and use a putty knife to clean these remnants from the drain opening and surrounding surfaces. Dispose of waste materials, like old drain components or plumber’s putty, following proper disposal methods.
Clean the drain opening with a mild detergent or bathroom cleaner to ensure a hygienic surface. Turn the water supply back on, fill the tub, and check for leaks around the drain area. Address any leaks promptly. Sanitise your tools if you plan to reuse them for future projects, preventing the transfer of debris or contaminants. Follow the instructions to reattach the drain stopper if it was removed during the process.
Properly dispose of cleaning materials, rags, or towels, leaving the area clean and dry. Following these post-removal clean-up and hygiene steps maintains a safe and hygienic bathroom environment, ensuring the success of your bathtub drain removal project and the overall well-being of your plumbing system and bathroom.
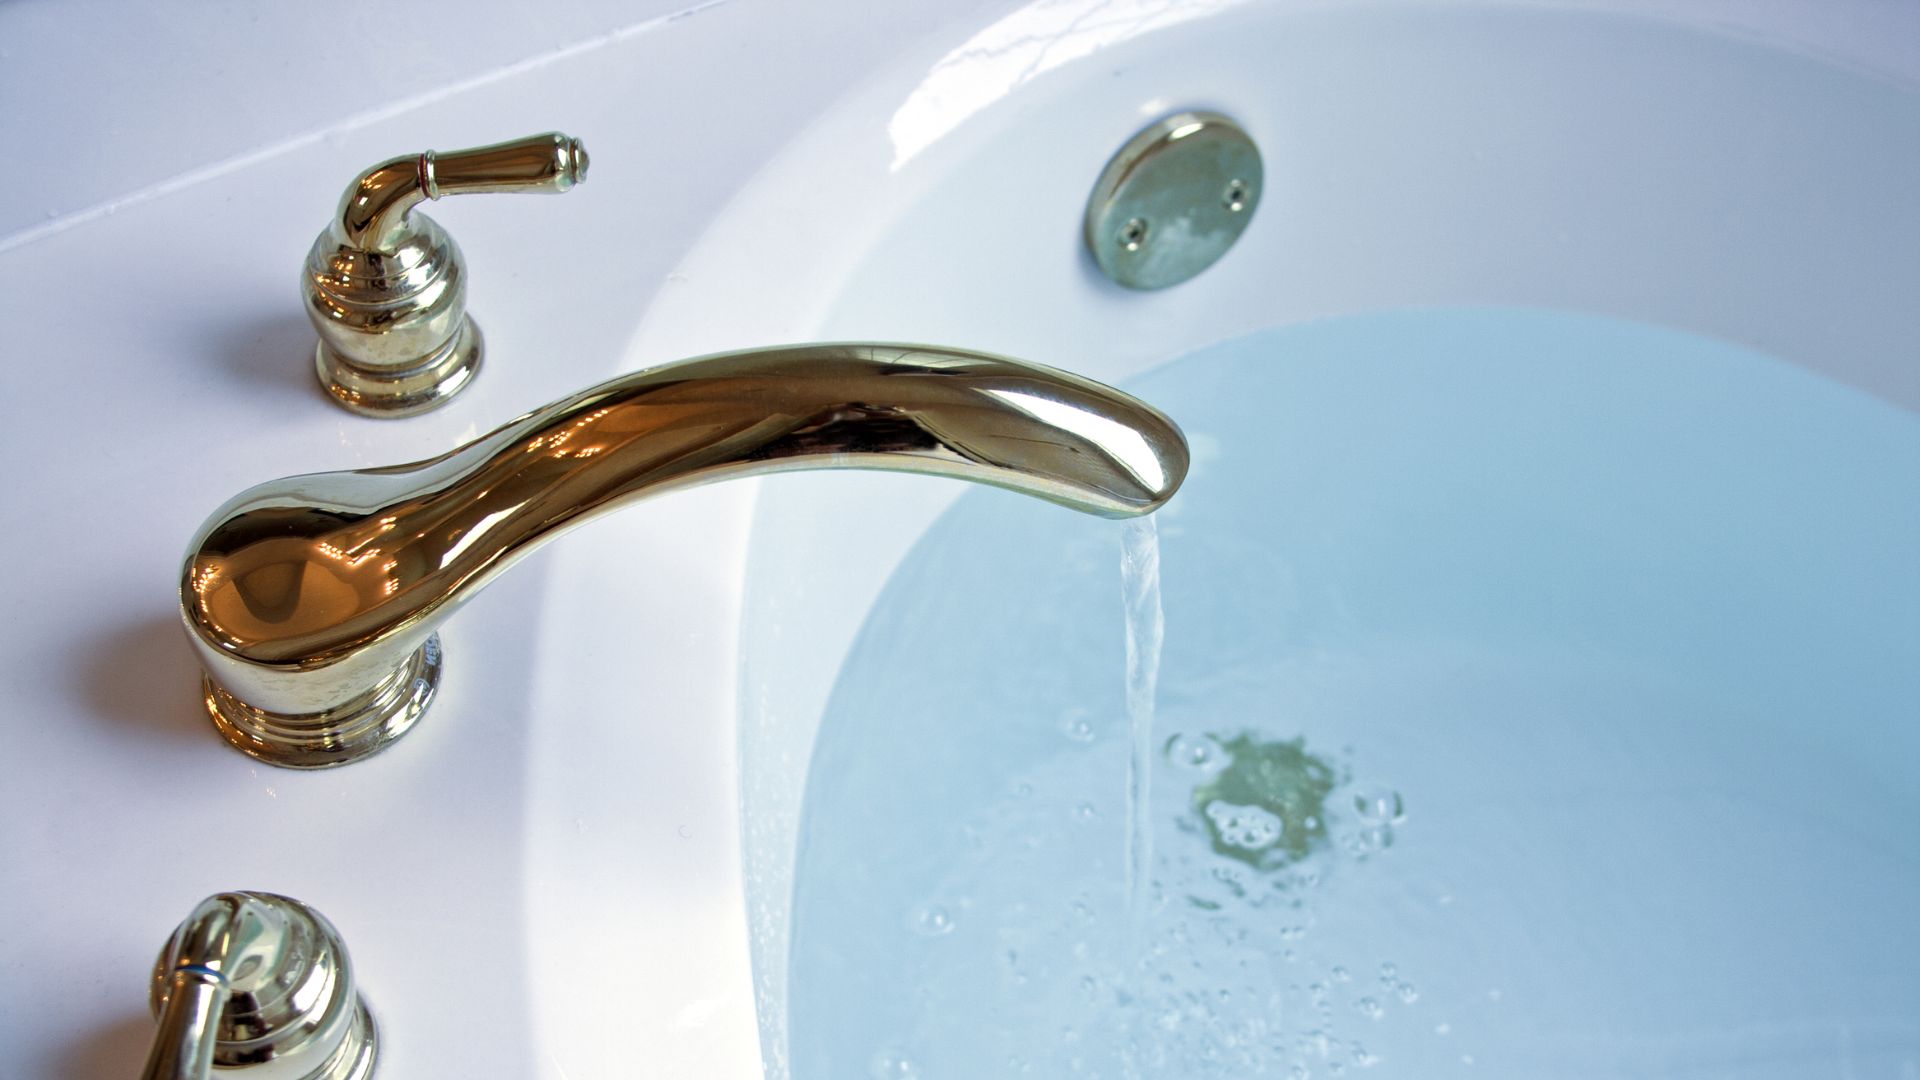
Ensuring the longevity and efficiency of your plumbing system involves several critical practices.
Regular inspections are crucial. Periodically check drains, pipes, and fixtures for leaks, corrosion, or wear and tear. Early detection can prevent costly repairs. Proper waste disposal is essential. Avoid items that can clog drains or harm your plumbing. Use drain strainers to catch debris and avoid pouring grease down the drain.
Maintain water heater temperatures at moderate levels to prevent scalding and reduce mineral build-up in pipes. Promptly address leaks, as even minor drips can lead to significant water waste and damage over time. Regular drain cleaning with baking soda and vinegar, followed by hot water, helps prevent clogs.
Keep water pressure within recommended levels to avoid stressing pipes and fixtures. Consider scheduling annual plumbing inspections and maintenance with a qualified plumber to identify and address issues before they become significant problems.
You now gained valuable insights into removing your bathtub drain, from assessment and preparation to handling stuck or corroded drains and ensuring post-removal clean-up and hygiene. Additionally, you’ve learned about vital maintenance and preventive measures to keep your plumbing system in excellent condition.
At Gold Coast Plumbing Company, we take pride in being your trusted plumbing experts for over two decades. We hope this guide has empowered you with the knowledge and confidence to tackle plumbing tasks effectively.
Should you ever require professional assistance or have further questions about plumbing concerns, please don’t hesitate to contact us. Our team of experienced and friendly plumbers is ready to help.