7:00AM to 5:00PM
What could be more irritating than constantly dripping water from your shower head?
If the annoying noise isn’t enough to make you mad, the thought of all that water going to waste could be. A dripping shower head may squander up to 3,000 gallons or 11000 litres of water yearly. If the leakage originates from your shower valve, it may also be seeping behind your bathroom walls.
This may develop into mould, dry rot, and dampness issues over time, which can be unsafe and expensive to fix. So, it is best to address the problem as soon as you spot it.
Although a shower head can leak due to a faulty connection at the arm, the problem could also be with the shower head or the valve body.
We’ll look at why a shower faucet leaks and how to prevent it step by step!
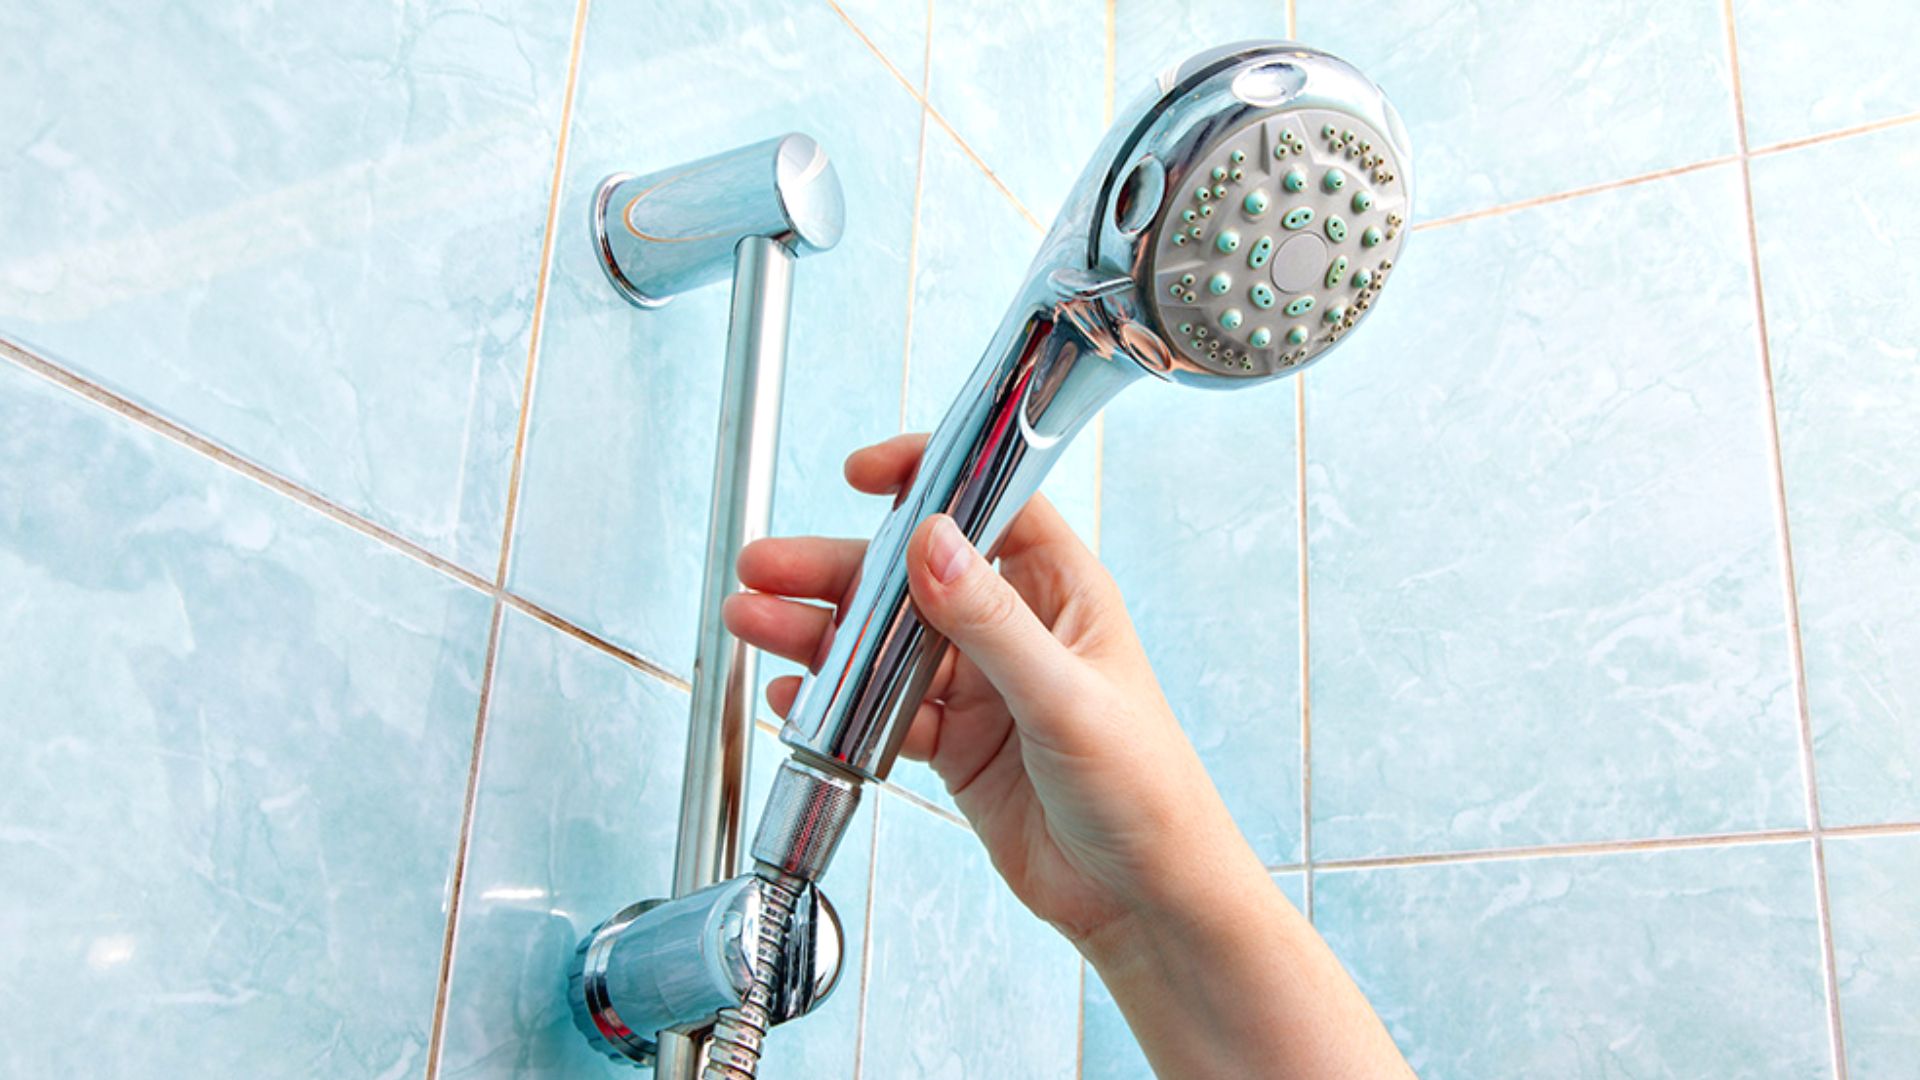
Several factors, particularly the shower heads, might create leakage in your shower. The source of the problem may also be determined by checking where the water is dripping from.
Accordingly, a leaking showerhead, faucet or nozzle must be repaired immediately to avoid future plumbing issues and water wastage. Leak showerheads or faucets might leak even when no water is used. After turning off the faucet body, the shower head may trickle briefly before stopping altogether. So, the first step is to figure out why it leaks.
The following are some of the most prevalent causes of a leaky shower faucet:
If you have a compression faucet and the leakage continues, you can repair the faucet washer kit. However, the easiest way to fix leaky shower faucets is to ascertain the type of shower and faucets you have installed. This ensures that you purchase the necessary tools and shower head replacements.
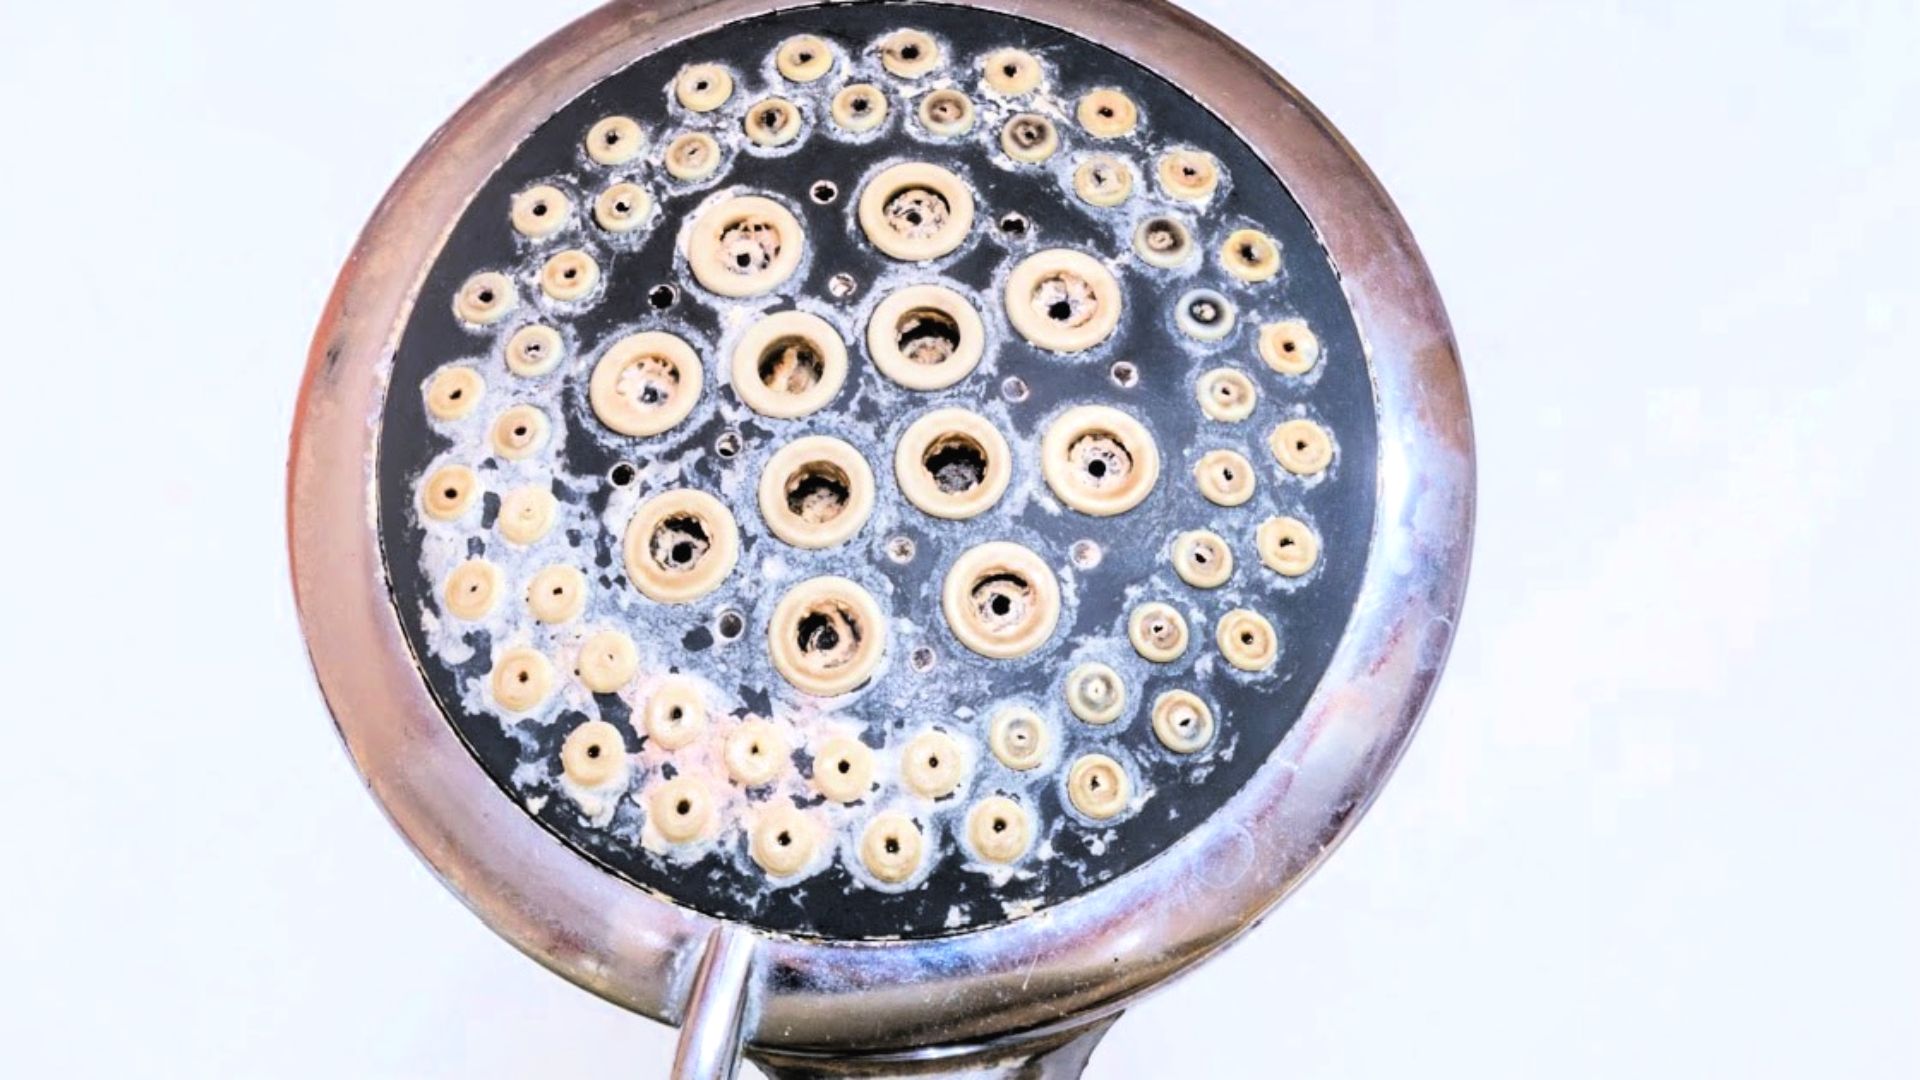
Before starting any repair work for a shower head drip, it is crucial to take some preparatory steps to ensure the process is safe and successful. The first step is to turn off the water supply to the showerhead to prevent water from flowing while you work on it.
Using a wrench, remove the showerhead and place a cloth under it to catch any remaining water. Inspect the showerhead for any visible damage or debris and clean it thoroughly. Check the gasket and O-ring for cracks or wear and replace them if necessary.
Gather the necessary tools and materials for the repair, such as Teflon tape, plumber’s tape, and a new gasket or O-ring. Wear gloves and safety glasses to protect yourself while working. By following these steps, you can ensure a safe and effective repair process for your leaky showerhead.
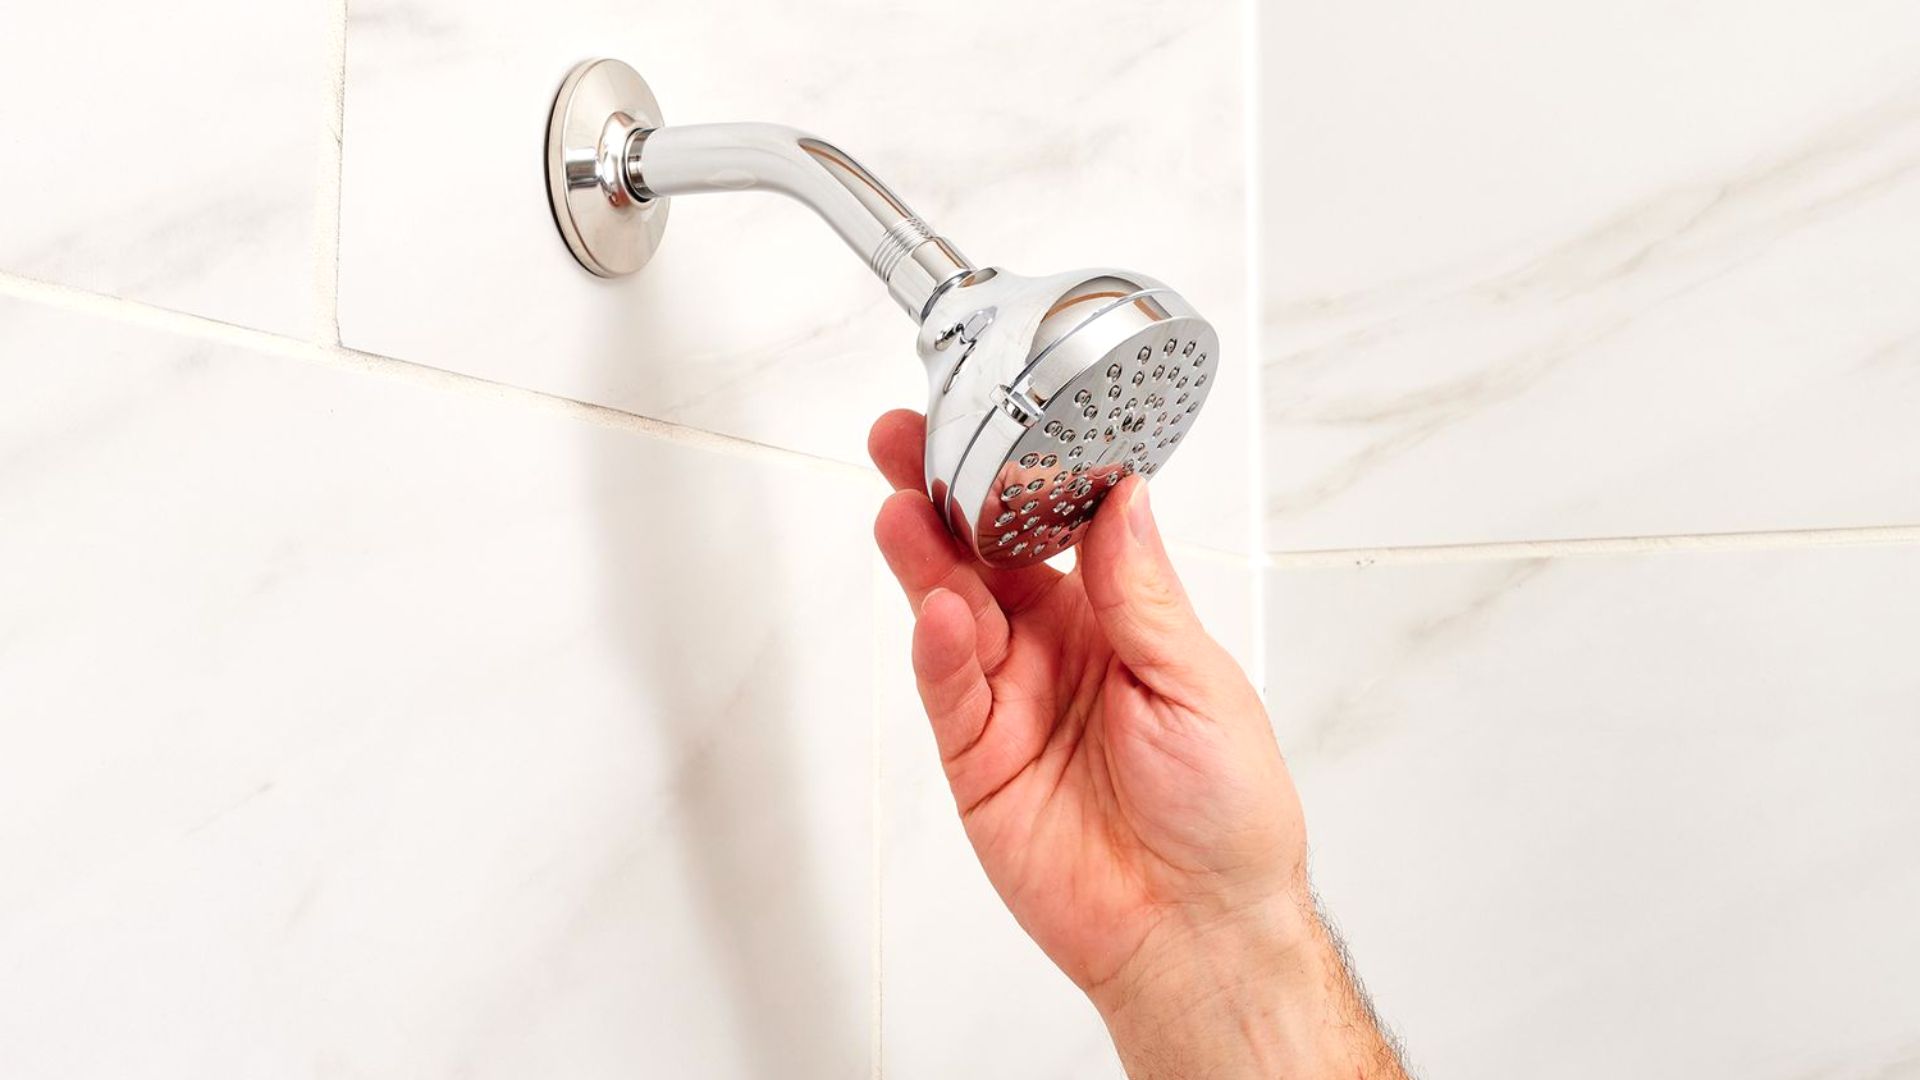
Turn off the water supply shut-off valve before you begin to prevent unwanted shocks later. Remove the shower head from the hose, but be careful not to damage the O-ring (gasket) or rubber washer, and soak it in alcohol for at least thirty minutes.
Clean it along with water and scrub any tenacious filth, grime, or mineral deposits with white vinegar, giving special care to the separate nozzles. Wash it once again, then set away the shower head.
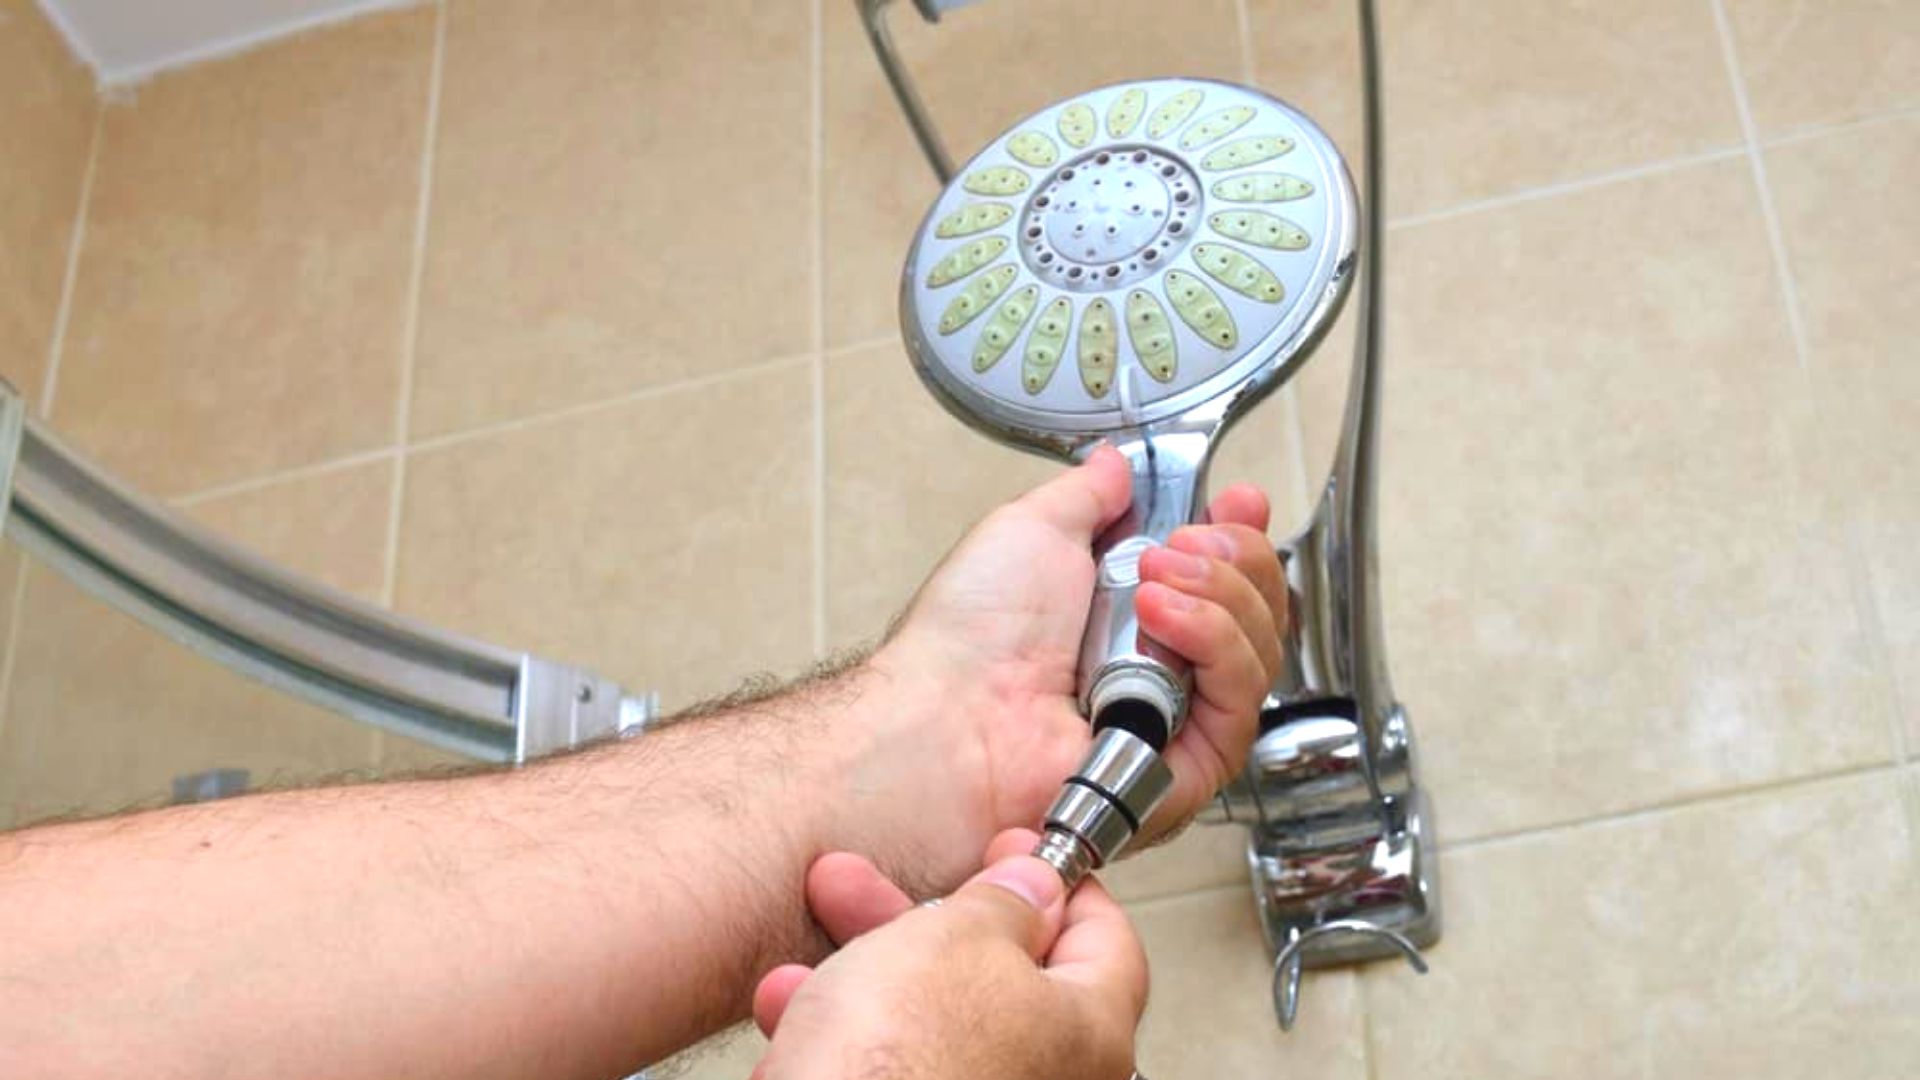
The O-ring or rubber washer keeps water from leaking around your shower and hose. Examine whether it is old or broken, and repair it by wrapping thread-sealing tape around it.
Reassemble your shower head, reconnect it to the hose, flip on the water supply, and switch on your shower head to flush away any leftover filth and grime. If this does not solve the problem and your shower leaks, proceed to step 4.
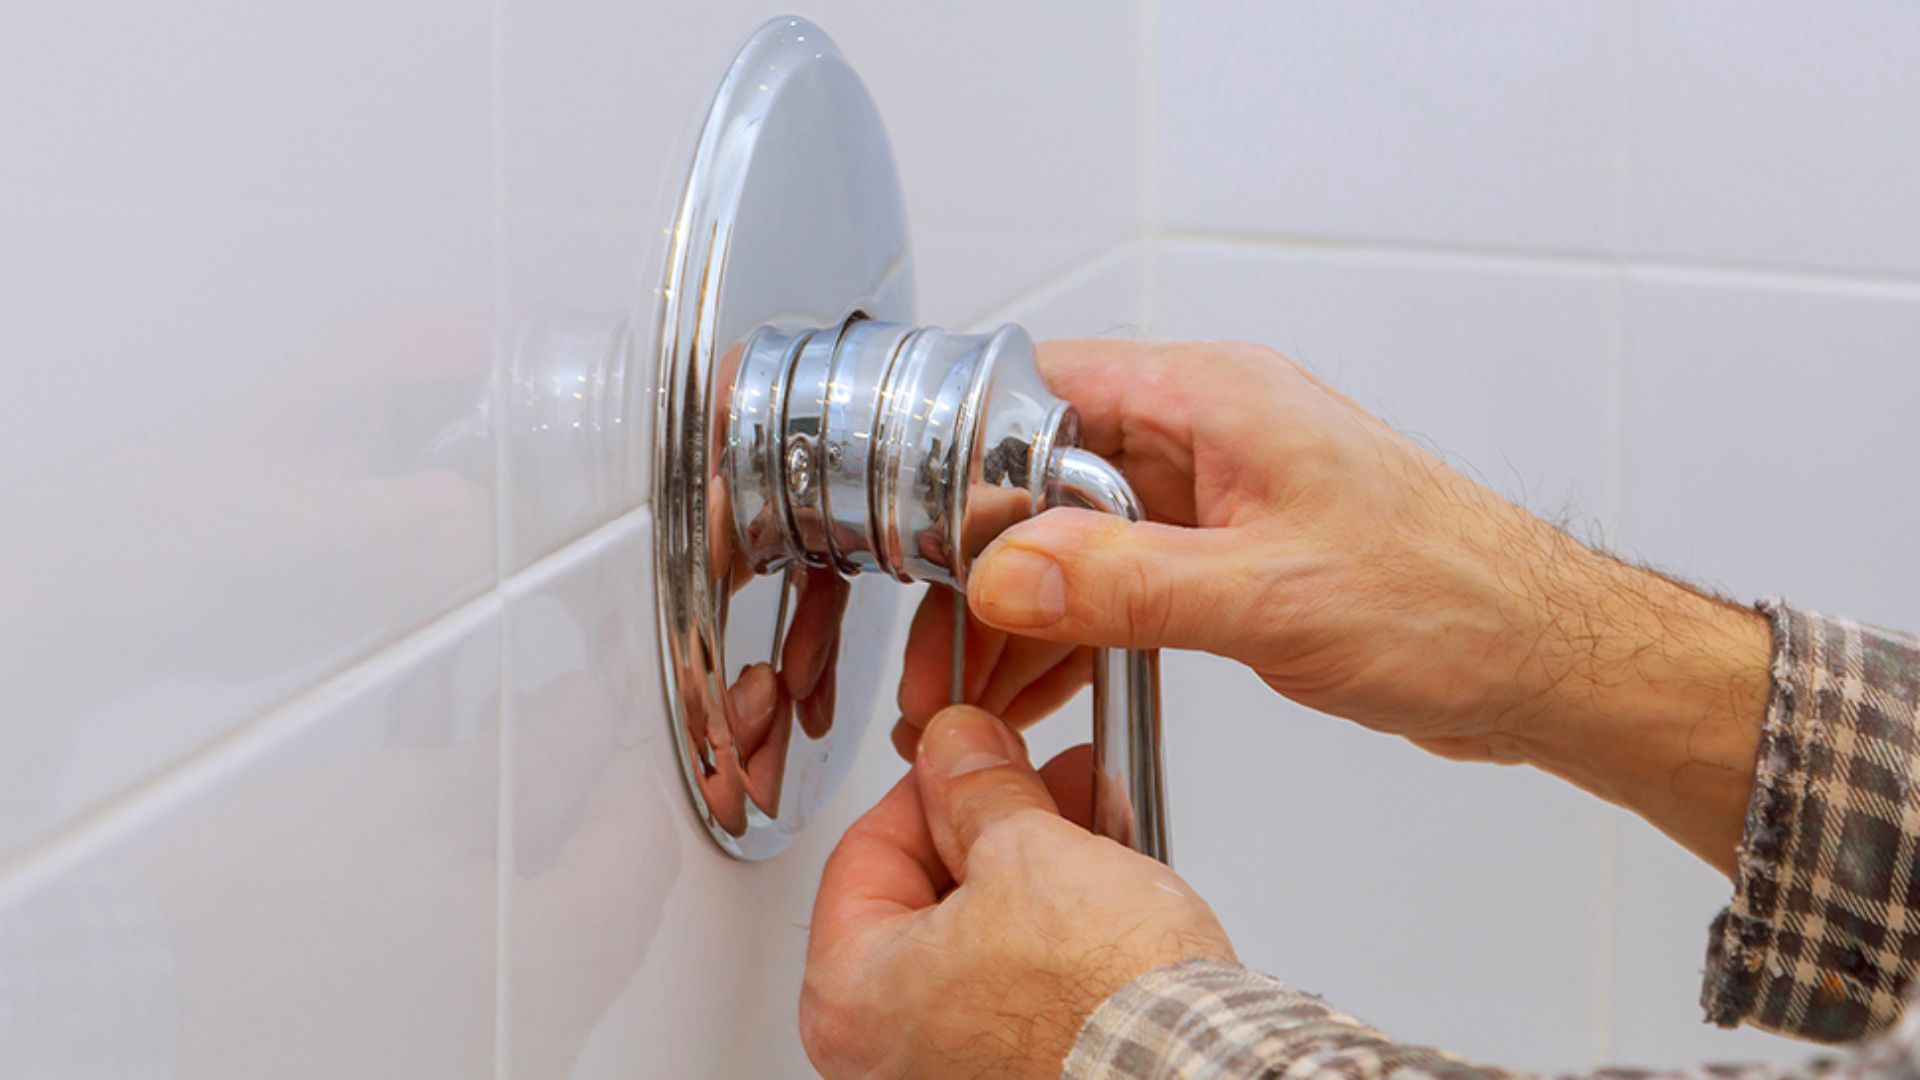
If you’ve tried everything and your shower head still won’t stop dripping, there’s probably an issue with a lever in your shower faucets. If you have two taps, one for heated water and another for cold water, you must first establish which is trickling by testing the warmth of the dripping water.
Unscrew the tap handle and change rubber washers and O-rings to verify that you’ve done everything possible to remedy the problem. You can find all the required materials from a local hardware store.
If the problem continues or you need more convincing that you can handle it yourself, we recommend bringing in an expert. And that’s where Gold Coast Plumbing Company enters the scene.
Our services range from fixing blocked drains to installing a new shower head. Our Gold Coast plumbers can do a thorough inspection of your entire house, including the hot and cold water supply lines, to determine the exact cause of your shower head’s leak.
This concludes our guide on fixing a leaking shower head. For more tips, see our article on four reasons your shower has low water pressure.